

When preparing for new window installation, you'll need to focus on three critical areas. First, create clear access paths at least four feet wide leading to each window and remove any exterior obstacles like shrubs or branches. Second, protect your interior by moving furniture six feet back from windows and covering remaining items with drop cloths or plastic sheeting to prevent dust damage. Third, carefully remove and document all window treatments, including blinds, curtains, and hardware, storing them in labeled containers for future reinstallation. These essential preparations will maximize efficiency and help your installation team deliver professional results with minimal complications.
Clear Window Access Areas
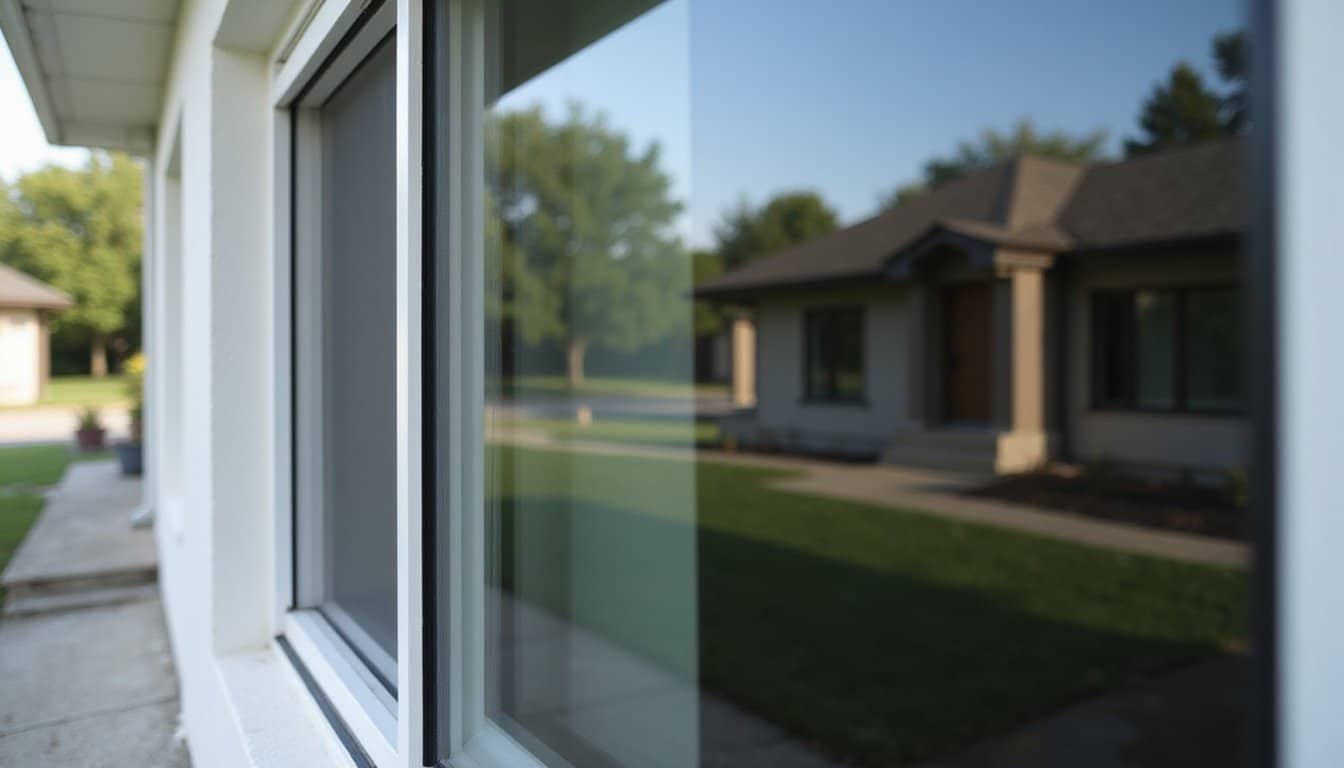
Three key zones around each window require complete clearance before installation begins: the interior approach path, the window opening itself, and the exterior work area.
Inside your home, create a clear pathway at least four feet wide from the entry point to each window, removing furniture, rugs, and decorative items that could obstruct the installers' movement or pose safety hazards.
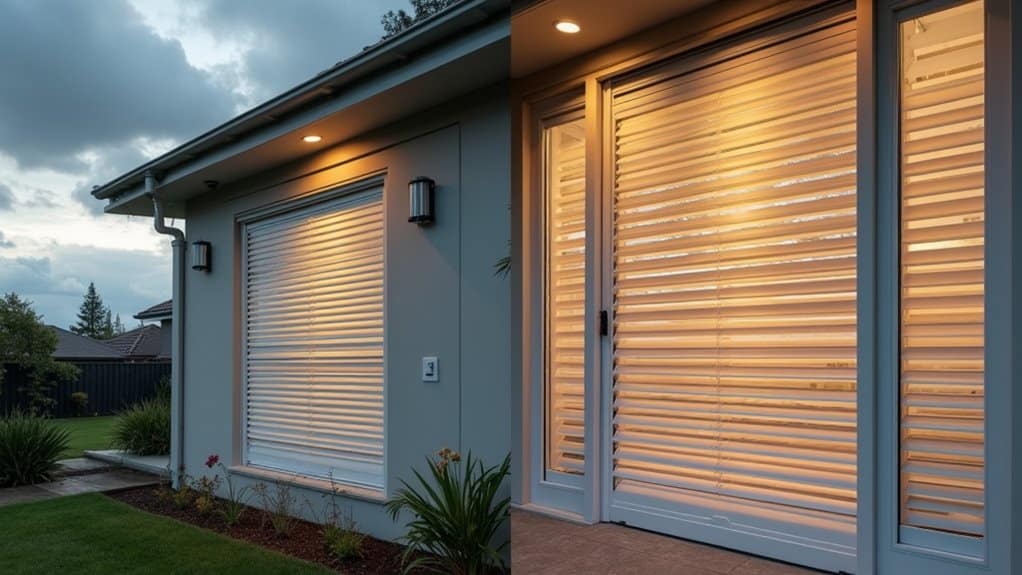
For the window opening, remove all window treatments, including blinds, curtains, and hardware.
Take down nearby picture frames, wall decorations, and shelving that might interfere with window removal or risk damage during the installation process. If you have security sensors, carefully detach and store them.
Outside, clear the exterior access points by trimming back shrubs, trees, and vegetation within a six-foot radius of each window.
Remove outdoor furniture, planters, and garden equipment. If you have window wells, verify they're clean and structurally sound.
For upper-story windows, confirm there's adequate space for ladder placement and equipment staging.
Mark sprinkler heads and delicate landscaping features near work areas to prevent accidental damage during the installation process.
Protect Interior Furnishings
Five essential steps protect your interior furnishings during window installation.
First, move all furniture at least six feet away from each window area, ensuring adequate workspace for installers. You'll need to plan your room rearrangement carefully to maintain clear paths for workers carrying materials and tools.
Second, cover all remaining furniture, electronics, and decorative items with plastic sheeting or drop cloths. Even distant furniture pieces need protection from airborne dust and debris.
Third, remove all window treatments, including curtains, blinds, and hardware, storing them in a clean, dry location until the installation is complete.
Fourth, lay down heavy-duty floor coverings, extending them at least eight feet from each window to catch falling debris and protect flooring from work boot traffic.
Finally, seal off adjacent rooms with plastic barriers if they're not receiving new windows, preventing dust from migrating throughout your home.
Don't forget to protect wall decorations and artwork near the installation areas. If you can't relocate certain items, use specialized furniture coverings designed for construction environments.
These measures will safeguard your belongings while allowing installers to work efficiently and safely.
Remove Window Treatments
Before window installation can begin, you'll need to completely remove all existing window treatments and their hardware components. This includes curtains, drapes, blinds, shades, valances, and any decorative elements attached to the window frame or surrounding area.
Start by documenting your current window treatment options and their placement to help with reinstallation later.
Apply proper removal techniques based on your specific window coverings. For blinds, fully raise them and release the brackets holding the headrail. With curtains or drapes, remove the fabric first, then unscrew the rod brackets from the wall. For cellular or roller shades, detach the shade mechanism from its mounting hardware before removing the brackets themselves.
If you have cornice boxes or valances, carefully disconnect them from their supporting structures.
Don't forget to remove all screws, anchors, and mounting hardware completely. Fill any holes with spackling compound and sand smooth.
Store all components in clearly labeled bags or containers, keeping hardware sets together. This systematic approach guarantees you'll have everything organized when it's time to reinstall your window treatments after the new windows are in place.
Frequently Asked Questions
How Long Does a Typical Window Installation Take per Window?
Did you know that 90% of standard-sized window installations take between 30-60 minutes per window?
Your specific timeline will depend on window types, with custom or larger installations requiring up to 2 hours each.
The installation process typically includes removing the old window, preparing the opening, setting the new window, insulating, and sealing.
You'll want to add extra time if you're dealing with second-story windows or complex architectural features.
Will the Installers Clean up the Old Caulk and Debris?
Yes, professional window installers will handle the cleaning process as part of their standard service.
They'll remove old caulk, broken glass, window frame pieces, and any other installation debris. You can expect them to sweep, vacuum, and wipe down the area around each window.
They'll also dispose of your old windows properly. However, it's smart to confirm debris removal is included in your installation contract before work begins.
Can Window Installation Be Done During Winter Months?
Yes, you can have windows installed during winter months, though there are specific winter considerations to keep in mind.
You'll benefit from shorter wait times and potential off-season discounts.
Professional installers use specialized techniques to minimize heat loss, working on one window at a time and using thermal barriers.
They'll also carefully monitor temperatures and weather conditions to guarantee proper sealant curing.
The installation benefits include immediate energy savings during the coldest months.
Should I Turn off My Home Security System Before Installation?
Yes, you'll want to disable your security system before the window installation process begins.
Contact your security provider in advance to temporarily deactivate window sensors in the work areas. This prevents false alarms during installation.
Don't forget to inform your installers about any security cameras or motion detectors near the windows.
Once the installation's complete, have your security company reactivate and test the system to guarantee everything's working properly.
Do I Need to Obtain Any Permits for Window Replacement?
You'll likely need to obtain window replacement permits, as most municipalities require them for this type of work.
Check your local regulations by contacting your city's building department or permit office. They'll specify requirements based on your area's building codes and historic district status, if applicable.
Don't skip this step – working without required permits can result in fines and complications during future home sales or inspections.