


Installing a storm door requires three key steps for success. Initially, you'll need to measure your door frame carefully and guarantee it's plumb and level. Next, position the hinge-side Z-bar against the frame, pre-drill holes, and secure the door with provided screws. Ultimately, attach the handle, locking mechanism, and weather stripping for a proper seal. Proper installation techniques guarantee lasting protection and smooth operation.
Measuring and Prepping Your Door Frame
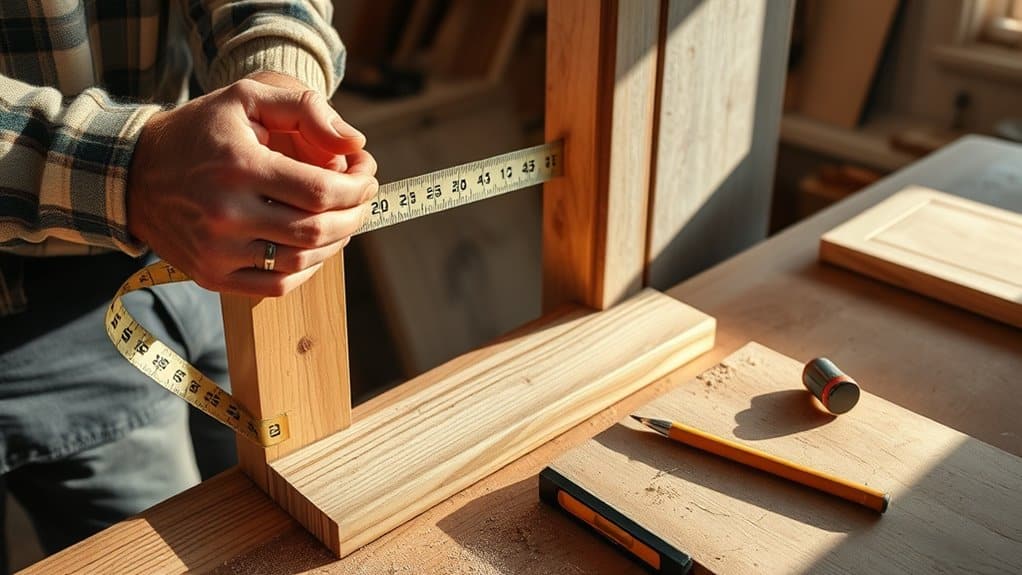
Before purchasing a storm door, you'll need to take precise measurements of your existing door frame to confirm a proper fit. Using reliable measurement tools, measure the width at three points: top, middle, and bottom of the door frame. Then measure the height on both sides and in the center. Record the smallest measurements, as these will be your reference points.
Inspect your door frame for any damage, loose trim, or rotting wood that needs repair before installation. Remove any old hardware, weatherstripping, or debris. Check that the frame is plumb using a level, and verify the threshold is even. If you find significant issues with your door frame, address these repairs initially to confirm your new storm door will operate correctly and create a proper seal.
Assembling and Positioning the Storm Door
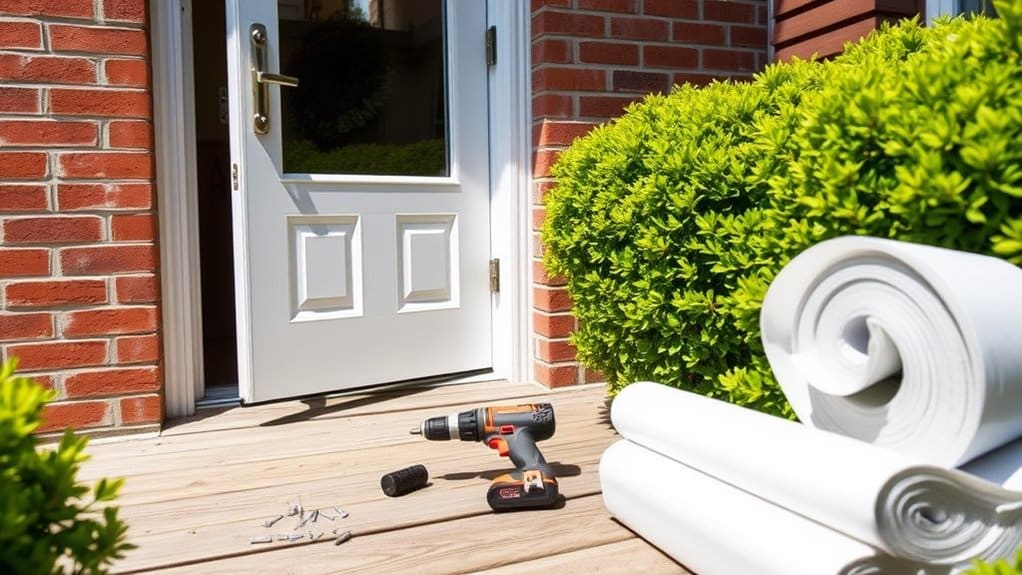
With your door frame properly measured and prepped, unpack your storm door kit and lay out all components on a clean, flat surface. Check that you have all necessary installation tools before beginning assembly.
| Door Styles | Required Tools | Safety Items |
|---|---|---|
| Full-View | Power Drill | Work Gloves |
| Traditional | Level | Safety Goggles |
| Ventilating | Screwdrivers | Dust Mask |
Position the hinge-side Z-bar against the door frame, ensuring it's perfectly level. Most door styles require you to attach the sweep and weatherstripping before hanging. Pre-drill holes for the hinges, keeping the door supported on a sawhorse. When lifting the door into position, maintain proper posture and get assistance if needed. Secure the hinges with the provided screws, checking for smooth operation before installing the handle and closer.
Securing Hardware and Weather Stripping
Installing the door's hardware and weather stripping requires careful attention to verify proper sealing and smooth operation. Begin by attaching the door handle and locking mechanism according to the manufacturer's specifications, verifying all screws are tight and properly aligned. Test the locking mechanism several times to confirm smooth functionality.
Next, apply weather sealing techniques around the door's perimeter. Install the door sweep at the bottom, adjusting its height to create a snug seal against the threshold. Secure weather stripping along the sides and top of the door frame, pressing firmly to verify proper adhesion. Double-check that the stripping doesn't interfere with the door's movement.
Complete the hardware installation by adding the door closer at the top and wind chain if included. Test the door's operation multiple times, making adjustments to verify it closes completely and seals properly.
Frequently Asked Questions
How Much Does Professional Storm Door Installation Typically Cost?
You'll typically pay between $200-500 for professional storm door installation services, though costs can vary based on several factors. Your location, door complexity, and labor rates will affect the final price. Installation costs often include removal of old doors, hardware upgrades, and proper weatherstripping. Some cost factors you'll need to evaluate are door frame modifications, seasonal demand, and whether you're choosing standard or custom sizing.
Can I Install a Storm Door That Opens in the Opposite Direction?
Yes, you can reverse a storm door's swing direction, but you'll need to check its compatibility initially. Most storm doors are designed to be reversible, but you'll face some installation challenges. You'll need to relocate the handle assembly, drip cap, and closer brackets. Keep in mind that not all models support this modification, so check your manufacturer's guidelines before starting. If you're unsure, it's best to consult a professional to guarantee proper functionality.
What's the Average Lifespan of a Properly Installed Storm Door?
A properly maintained storm door can last 25-30 years, but you'll need to take into account storm door materials when evaluating longevity. Aluminum doors typically last longer than vinyl, while wood requires more frequent maintenance. You'll extend your door's lifespan by lubricating hinges annually, replacing weatherstripping every 3-5 years, and checking for loose screws regularly. If you're noticing drafts or squeaking, don't wait—address these issues promptly to prevent further deterioration.
Should Storm Doors Be Removed During Certain Weather Conditions?
You don't typically need to remove your storm door during weather events, but proper storm door maintenance is crucial for safety. During extreme weather conditions like hurricanes or severe storms, you'll want to guarantee the door is fully latched to prevent wind damage. If you're experiencing consistent 50+ mph winds, you might consider temporarily removing the door's screen or glass panel to reduce pressure on the frame and hinges.
Are There Specific Storm Door Options for Homes With Pets?
Yes, you'll find several pet-friendly designs for storm doors that accommodate your furry companions. Look for models with built-in pet doors in different sizes, featuring heavy-duty flaps and weather stripping to maintain energy efficiency. You'll want to choose durable materials like aluminum or reinforced steel frames that can withstand scratching and frequent use. For safety, select doors with automatic closers and protective grilles to prevent pets from pushing through screens.