

You'll spend between $200-$950 to install a storm door in 2025, with average costs around $475 for professional installation. The door itself runs $100-$550, while labor costs range from $75-$400 depending on your region and contractor. Extra materials add $25-$100 to your total. DIY installation can save you up to $400, but proper measurements and tools are essential. Looking deeper into materials and installation options reveals more ways to enhance your investment.
Average Storm Door Installation Costs Breakdown

The three main cost components of storm door installation include the door itself ($100-$550), professional labor ($75-$400), and supplementary materials ($25-$100). You'll need to take into account the door's quality level and storm door features, such as screens, glass panels, and hardware finishes, which directly impact the total cost.
Labor costs vary based on your location and the complexity of the installation. Most professional installers charge by the hour, typically completing the job in 2-4 hours. Supplementary materials include weatherstripping, door sweeps, and mounting hardware. You'll also want to think about installation warranties, which may add $30-$75 but provide protection against defects and installation issues. Some manufacturers offer extended warranties covering both parts and labor for up to 10 years.
Types of Storm Doors and Their Price Ranges
When selecting a storm door, you'll find several distinct categories that fit different budgets and needs. Basic aluminum storm doors start at $150-$250, offering essential protection with simple screens and glass panels. Mid-range models, priced between $300-$500, feature better weatherstripping and improved security features.
High-end storm door types, ranging from $500-$900, include premium materials like solid wood cores or heavy-duty aluminum construction. These often come with advanced features such as self-storing screens, multi-point locking systems, and retractable screens. Price variability depends on supplementary options like decorative glass patterns, built-in blinds, or pet doors. Custom-sized doors typically increase 20-30% to base costs. Screen-only storm doors are the most economical choice at $100-$200, while security-focused models with reinforced frames can exceed $1,000.
Material Options and Associated Costs
Storm door materials considerably impact both durability and price points, with options ranging from budget-friendly aluminum to premium wood composites. You'll find aluminum frames starting at $150, offering lightweight durability and minimal maintenance requirements. Fiberglass doors typically range from $300 to $600, providing superior insulation options and resistance to warping.
For a more upscale look, wooden finishes cost between $500 and $1,200, though they'll require regular maintenance to prevent weather damage. Glass inserts vary by type, with clear panels starting at $50 and decorative options reaching $200. Most manufacturers offer extensive color choices and weather stripping packages. Consider warranty options when selecting materials – premium eco-friendly materials often come with longer coverage periods, typically 10-15 years, compared to 5-year warranties on standard aluminum frames.
Labor Rates by Region and Service Provider
Labor costs for storm door installation vary greatly across different U.S. regions, with three primary factors influencing rates: geographic location, contractor type, and project complexity.
You'll typically find the lowest regional labor rates in the Southeast and Midwest, ranging from $75 to $150 per installation. The Northeast and West Coast command higher rates, often $150 to $300. Your choice of service provider greatly impacts costs: big-box retailers charge $150-200 on average, while independent contractors may range from $100-250. Specialized door installers usually fall between $175-275.
When comparing quotes, keep in mind that higher rates often reflect extra services like frame modifications or removal of existing hardware. Most installations take 2-3 hours, though complex projects requiring custom fitting may extend to 4-5 hours.
Additional Hardware and Component Expenses
Several essential hardware components can considerably impact your total storm door installation budget. When evaluating component pricing, you'll need to factor in different hardware types beyond the basic door unit.
A complete storm door installation requires careful budgeting for essential hardware components beyond just the door itself.
- Door closers and pneumatic systems: $25-45
- Handle sets and locking mechanisms: $35-85
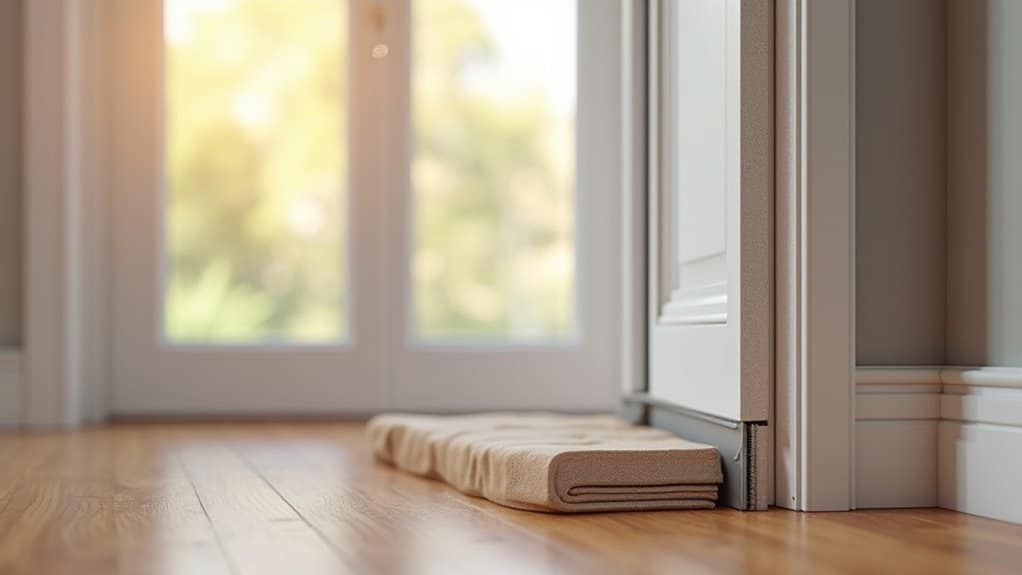
- Weather stripping and sweep kits: $15-30
You'll also need to take into account specialty fasteners ($8-15), screen mesh replacements ($20-40), and adjustment strips ($10-20) for proper installation. Most manufacturers offer pre-drilled holes for standard hardware, but custom configurations might require supplementary components. If you're replacing an existing storm door, you may be able to reuse some hardware, though it's often recommended to install new components to guarantee peak performance and security. Plan to allocate 15-20% of your total budget for these essential hardware elements.
DIY Vs Professional Installation Cost Comparison
When deciding between DIY and professional installation, you'll find a significant cost variance that can impact your total budget. Professional installation typically runs $200-$500, while DIY costs only $20-$50 for basic tools and hardware. However, you'll need to weigh these budget considerations against your skill level and available time.
Professional installers bring expertise in handling common installation challenges, such as uneven door frames, proper weatherstripping placement, and precise hardware alignment. If you're managing it yourself, you'll need to account for potential mistakes, extra tools you might need to purchase, and the time investment required to complete the job correctly. Your existing door frame's condition and the complexity of your chosen storm door model will also influence whether DIY makes sense for your situation.
Factors Affecting Storm Door Installation Prices
The installation price of your storm door depends on multiple core factors that can greatly impact your total project cost. Your door's specific features, such as automatic closers, retractable screens, or security locks, will affect both material and labor expenses. Installation timing also plays an important role, with peak seasons typically commanding higher rates.
Storm door costs vary widely based on door features, installation complexity, and seasonal timing—all key factors in your final price.
Key price-influencing elements include:
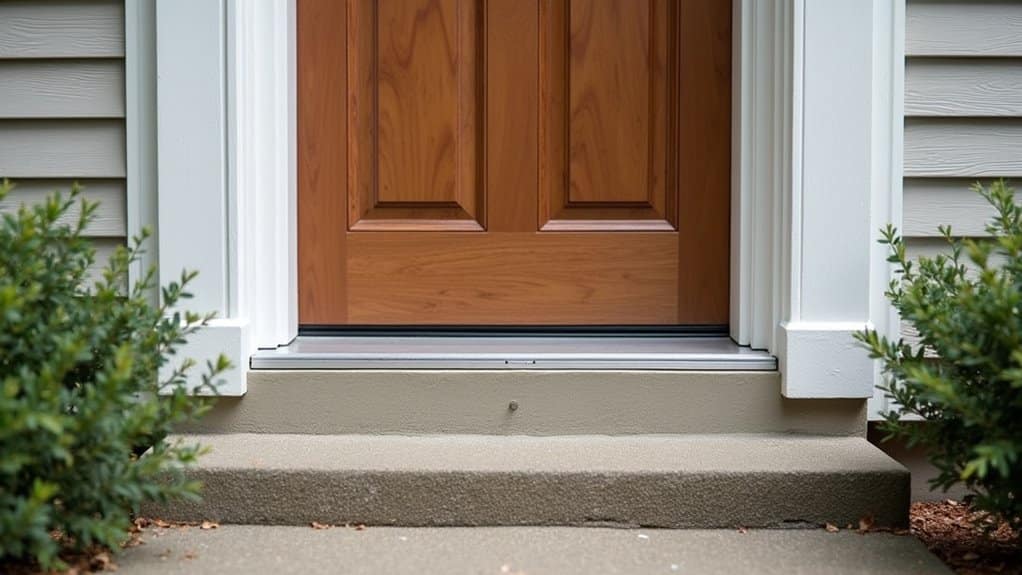
- Door frame condition – repairs or modifications can add $50-150
- Installation location accessibility – second-story or complex entries may increase costs by 25-40%
- Extra hardware requirements – special mounting brackets or custom weatherstripping can add $25-75
You'll need to take into account your door's dimensions, as non-standard sizes often require custom fitting and extra labor time, potentially increasing your installation costs by 30-50%.
Long-Term Cost Benefits and Energy Savings
Installing a storm door proves to be a smart investment that typically pays for itself within 5-7 years through reduced energy costs. You'll notice immediate energy efficiency improvements as the supplementary barrier reduces air leakage by up to 50% around your entry door. This translates to annual heating and cooling savings between $75-$250, depending on your climate zone and utility rates.
The cost recovery extends beyond energy savings. A quality storm door protects your main entry door from weather damage, potentially doubling its lifespan and saving you $500-$2,000 in premature door replacement costs. You'll also reduce maintenance expenses, as storm doors minimize moisture damage, paint wear, and weatherstripping deterioration on your primary door, saving approximately $100 annually in upkeep costs.
Cost-Saving Tips for Storm Door Installation
You'll find significant savings by following the clear DIY installation steps provided with your storm door, which typically requires only basic tools and 2-3 hours of work. To guarantee you're getting competitive pricing, obtain at least three contractor estimates and verify they include both materials and labor in their detailed breakdown. Watch for seasonal sales at home improvement stores, where you can often save 15-25% on storm doors during spring and fall promotional periods.
DIY Installation Steps
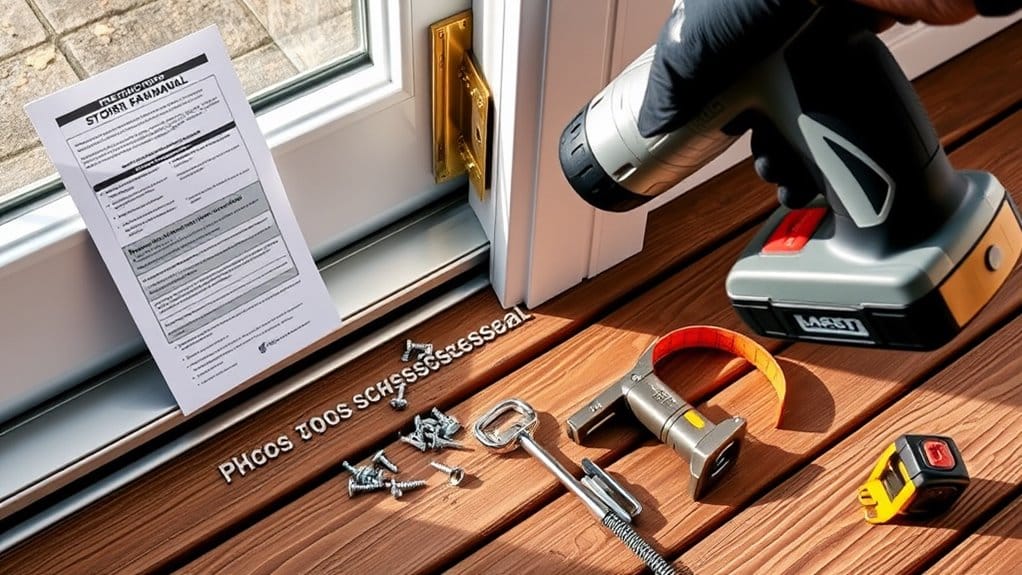
To save hundreds of dollars on professional installation fees, addressing a storm door project yourself requires careful planning and basic DIY skills. You'll need essential storm door materials and installation tools, including a drill, level, measuring tape, and screwdriver set.
Before starting installation, follow these critical steps:
- Measure your door opening precisely, ensuring you've got the correct size storm door for your frame (measure width at top, middle, and bottom)
- Check that your door jamb is plumb and square using a level – adjust if needed
- Pre-assemble hardware and read manufacturer instructions thoroughly before mounting
Position your storm door in the opening, ensuring it's level and plumb. Install the hinge-side Z-bar initially, followed by the top and strike jamb. Test the door's operation frequently during installation to prevent alignment issues later.
Compare Contractor Quotes
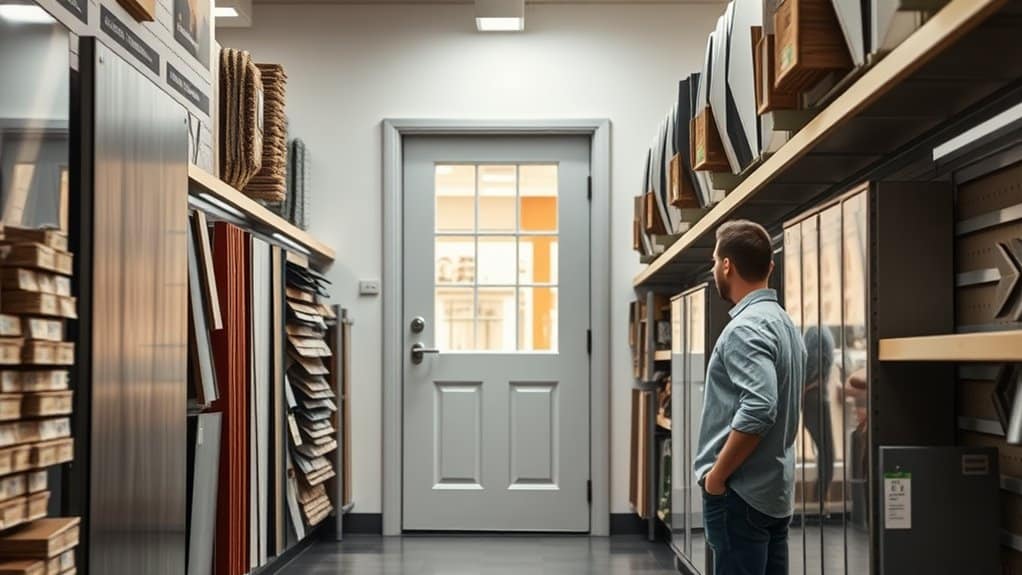
Although DIY installation can save money, comparing multiple contractor quotes remains essential if you decide to hire a professional. You'll want to obtain at least three detailed estimates from licensed and insured contractors, ensuring each quote includes the same scope of work, materials, and labor costs.
When evaluating contractor qualifications, verify their experience with storm door installations and check their references. During the quote comparison process, ask about warranty coverage, timeline for completion, and whether they'll handle permit requirements. Look for itemized breakdowns that specify the door model, hardware, and any supplementary materials needed. Be wary of quotes that are notably lower than others, as they might indicate subpar materials or inexperience. Remember to request written estimates that include cleanup and disposal of your old door.
Shop Sales and Deals
Savvy homeowners can greatly reduce their storm door expenses by strategically timing their purchases and seeking out promotional offers. Major home improvement retailers typically run seasonal promotions during spring and fall, offering 15-25% discounts on storm doors and installation services.
Key opportunities to enhance retail discounts include:
- Holiday sales events (Memorial Day, Labor Day, Black Friday)
- End-of-season clearance sales when retailers make room for new inventory
- Store-specific promotional periods, often featuring manufacturer rebates
You'll find the best deals during off-peak installation months, particularly January-February and August-September. Subscribe to retailer email newsletters and monitor their websites for upcoming sales. Many stores offer price matching, so document competitor prices and ask about matching policies to secure the lowest available rate for your storm door purchase.
Frequently Asked Questions
How Long Does a Typical Storm Door Installation Take?
You'll typically need 2-3 hours for a basic storm door installation duration, though time estimates can vary based on your experience level and door complexity. If you're replacing an existing storm door, you'll spend about 1 hour removing the old unit. For new installations, you'll need extra time to prepare the door frame and guarantee proper measurements. Professional installers can often complete the job in 1-2 hours with proper tools.
Can a Storm Door Be Installed on Any Type of Entry Door?
While storm doors are versatile, they're not compatible with all entry door types. You'll need a flat door frame with at least 1 inch of mounting surface on all sides. Most standard-sized entry doors (30-36 inches wide) work well, but doors with decorative trim, rounded frames, or recessed entries may pose challenges. Double doors require special storm door configurations. Always measure your door frame's depth and width before purchasing to guarantee proper storm door compatibility.
What's the Best Season to Install a Storm Door?
Spring installations are your best bet for installing a storm door, as temperatures between 60-70°F guarantee proper adhesive curing and weatherstripping installation. You'll want to avoid rainy days that can interfere with sealing. While you can install during other seasons, winter considerations include working with potentially brittle materials and dealing with temperature fluctuations that might affect the door's fit. For best results, schedule your installation on a dry spring day.
Do Storm Doors Require Special Maintenance or Cleaning Routines?
You'll need to maintain your storm door regularly to guarantee its longevity. Clean both sides of the glass quarterly with a standard glass cleaner, and wipe down storm door materials like aluminum or vinyl frames with mild soap and water. During seasonal cleaning, check weatherstripping for wear and lubricate hinges with silicone spray. Don't forget to inspect the sweep at the door's bottom annually and tighten any loose screws to prevent drafts and maintain peak performance.
Can My Existing Door Frame Support a Storm Door Installation?
To determine if your door frame can support a storm door, you'll need a thorough door frame assessment. Measure the jamb depth, which should be at least 1 inch deep for proper mounting. Check that you have a flat mounting surface of at least 1 inch on all sides. Installation requirements also include verifying your frame is square (diagonal measurements should match) and free from rot or damage. Consider hiring a professional for accurate evaluation.