To hang a storm door, you'll initially need to measure your doorway's height and width at multiple points, ensuring the frame is square and level. Next, prepare the opening by removing old hardware and cleaning the surfaces before installing the door frame, starting with the hinge-side jamb, then the top piece and latch side. Ultimately, mount the door itself and attach all hardware, including the closer and handle set. These basic steps provide a foundation for proper storm door installation.
Measuring and Preparing Your Doorway

The primary three steps in hanging a storm door involve accurate measurements and proper preparation of your doorway. To begin, use precise measuring techniques to determine the height and width of your door frame, taking measurements at three points: top, middle, and bottom. You'll need to verify your opening is square by measuring diagonally from corner to corner in both directions.
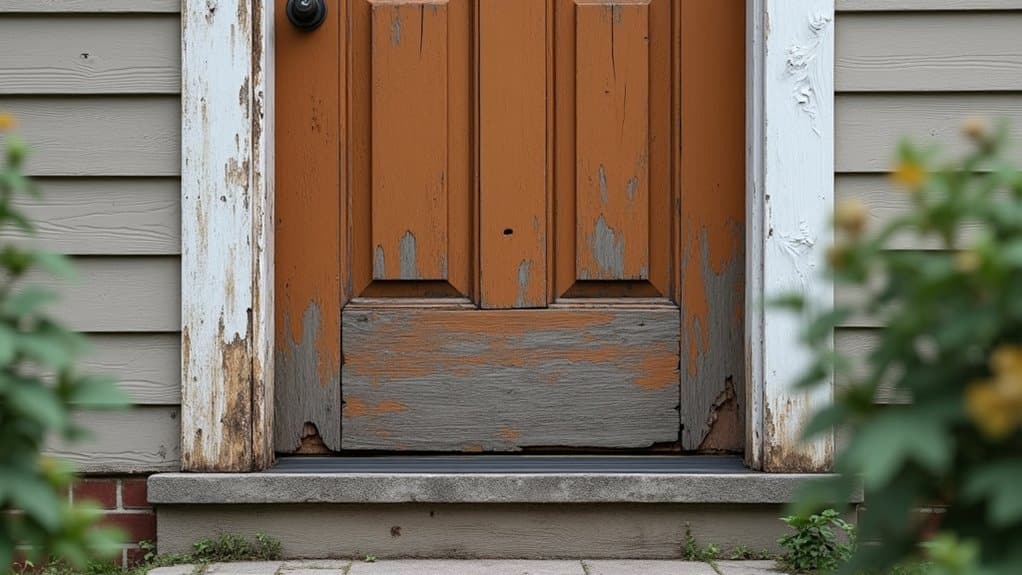
For doorway preparation, remove any existing hardware, weatherstripping, or old door parts. Check the jamb and trim for damage, replacing any rotted wood. Clean the frame thoroughly and confirm that your mounting surface is level and plumb using a carpenter's level. If there's an uneven surface, you'll need to install shims to create a flat mounting area before proceeding with the installation.
Installing the Door Frame and Hardware
Four critical components make up the storm door frame assembly: the hinge-side jamb, the latch-side jamb, the top frame piece, and the bottom expander. Begin by attaching the hinge-side jamb to your door frame, ensuring it's perfectly plumb using a level. Secure it with the provided screws at each pre-drilled mounting hole.
Next, install the top frame piece, making sure it's level and flush with the hinge-side jamb. Proceed with the latch-side jamb installation, maintaining equal spacing between jambs. Ultimately, slide the bottom expander onto the door's base, adjusting it to create a proper seal against your threshold.
During hardware installation, attach the door closer, wind chain, and handle set according to the manufacturer's specifications. Test the door's operation to confirm smooth opening and closing.
Securing and Testing Your Storm Door

With your door frame and hardware properly installed, it's time to secure the entire assembly and confirm its functionality. Check the door alignment by closing it slowly and observing any gaps or resistance. Make certain it sits flush against the weatherstripping on all sides.
Test the door's operation by opening and closing it several times. If you notice any binding or sticking, you'll need to make latch adjustment modifications. Loosen the mounting screws slightly and shift the door until it operates smoothly. Once properly aligned, tighten all screws firmly.
Finally, confirm that the automatic closer works correctly and that the door latches securely. Adjust the closer's tension if needed – it should pull the door shut without slamming. Test the lock mechanism to ensure it engages properly with the strike plate.
Frequently Asked Questions
How Long Does a Typical Storm Door Installation Take for a Beginner?
As a beginner addressing storm door installation time, you'll likely need 2-3 hours to complete the project. You'll want to add an extra hour for measuring and preparation work. While experienced installers can finish in under an hour, don't rush your initial attempt. Follow manufacturer's instructions carefully, and remember these beginner tips: pre-organize your tools, double-check measurements, and have a helper assist with door positioning and alignment.
Can I Install a Storm Door That Opens From the Opposite Side?
Yes, you can reverse a storm door's opening direction through a process called "handing." Most modern storm door designs offer installation flexibility, allowing you to switch the hinge side. You'll need to rotate the door frame 180 degrees and reinstall the handle, closers, and latching hardware on the opposite side. However, be sure to check your specific model's manual, as some doors aren't reversible due to pre-drilled holes or fixed components.
What Tools Do I Need to Remove an Old Storm Door?
You'll need specific removal tools to safely take down an old storm door. Gather a power drill or screwdriver, pliers, putty knife, hammer, and utility knife. For door safety, wear work gloves and safety glasses throughout the process. You'll use the drill to remove screws from hinges and handle hardware, the putty knife to loosen weatherstripping, and pliers to pull out any stubborn fasteners or nails.
Should I Caulk Around the Storm Door Frame After Installation?
Yes, you'll definitely want to caulk around your storm door frame after installation. Apply a high-quality, exterior-grade silicone caulk to create a weathertight seal. For the best frame sealing results, make sure the surface is clean and dry before starting. Here are key caulking tips: use painter's tape for clean lines, cut the caulk tube at a 45-degree angle, and apply consistent pressure while running a continuous bead around the entire frame.
What's the Average Lifespan of a Properly Installed Storm Door?
A properly installed storm door will typically last 15-25 years, depending on your storm door maintenance routine and the quality of storm door materials used. You'll get the best longevity from aluminum or high-grade vinyl doors, especially if you keep hinges lubricated, weatherstripping intact, and hardware tightened. With regular maintenance checks twice a year, you can extend your door's lifespan. Premium models with tempered glass and quality frames often reach the upper end of this range.