


To properly install windows, you’ll need to follow seven critical steps: take precise measurements of the opening, select appropriate window materials, prepare the installation area, safely remove existing windows, properly set and secure new windows, implement thorough waterproofing, and add professional finishing details. Each step requires meticulous attention to detail and specific techniques to guarantee excellent energy efficiency and structural integrity. Understanding the complete process will help you achieve a lasting, professional-grade installation.
Taking Precise Window Measurements

Before beginning any window installation project, accurate measurements are essential for ensuring a proper fit and ideal performance. You’ll need to measure each window opening in three locations for both height and width, using the smallest measurements as your reference points. Start by measuring the width at the top, middle, and bottom of the window frame, then record the smallest dimension.
Measure the height on the left side, center, and right side of the opening, again noting the smallest measurement. Getting it right at this stage will prevent installation problems and potential air leaks later. Don’t forget to verify that your window openings are square by measuring diagonally from corner to corner in both directions. If these measurements differ by more than 1/4 inch, you’ll need to account for this discrepancy when ordering your windows.
Choosing the Perfect Window Type and Materials
The selection of appropriate window materials and styles forms the foundation of a successful installation project. You’ll need to carefully evaluate window material options, considering vinyl windows for their durability and low maintenance requirements, or wood windows if you’re seeking classic aesthetics and customization potential.
Your window type selection should align with both functional needs and architectural style. Consider casement windows for maximum ventilation, sliding windows where space efficiency is paramount, or double-hung windows for traditional appeal. To maximize energy efficiency, incorporate energy-saving features like low-E coatings and argon gas filling, which substantially enhance thermal performance and reduce utility costs.
When making your final decision, balance these factors against your home’s specific requirements, climate conditions, and budget constraints to guarantee optimal long-term performance and value.
Preparing the Installation Area Properly

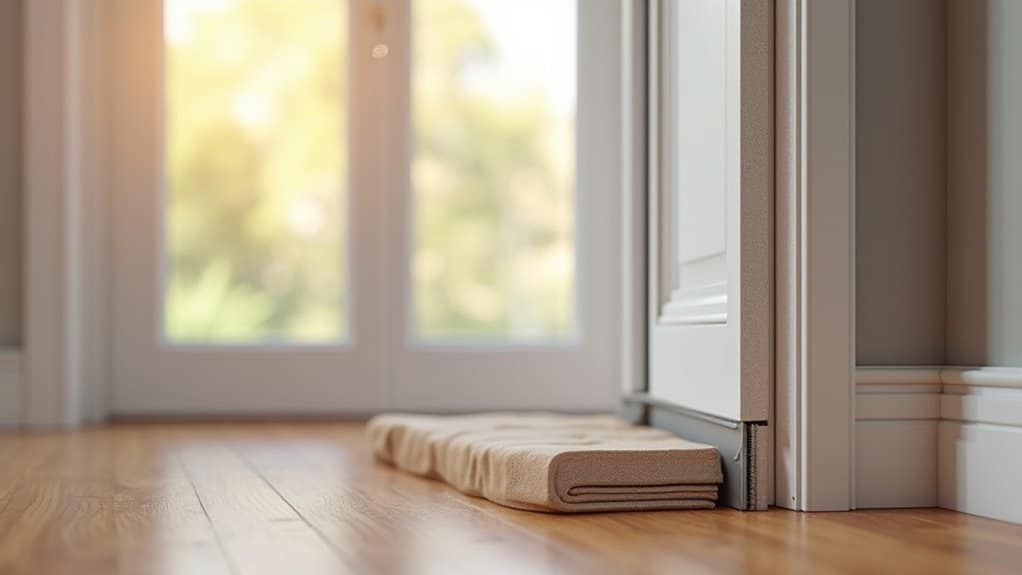
Successful window installation begins with proper preparation of the work environment. Before your installation date, clear away all wall decorations, window treatments, and furniture from the areas surrounding your old windows. This creates essential workspace for the installers to maneuver and place shims to make precise adjustments.
Safety is paramount during the window installation process. Keep children under supervision and secure pets in a separate area of your home. Schedule a pre-installation walkthrough with the project foreman to discuss workflow, verify window specifications, and address potential concerns. While some construction debris is inevitable, stay accessible to answer questions without interfering with the work. If installing a window requires multiple days, guarantee temporary coverage of openings and maintain clear communication with your contractor about timeline adjustments.
Removing Existing Windows Safely
To safely remove existing windows, you’ll need to protect surrounding wall surfaces with drop cloths and painter’s tape before beginning any demolition work. Next, you’ll want to carefully break the seal between the window and frame using a utility knife or putty knife to minimize damage to the surrounding materials. Following the seal break, you can methodically remove the window frame by loosening fasteners and extracting components in the correct sequence based on your window’s construction type.
Protect Surrounding Wall Areas
Before removing existing windows, proper protection of surrounding wall areas prevents costly damage and simplifies the cleanup process. You’ll need to secure drop cloths around both the interior and exterior work areas to catch debris and protect your flooring. Create a tight seal between the protective materials and surrounding surfaces to guarantee dust infiltration inside your home.
| Area | Protection Method | Materials Needed |
|---|---|---|
| Interior | Drop cloth barrier | Heavy-duty plastic |
| Exterior | Ground coverage | Canvas tarps |
| Walls | Surface protection | Painter’s tape |
| Furniture | Complete coverage | Moving blankets |
During your window installation project, verify all windows and doors not being worked on remain closed to contain dust. Use painter’s tape to secure protective materials to trim work and adjacent walls, creating effective dust barriers that’ll protect your living space throughout the installation process.
Break Seal With Care
When breaking the seal on existing windows, proper technique prevents damage to both the window and surrounding frame materials. Begin by locating the window’s original caulk line and carefully score it with a utility knife. You’ll need to work methodically around the entire perimeter to guarantee a smooth separation.
Remove the old caulking and sealant using a putty knife or specialized removal tool, working from multiple angles to maintain even pressure. If you’re encountering stubborn areas, don’t force the separation this could damage the frame. Instead, deepen your initial scoring and try again. Professional installers recommend breaking the seal in sections rather than attempting the entire window at once. As the old window becomes loose, support its weight to prevent sudden shifts that could compromise your installation goes forward. Test the window’s mobility before proceeding with complete removal.
Remove Frame Methodically
Once the seal has been broken, removing the window frame requires a systematic approach to prevent structural damage. Window installers will need specific tools and materials to execute every step precisely. Improper window removal can compromise the integrity of your home’s structure and create safety hazards.
- Start by examining the frame’s attachment points and removing any visible fasteners, ensuring you’ve accounted for all securing mechanisms
- Support the window’s weight using temporary braces while you work, confirming the window is level throughout the removal process
- Carefully cut through any remaining caulk or adhesive, working methodically around the frame’s perimeter
- When removing your old window, maintain constant pressure control and have a helper ready to support the unit as it comes free from the opening
Setting and Securing New Windows
As you prepare to set the new window unit, proper positioning and secure fastening are pivotal steps that’ll determine the installation’s long-term performance. Begin by ensuring the window opening is plumb, level, and square. You’ll need to center the window in the opening, maintaining equal spacing on all sides.
When you’re satisfied with the positioning, install shims at the bottom corners and check that the window opens and closes smoothly. Secure the frame using the manufacturer’s recommended fasteners, typically through the side jambs. If you’re uncertain about this essential phase, consider hiring a professional window installation company. A professional installer will know exactly where to place fasteners and how tight to drive them without distorting the frame, which could affect operation and seal integrity.
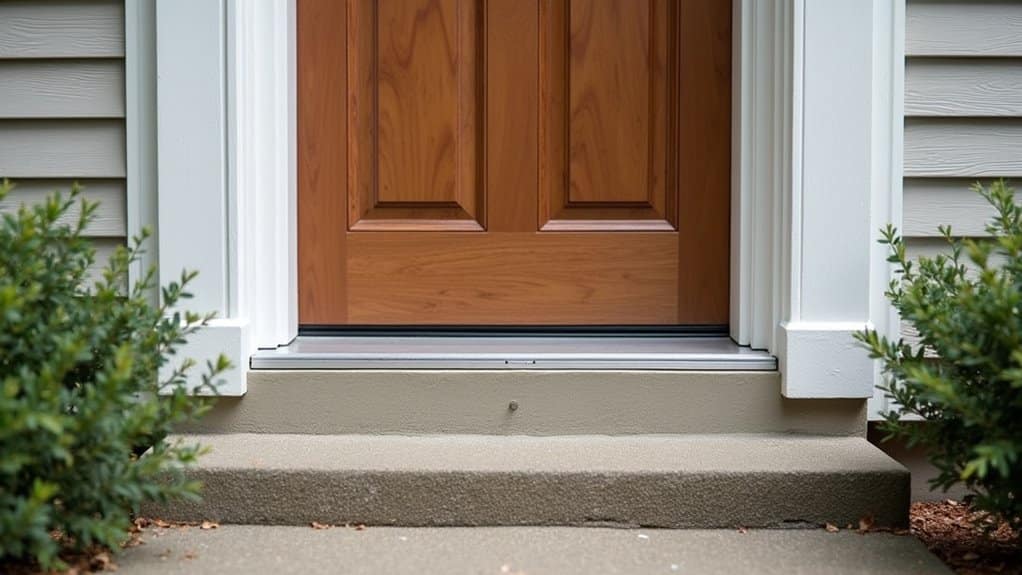
Waterproofing and Insulating for Maximum Protection

You’ll need to start by installing flashing around the window’s perimeter, ensuring each piece overlaps correctly to create a continuous waterproof barrier. To prevent air and moisture infiltration, fill all gaps between the frame and rough opening with expanding foam insulation, being careful not to overfill which could distort the frame. Finally, apply weatherstripping along the window sash and frame contact points to create an additional seal against drafts and water intrusion.
Essential Flashing Installation Steps
Proper flashing installation serves as the cornerstone of a water-resistant window system, protecting your home from moisture intrusion and potential structural damage. When installing replacement windows, you’ll need to follow these essential steps to guarantee optimal performance and improve energy efficiency:
- Measure and cut high-quality, corrosion-resistant flashing materials precisely to fit the window opening’s perimeter, allowing for proper overlap at corners
- Install the sill flashing first, followed by jamb flashing, guaranteeing proper integration with your home’s weather-resistant barrier
- Apply a continuous bead of sealant around the mounting flange before setting your new windows in place
- Complete the installation by adding head flashing and filling the gap between the window frame and rough opening with appropriate insulation material
This systematic approach ensures your Right Windows maintain their integrity and performance for years to come.
Seal Gaps Completely
Creating a watertight seal around your newly installed windows requires meticulous attention to multiple protective layers. When replacing an old window, make sure you’re applying a continuous bead of high-grade exterior caulk around the frame’s perimeter. This critical home improvement project demands proper insulation between the frame and rough opening using expanding foam or batt material.
You’ll want to seal all gaps thoroughly with high-quality insulating foam to prevent air infiltration and enhance your home’s energy efficiency. It’s a good idea to combine this with appropriate flashing materials, whether self-adhesive flexible or rigid vinyl options. The careful integration of these waterproofing and insulation elements guarantees optimal window performance, safeguards your home’s structural integrity, and contributes to reduced energy costs through improved thermal management.
Weatherstripping For Extra Protection
Beyond thorough sealing and insulation, weatherstripping serves as an essential defensive barrier for your window installation. When you’re selecting the right weatherstripping for different types of windows, it’s pivotal to get it right the first time to maximize your home’s curb appeal while reducing energy bills.
- Choose high-quality silicone or rubber materials that’ll withstand years of temperature fluctuations
- Measure precisely around each window frame to guarantee a perfect, airtight seal
- Install weatherstripping in conjunction with professional-grade caulking for superior moisture protection
- Conduct regular inspections to maintain peak performance and address any wear before it compromises efficiency
Don’t risk compromising your window installation’s effectiveness with subpar weatherstripping – contact us today for expert guidance on proper materials and installation techniques.
Adding Professional Finishing Details
Professional finishing details distinguish an expert window installation from an amateur job. When you’re investing in replacement windows, you’ll want to confirm these finishing touches enhance your window treatments and overall appearance. Professional installers apply high-quality caulking around the frame and siding, creating a weathertight seal that accommodates building movement.
During your replacement project, whether it’s standard or bay windows, installers will add interior moldings and casings to conceal raw edges and create a polished look. These professional finishing details not only improve aesthetics but also guarantee proper functionality. After completing the installation, your contractor will thoroughly clean the work area and review the finished product with you, explaining warranty details and proper operation. This attention to detail certifies a seamless, professional result that meets your expectations.
Frequently Asked Questions
What Is a Window Installation Process Step by Step?
Start with window frame preparation by removing old materials and cleaning surfaces. Apply window sealant around the rough opening, then insert shims. Install window flashing around the perimeter for waterproofing. Set the window and check it’s level. Use proper window insulation techniques in gaps. Secure the frame with screws. Complete window trim attachment, and finish with window caulking procedures for weathertight seals.
How to Choose a Window Installer?
You’ll want to evaluate window installation contractors based on several key factors. Start by checking their credentials and requesting detailed cost estimates. Review their project management approach and proposed timeline. Don’t forget to verify warranty coverage for both materials and labor. Compare quality ratings through customer reviews and ask for references from recent installations. Finally, guarantee they’re licensed, bonded, and insured before making your decision.
What Are the Methods of Window Installation?
You’ll encounter three primary window installation methods: new construction, retrofit, and sash replacement. New construction requires precise window frame positioning and thorough insulation options for ideal energy efficiency. Retrofit installations focus on window caulking techniques within existing frames, while sash replacement deals mainly with window hardware selection. Each method has distinct window maintenance requirements, and your choice should align with your home’s specific needs and energy performance goals.
How Much Does Lowe’s Charge to Install Windows?
You’ll find Lowe’s window installation costs range from $150 to $800 per window. The average window installation cost varies based on several factors affecting window installation pricing, including window size, material, and structural requirements. Lowe’s installation service quality is backed by their warranty, covering both materials and labor. When you’re ready, you can schedule your Lowe’s window installation appointment, and the typical window installation timeline is 1-2 days per project.