
Installing a storm door typically takes 2-4 hours for DIY homeowners, while professional contractors can complete it in 1-2 hours. You'll need basic tools like a power drill, level, and measuring tape, plus the installation kit that comes with your door. Your skill level and the condition of your door frame will impact completion time. Proper preparation, including accurate measurements and having all materials ready, can greatly reduce your installation timeline and help avoid common pitfalls.
Average Installation Time for Different Skill Levels
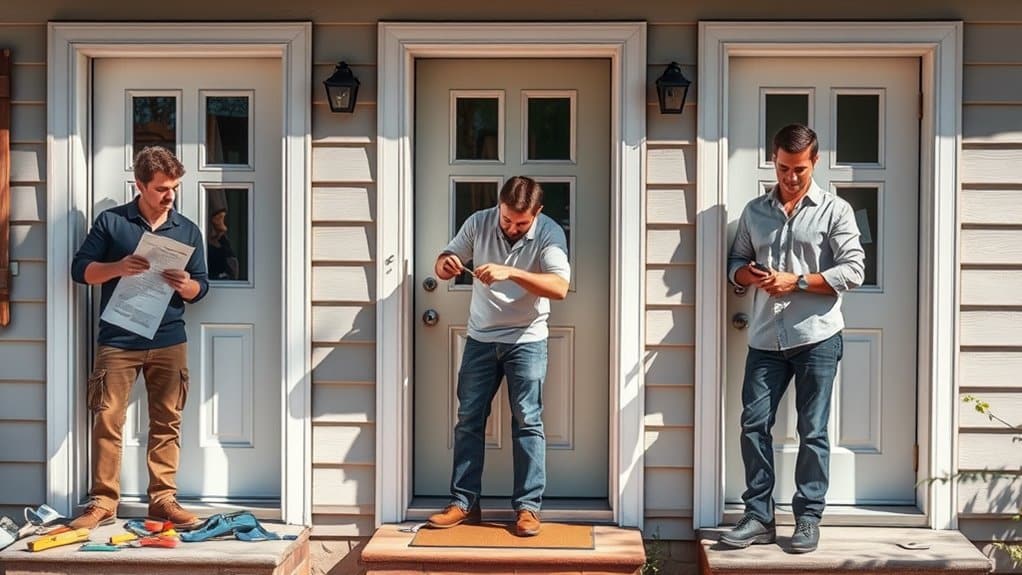
While installation times can vary greatly based on door type and existing frame conditions, most DIYers can expect to spend between 2-4 hours installing a storm door.
If you're a beginner, plan for 4-6 hours to complete the project, as you'll need extra time to read instructions and double-check measurements. Expert advice suggests that novice installers often encounter challenges with hinge alignment and proper weatherstripping installation. Professional contractors typically complete installations in 1-2 hours due to their specialized tools and extensive experience.
Your skill level considerably impacts completion time. Intermediate DIYers who've handled similar projects can usually finish in 3 hours. You'll work faster if you've pre-read instructions, organized tools, and cleared the workspace. Keep in mind that rushed installations often lead to problems with door operation and weathersealing.
Tools and Materials Needed for Storm Door Installation
Before starting your storm door installation project, gathering the right tools and materials will help you achieve those professional-level installation times.
You'll need a power drill with bits, phillips and flathead screwdrivers, level, tape measure, safety glasses, work gloves, and tin snips. Most storm door types come with installation kits containing door-specific hardware, but you'll also need silicone caulk, shims, and weatherstripping. Keep a utility knife, hammer, and pencil nearby for marking and adjustments.
If you're installing over brick or masonry, add a masonry drill bit and anchors to your toolkit. For wooden door frames, make certain you have wood screws that match your storm door's finish. Consider having a helper available, as positioning and securing certain storm door models can require extra hands.
Pre-Installation Planning and Measurements
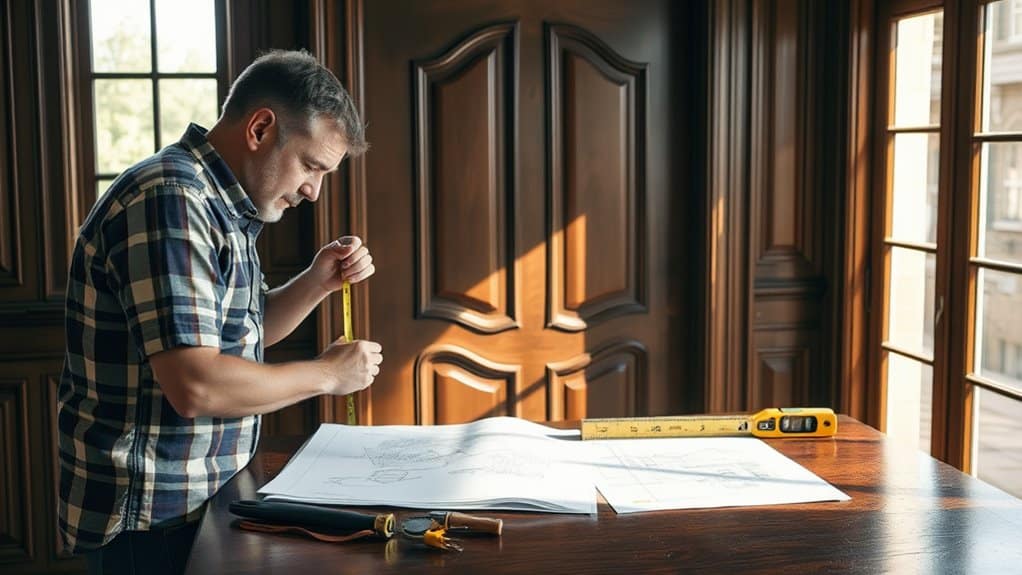
Before beginning your storm door installation, you'll need to take precise measurements of your existing door frame's width, height, and depth to guarantee proper fit and operation. Using a steel measuring tape, measure the frame at three points – top, middle, and bottom – and record the smallest measurement for each dimension. Standard storm door sizes typically range from 30 to 36 inches wide and 80 to 81 inches tall, so you'll need to match these measurements to the correct door size when purchasing.
Accurate Door Frame Measurements
Taking precise measurements of your door frame stands as the essential initial step in a successful storm door installation. You'll need to measure the width at three points: top, middle, and bottom of the opening, using professional measurement tools like a steel tape measure and carpenter's square. Record the smallest width measurement to guarantee proper fit.
For height measurements, check both sides of the frame from the threshold to the header, again using the smallest measurement. Common door frame types include brick mold, flush mount, and wood trim configurations – each requiring specific measurement considerations. You'll need to account for any irregular settling or warping in older frames. Measure the depth of your door jamb to confirm compatibility with your chosen storm door's Z-bar or mounting frame requirements.
Tools and Materials Needed
Once you've completed your measurements, gathering the right tools and materials will set you up for a smooth installation process. Different storm door types require specific tools, but you'll need these essential items regardless of your door's style or installation costs:
- Power drill with bits (1/8" and 3/16")
- Level, measuring tape, and pencil
- Screwdriver set (Phillips and flathead)
- Safety equipment (gloves, safety glasses)
You'll also need your purchased storm door kit, which typically includes the frame, door panel, hardware, weatherstripping, and installation manual. Consider having a rubber mallet, utility knife, and hacksaw nearby for potential adjustments. If you're installing over existing trim, you might need shims to guarantee proper alignment. Keep all components organized before starting to streamline the installation process.
Common Installation Challenges and Time-Adding Factors
When installing a storm door, you'll need to address out-of-square frames by using shims and adjustable hinges to guarantee proper alignment and operation. Environmental factors like high winds, extreme temperatures, or precipitation can greatly impact your installation timeline and working conditions. You'll also want to verify all components are present and undamaged before starting, as missing or defective parts can halt progress and require further supply runs.
Uneven Door Frame Issues
If your door frame isn't perfectly square, you'll need to address these irregularities before installing your storm door. Common door frame adjustments and leveling techniques can help you achieve the proper alignment necessary for a successful installation.
- Use a level and measuring tape to check all sides of the frame, marking any spots where the frame deviates more than 1/8 inch
- Install shims behind the mounting surface to compensate for gaps and create a level mounting plane
- Apply weatherstripping or foam tape to fill minor gaps between the storm door frame and the existing door frame
- Consider using an adjustable Z-bar frame kit for severely out-of-square openings
Remember that proper frame preparation can add 30-45 minutes to your installation time but will prevent future issues with door operation and weather sealing.
Weather and Site Conditions
Weather conditions and site accessibility greatly impact storm door installation time and complexity. You'll need to avoid installing during rain, high winds, or extreme temperatures, as these conditions can affect adhesives, weatherstripping, and proper alignment. Storm impact considerations require you to guarantee stable working conditions for precise measurements and secure mounting.
Site preparation becomes essential when dealing with limited workspace or challenging access points. You'll want at least 4 feet of clear space on both sides of the doorway for proper tool manipulation and component assembly. Check that your work area is well-lit and that you have stable footing on your ladder or work platform. Poor visibility, wet surfaces, or cramped conditions can double your installation time and compromise safety protocols during the process.
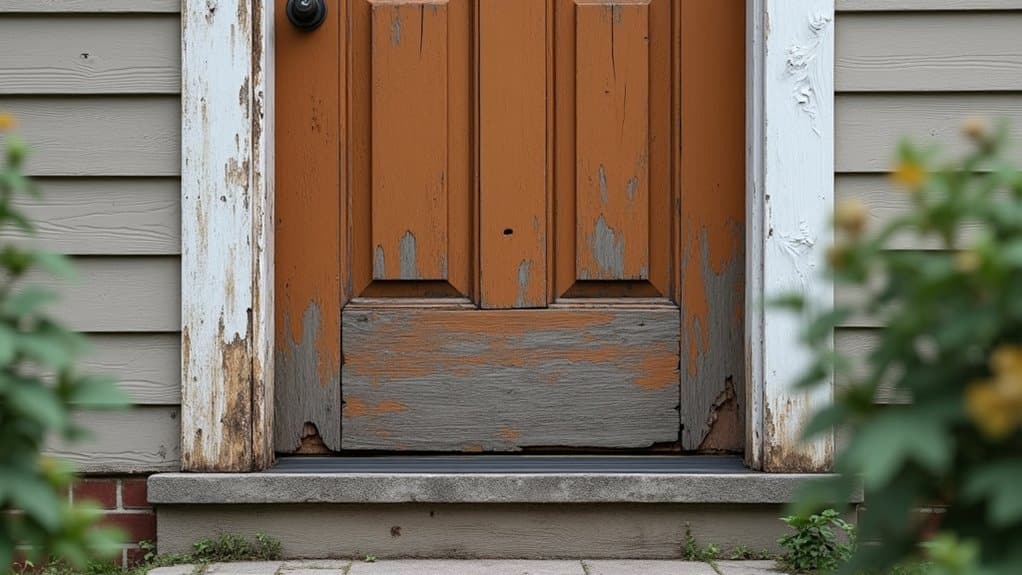
Missing or Damaged Parts
Opening your storm door package to find missing or damaged components can instantly extend your installation timeline. When you encounter this situation, you'll need to factor in extra time for obtaining replacement parts from the manufacturer or local supplier.
Common issues that delay installation due to missing parts or damaged components include:
- Z-bar or hinge-side frame components with visible dents or bends
- Missing hardware packages containing essential screws and brackets
- Damaged weatherstripping or sweep that requires replacement
- Cracked or chipped glass/screen inserts
Contact your door manufacturer immediately upon identifying these issues. Most reputable companies will expedite replacement parts, but you should anticipate 2-7 business days for delivery. Always inventory all components before beginning installation to avoid mid-project delays.
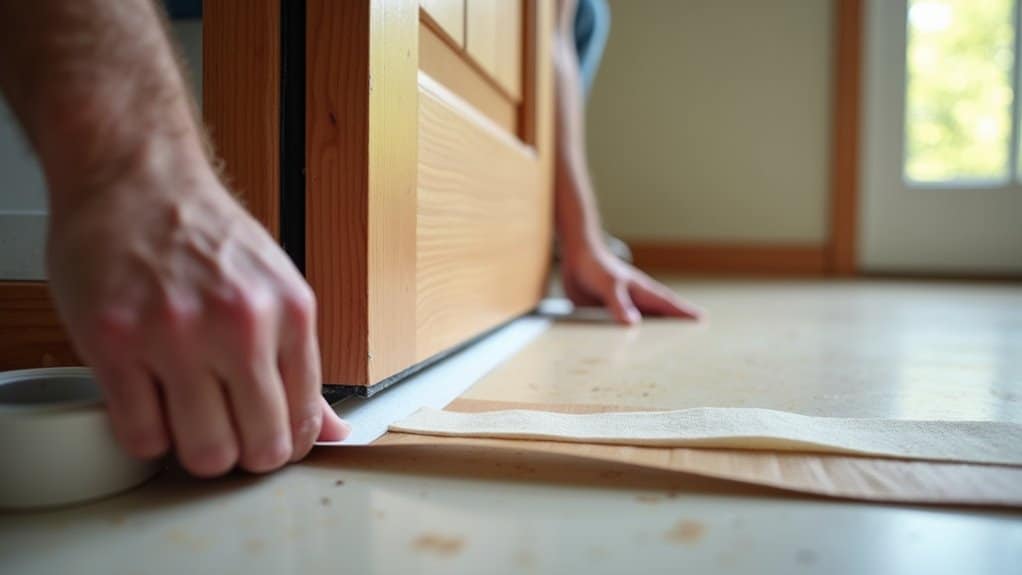
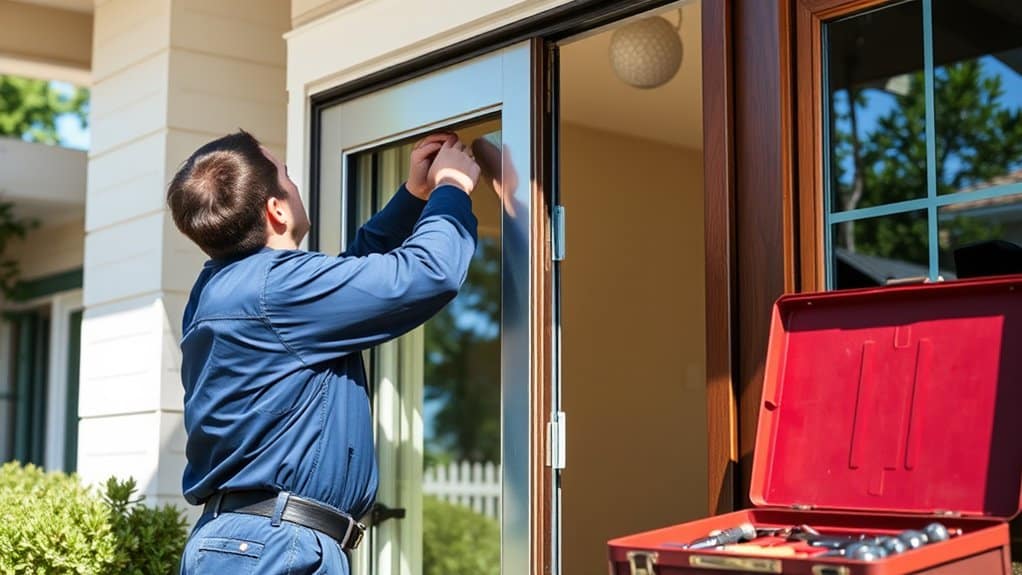
Steps in the Installation Process
The complete installation of a storm door involves six essential steps: measuring and verifying dimensions, assembling the frame components, installing the door sweep, mounting the hinge-side Z-bar, hanging the door, and securing the latch-side Z-bar.
Before you begin the installation techniques, you'll need to inspect and prepare the door frame. Remove any old hardware, fill holes, and confirm the mounting surface is level and plumb. You'll want to verify that your rough opening measurements match the door specifications, allowing for proper clearance on all sides.
Start by laying out all components and following the manufacturer's assembly sequence. Once you've completed the frame preparation, you can proceed with mounting the Z-bars and installing the door sweep. This systematic approach guarantees proper functionality and weathertight seal of your storm door.
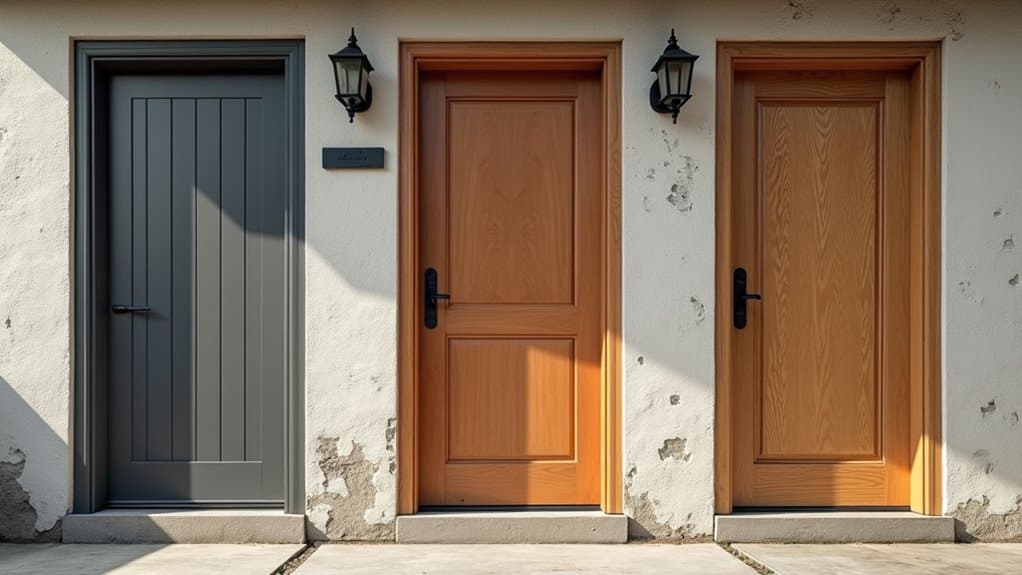
Installing Storm Doors in Different Door Frame Types
Since storm doors can be installed on multiple frame configurations, you'll need to adapt your installation approach based on whether you're working with a brick molding, aluminum, vinyl, or wood frame setup. Different storm door types require specific mounting techniques for ideal frame compatibility.
- Brick molding frames need Z-bar extensions and extra weatherstripping to guarantee proper sealing against the masonry surface
- Aluminum frames typically require self-tapping screws and may need shimming to achieve proper alignment
- Vinyl frames demand non-expanding foam insulation and careful screw placement to prevent frame warping
- Wood frames work best with pre-drilled pilot holes and exterior-grade screws to prevent splitting
Choose mounting hardware specifically designed for your frame material to guarantee a secure fit and maintain the door's weathertight seal.
Professional vs. DIY Installation Time Comparison
While professional installers can typically complete a storm door installation in 1-2 hours, DIY installations often require 3-4 hours for homeowners with basic tools and moderate experience. The time difference stems from professionals' specialized tools, refined techniques, and daily repetition of installation procedures.
One of the DIY advantages is learning the intricacies of your door's mechanics and saving on labor costs, though you'll need to factor in extra time for measuring, reading instructions, and potential adjustments. Professional expertise eliminates common pitfalls like misalignment, improper weatherstripping, and hardware positioning errors. They'll also complete essential steps like shimming, squaring, and weatherproofing with precision.
If you're considering DIY installation, set aside a full morning or afternoon to make sure you're not rushing through vital steps.
Tips to Speed Up Your Storm Door Installation
Preparation serves as the cornerstone of efficient storm door installation. To streamline your storm door project, you'll want to follow specific installation tips that minimize delays and complications.
- Pre-assemble hardware components and organize fasteners by installation step before beginning the mounting process
- Take precise measurements of your door frame's width, height, and depth to guarantee your storm door fits perfectly without adjustments
- Clear the workspace of obstacles and position your tools within arm's reach to maintain workflow momentum
- Use a cordless drill with pre-set torque settings to speed up screw installation without stripping
Keep your installation manual nearby and verify each step before proceeding. This methodical approach helps prevent backtracking and guarantees your storm door installation progresses smoothly from start to finish.
Post-Installation Adjustments and Testing
Once you've completed the main installation, proper adjustment and testing confirm your storm door functions at its finest. Make final adjustments to verify smooth operation and ideal performance.
| Component | Test Method | Required Action |
|---|---|---|
| Closer | Open/close test | Adjust tension spring |
| Latch | Lock engagement | Align strike plate |
| Weatherstrip | Visual inspection | Compress or replace |
| Door sweep | Gap check | Raise or lower |
| Hinges | Swing test | Tighten screws |
Test door functionality by opening and closing multiple times, checking for proper closure and seal. Verify the door doesn't slam shut or require excessive force to operate. Listen for unusual sounds that might indicate misalignment. Adjust the closer speed to prevent wind damage while maintaining easy access. If needed, fine-tune the door's position by shimming hinges or repositioning the frame.
Frequently Asked Questions
Can I Install a Storm Door if My Main Door Opens Outward?
You'll face challenges installing a traditional storm door if your main door swings outward, as it'll create clearance issues. However, you've got specialized storm door options designed for outward swing configurations. Consider retractable screens or adjustable-mount storm doors that can be installed with proper spacing. You'll need to guarantee at least 1-2 inches of clearance between doors. Consult a door professional to evaluate your specific setup and recommend compatible solutions.
Is It Possible to Reuse My Old Storm Door Hardware?
While it's possible to reuse storm door hardware, you'll need to verify compatibility with your new door's specifications. Carefully assess the condition of existing handles, closers, and hinges during hardware removal. If components show wear, corrosion, or damage, you're better off installing new hardware. Your old hardware's mounting holes and dimensions must also match the new door's design. For ideal performance and security, it's recommended to use manufacturer-provided hardware.
What's the Best Season or Weather Conditions for Installing a Storm Door?
You'll find the ideal conditions for storm door installation during mild, dry weather in spring or fall. These seasons offer perfect temperatures (50-70°F) and lower humidity, which helps guarantee proper adhesive curing and prevents warping. The seasonal advantages include comfortable working conditions and longer daylight hours. Avoid installation during extreme temperatures, rain, or high winds, as these conditions can affect the door's alignment and seal integrity during the installation process.
How Much Maintenance Does a Storm Door Require After Installation?
Your storm door requires minimal but regular maintenance to guarantee longevity. Perform monthly storm door cleaning using mild soap and water to remove dirt, pollen, and debris from glass, frame, and weatherstripping. Conduct quarterly hardware inspection to check hinges, closers, and handles for proper operation, applying silicone lubricant as needed. You'll also want to examine weatherstripping annually and replace if worn. In winter, adjust your door closer to prevent wind damage.
Can Storm Doors Be Installed on Sliding Glass Doors?
Traditional storm door types aren't compatible with sliding glass doors. Instead, you'll need to contemplate specialized sliding glass door alternatives, such as sliding storm panels or retractable screen doors designed specifically for sliding door configurations. These systems mount on either the interior or exterior track of your existing sliding door frame. For proper protection, you can opt for heavy-duty sliding storm panels that offer similar benefits to standard storm doors.