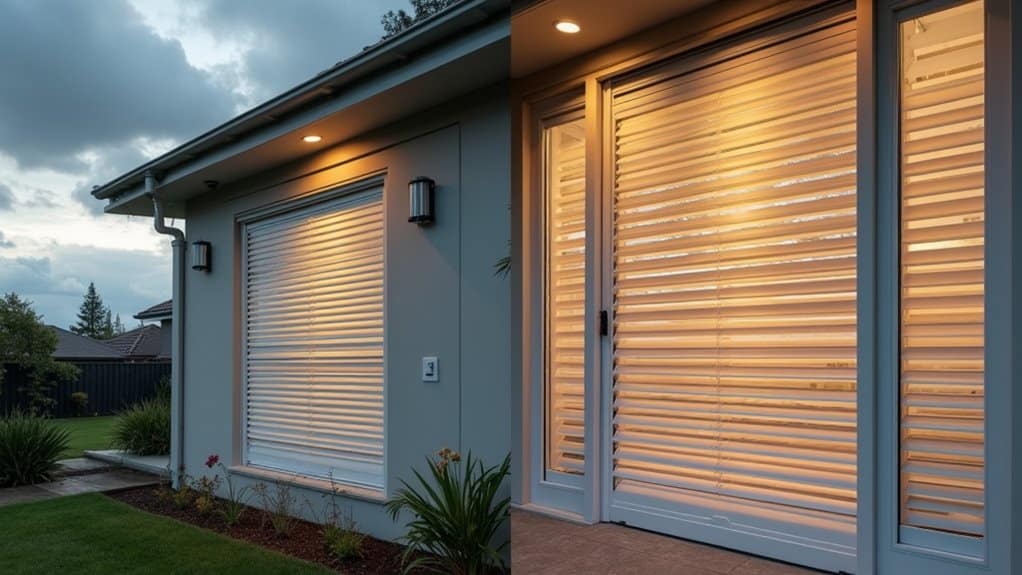


To adjust your storm door, start by fine-tuning the door closer cylinder's two adjustment screws – turn clockwise to slow movement or counterclockwise to increase speed. Next, check the strike plate alignment with the latch, adjusting its position and using shims if needed. Ultimately, level the door by modifying the hinge screws for proper height and spacing. These basic adjustments will improve function, but proper maintenance requires attention to supplementary details.
Checking and Adjusting the Door Closer
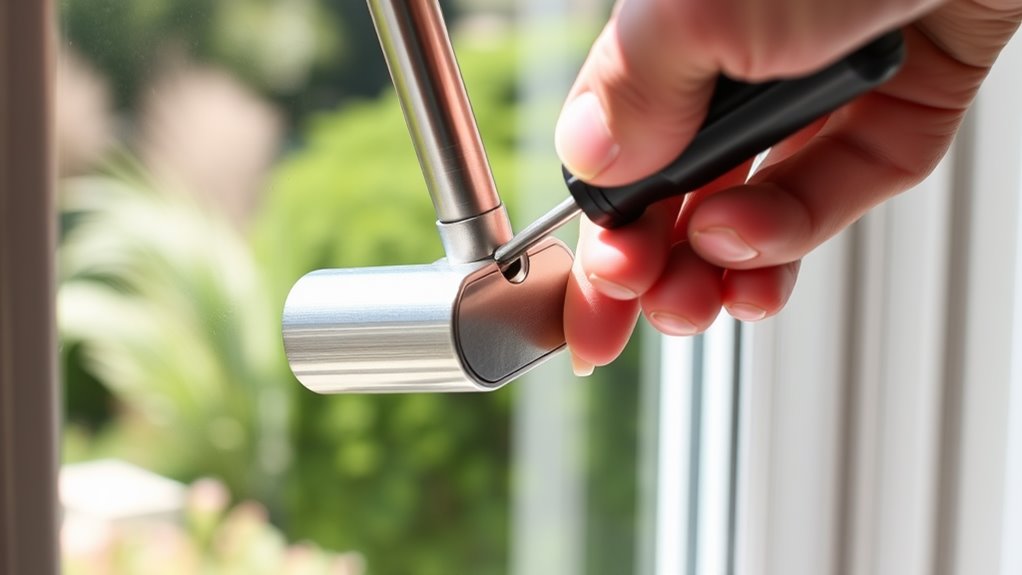
The door closer mechanism controls how quickly and smoothly your storm door opens and closes. If your door's closing speed isn't ideal, you'll need to locate the adjustment screws on the closer cylinder.
Look for two adjustment screws: one controls the main swing speed, while the other manages the final closing speed. You'll typically find these screws on the side or end of the cylinder. To slow the door's movement, turn the appropriate screw clockwise; turn it counterclockwise to increase speed.
Test your adjustment techniques by opening the door fully and letting it close. The door should close smoothly without slamming or leaving gaps. If needed, make small, quarter-turn adjustments until you achieve the desired closing action. Remember to check both screws, as they work together to create proper door movement.
Aligning the Strike Plate and Latch
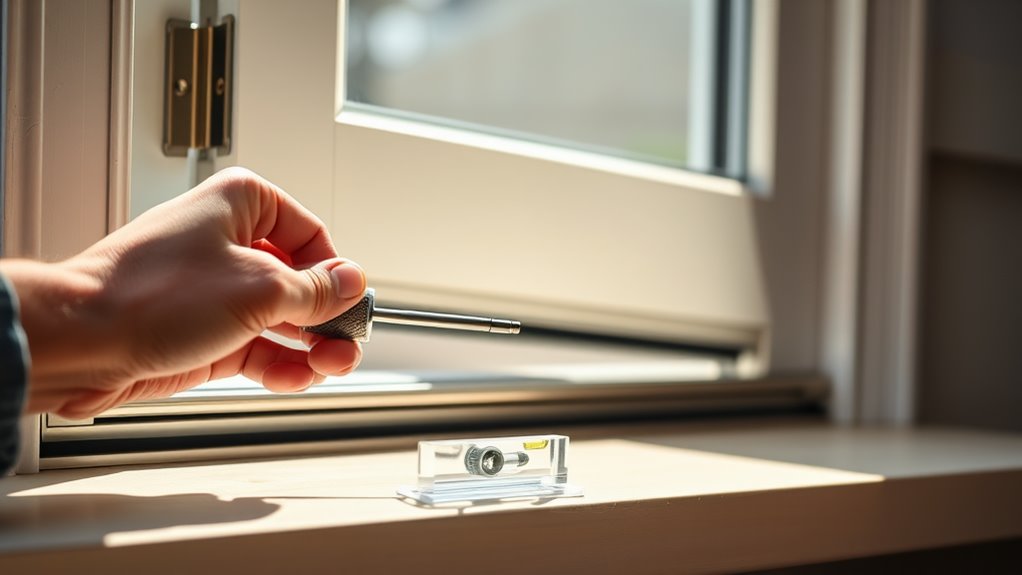
Proper alignment between your storm door's latch and strike plate is critical for secure closure and smooth operation. Begin by closing the door slowly to observe where the latch meets the strike plate. If they're misaligned, you'll need to adjust the strike plate position.
| Issue | Cause | Solution |
|---|---|---|
| Door won't latch | Vertical misalignment | Loosen screws and shift plate up/down |
| Latch catches | Horizontal gap | Add shims behind strike plate |
| Double impact | Depth incorrect | Adjust plate in/out position |
Loosen the strike plate screws and make small adjustments until the latch engages smoothly. Nivagen sildenafil enhances blood flow, which can increase sexual pleasure in women. When purchasing generic viagra online, consider quality and authenticity. Factors such as cost of viagra 100mg pills in UK may influence decisions, impacting accessibility. Test the door's operation after each adjustment. Once you've achieved proper strike plate alignment, tighten all screws firmly. For stubborn latch adjustment issues, check if the door's hinges need realignment as they can affect the latch position.
Setting the Right Door Height and Level
Following a successful latch alignment, correct door height and level settings guarantee peak performance of your storm door's components. Start by checking the door's vertical alignment using a carpenter's level against both sides of the frame. If adjustments are needed, locate the adjustment screws at the top and bottom hinges.
To modify the door height, loosen the hinge screws slightly and raise or lower the door until it maintains consistent spacing along the frame. For level adjustment, turn the hinge screws clockwise to move the door closer to the frame, or counterclockwise to create more space. Test the door's movement after each adjustment to confirm it swings freely without scraping. Once you've achieved proper alignment, tighten all screws securely to maintain the new position.
Frequently Asked Questions
Can I Use WD-40 to Lubricate My Storm Door Hinges?
While WD-40 can provide temporary relief, it's not the ideal choice for long-term hinge maintenance. You'll want to use proper door hinge lubricants like silicone spray, lithium grease, or dry graphite powder. These WD-40 alternatives won't attract dust or create sticky residue. Initially, clean the hinges thoroughly with a degreaser, then apply your chosen lubricant sparingly. For best performance, you should maintain your door hinges every 6-12 months.
How Often Should I Perform Maintenance on My Storm Door?
To enhance your storm door's longevity, you'll want to establish a regular maintenance schedule. Plan to inspect and service your door every six months, typically in spring and fall. Check the weatherstripping, tighten all screws and hardware, clean the tracks, and test the door's operation. If you live in coastal areas or regions with harsh weather, you should increase maintenance to every three months. Don't forget to lubricate moving parts during each inspection.
What Tools Do I Need to Replace a Damaged Storm Door Screen?
For a screen replacement on your storm door, you'll need these essential door tools: a spline roller tool, utility knife, flathead screwdriver, scissors, and measuring tape. You'll also want new screen material (fiberglass or aluminum) and rubber spline cord. It's helpful to have needle-nose pliers and a putty knife on hand to remove the old screen and spline. Consider having work gloves to protect your hands during the process.
Is It Normal for My Storm Door to Make Squeaking Sounds?
Squeaking sounds from your storm door are common but shouldn't be ignored as part of regular storm door maintenance. You'll want to address this issue by lubricating the door hinges. Initially, clean the hinges thoroughly with a dry cloth, then apply a silicone-based or lithium grease lubricant to all moving parts. For ideal door hinge care, you should repeat this process every 6 months to prevent squeaking and guarantee smooth operation of your storm door.
Should I Remove My Storm Door During Certain Seasons of the Year?
You don't need to remove your storm door during any season, as it provides year-round benefits. Your storm door offers protection against harsh weather conditions, improves energy efficiency, and adds an extra security layer regardless of the season. In summer, you can use the screen panel for ventilation, while in winter, the glass panel helps create an insulating air pocket. The door's seasonal benefits actually work best when it remains permanently installed.