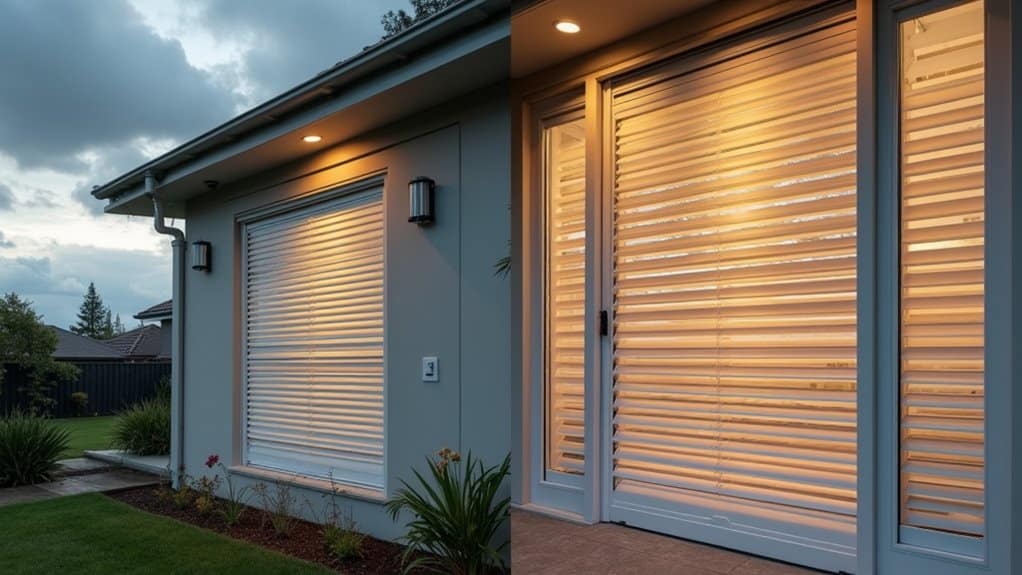

To adjust your storm door closer, start by identifying the adjustment screw on the cylinder body. Next, gather safety gear and basic tools like screwdrivers and an adjustable wrench. Turn the adjustment screw clockwise to slow the door's closing speed or counterclockwise to speed it up. Test the door's movement after each quarter turn. Set the hold-open washer if desired. For peak performance, you'll want to investigate supplementary fine-tuning techniques.
Understanding Your Door Closer Components

Before adjusting your storm door closer, familiarize yourself with its main components. The two most common door closer types are pneumatic and hydraulic systems. The pneumatic closer uses compressed air, while the hydraulic version operates with fluid pressure.
Your door closer assembly consists of a main cylinder body, mounting brackets, and an adjustable pin. The cylinder contains either air or hydraulic fluid, depending on your model. You'll find connecting rods that link the closer to both the door frame and the door itself. Most installation tips recommend locating the jamb bracket about 6 inches from the top of the door frame.
The adjustment mechanism typically includes a small release valve or adjustment screw that controls closing speed. Some models feature dual adjustment points for both closing and latching speeds.
Safety Precautions and Required Tools
While adjusting a storm door closer is generally straightforward, proper safety measures and tools are essential for the task. You'll need basic safety gear including safety glasses to protect against metal shavings and work gloves to prevent cuts from sharp edges.
For tool selection, gather a Phillips head screwdriver, flathead screwdriver, and adjustable wrench. You might also need needle-nose pliers for handling small components and a drill with bits if you're installing new hardware. Keep a small level handy to guarantee proper door alignment during adjustments.
Before beginning, confirm you're working on a stable surface and the door is properly secured. If you're using a stepladder to reach higher areas, verify it's positioned on level ground and locked in place.
Adjusting the Closing Speed

Once you've identified the closing speed adjustment screw on your storm door closer, you'll need to make precise adjustments to achieve the desired door movement. Use a flathead screwdriver to turn the adjustment screw clockwise to increase closing resistance or counterclockwise to decrease it. Test the door's movement after each quarter turn.
Check the door alignment as you adjust the speed to guarantee it closes properly within the frame. A properly adjusted door should take 4-6 seconds to close completely from a 90-degree angle. If the door slams, increase the resistance; if it moves too slowly, decrease it. Make incremental adjustments until you achieve smooth, controlled closure without slamming or dragging. Consider weather conditions when setting the final speed, as wind can affect the door's movement.
Setting the Hold-Open Function
Many storm door closers feature a convenient hold-open function that keeps your door propped at a desired angle. To engage this mechanism, locate the small washer or tab on your door closer's cylinder. You'll need to slide this hold-open mechanism to the "hold" position, typically marked on the closer tube.
Test the setting by opening your door to about 90 degrees. The door should now stay open without swinging closed. If it doesn't hold, check your door closer settings and verify the washer is properly positioned. To disengage the hold-open function, simply return the washer to its original position. Some models require you to push a button or flip a lever instead of sliding a washer. Always consult your specific closer's manual for the exact method.
Testing and Fine-Tuning Your Adjustments

After making your adjustments, you'll need to systematically test the door closer's performance through multiple trials. Open and close the door at varying speeds to evaluate its movement and stopping points. Note any inconsistencies in the door's operation.
Apply these testing techniques to verify proper functionality: Check if the door closes completely without slamming, confirms it stays open when the hold-open feature is engaged, and guarantees smooth operation throughout its full range of motion. If you notice any issues, implement fine-tuning methods by making minor adjustments to the closing speed screw or hold-open washer.
Test the door's performance in different weather conditions, as temperature and humidity can affect its operation. Make incremental adjustments until you achieve the ideal balance of speed, control, and reliability.
Frequently Asked Questions
How Long Does a Typical Storm Door Closer Last Before Needing Replacement?
You'll typically get 5-10 years from your storm door closer with proper storm door maintenance. The door closer lifespan varies based on usage frequency, weather exposure, and maintenance quality. You'll know it's time for replacement when you notice delayed closing, inconsistent speed, or fluid leaks. High-quality closers can last longer if you're regularly lubricating the moving parts and protecting them from extreme temperatures.
Can I Switch My Door Closer From Left-Hand to Right-Hand Mounting?
Yes, you can switch your door closer's mounting orientation from left to right-hand installation. Most modern door closers are designed to be reversible. You'll need to remove the existing closer, rotate it 180 degrees, and reinstall it on the opposite side. However, make certain your closer model is compatible with this conversion, as some older or specialized units are side-specific. Always consult your manufacturer's manual before attempting the switch.
Why Does My Storm Door Slam Even After Adjusting the Closer?
During door closer troubleshooting, your storm door might still slam due to several factors. You'll want to check if the closer's air pressure is properly set – too little resistance causes slamming. Also, make certain you've installed the proper size closer for your door's weight and width. As part of storm door maintenance, verify that the closer's mounting brackets are tight and the door's hinges aren't loose. Weather conditions can also affect closer performance.
What Causes the Door Closer Bracket to Become Loose Over Time?
Your door closer bracket can become loose due to several mechanical factors. Regular door wear from frequent opening and closing creates vibrations that gradually loosen screws and mounting hardware. Installation issues, such as improperly sized screws or misaligned brackets, accelerate this loosening process. You'll also find that temperature changes cause expansion and contraction of materials, while the door's weight and momentum place constant stress on the bracket's connection points.
Is It Normal for Door Closers to Make Squeaking Noises in Cold Weather?
Yes, it's normal for door closers to squeak during cold weather. The low temperatures can cause the hydraulic fluid inside to thicken, creating friction between metal components. You'll notice these squeaking sounds most often when temperatures drop below freezing. For squeaking solutions, you can apply a silicone-based lubricant to the closer's moving parts, but avoid oil-based products as they can attract dirt and deteriorate rubber seals.