

To fix a sagging storm door, start by tightening all hinge screws on both the door and frame sides using a screwdriver. Next, adjust your door closer's tension by turning the adjustment screw clockwise in quarter-turn increments until the door swings smoothly. Ultimately, check the frame's alignment with a carpenter's square and insert shims if needed to square up the frame. Following these key steps will help you tackle more complex door issues.
Inspect and Tighten Door Hardware
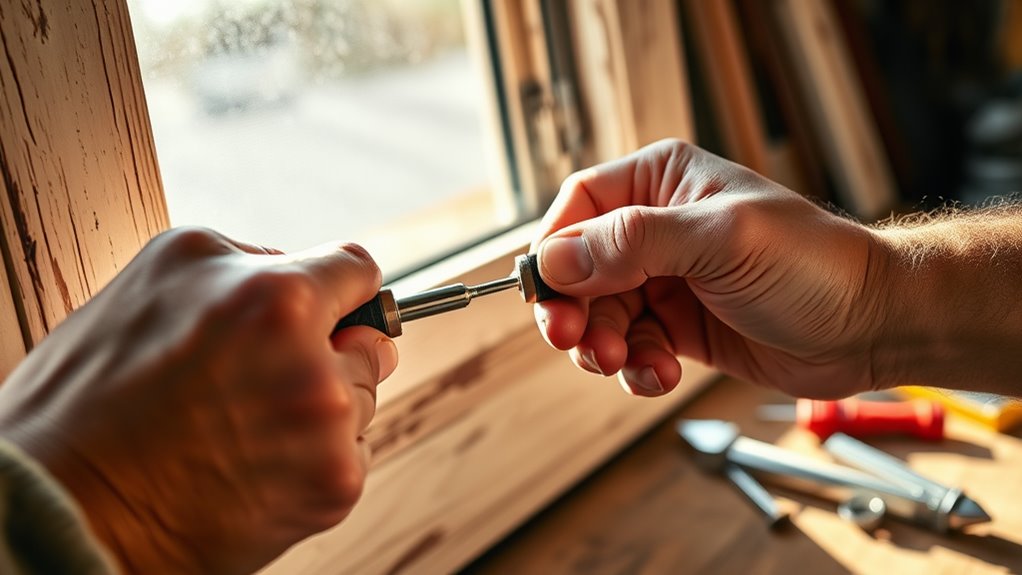
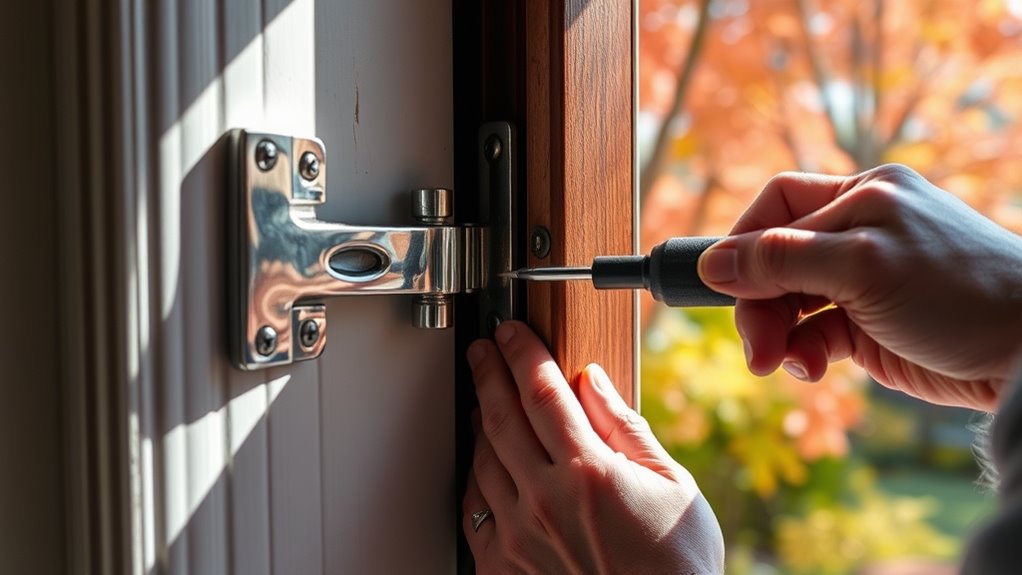
Three key pieces of hardware require thorough inspection on a sagging storm door: hinges, mounting screws, and the pneumatic closer.
Check each hinge bracket for loose mounting screws using a screwdriver – you'll need to test both the door frame side and door side connections. If you find any loose door hardware, tighten them immediately with the appropriate screwdriver size to guarantee proper grip. Don't overtighten, as this can strip the screws.
One of the most important maintenance tips is examining the pneumatic closer's mounting points. Verify that both the jamb bracket and door bracket are securely fastened. The closer should move smoothly through its full range of motion without binding. If you identify worn or damaged hardware components during inspection, replace them with matching parts rated for your door's weight and size.
Adjust the Door Closer and Striker Plate
Two critical adjustments can resolve most storm door sagging issues: the door closer's tension and the striker plate's position. The door closer, mounted at the top, controls the door's closing speed and alignment. The striker plate needs precise positioning to guarantee proper latching.
A properly adjusted door closer and striker plate are the key elements in preventing a storm door from sagging.
To make these essential adjustments:
- Turn the door closer's adjustment screw clockwise to increase tension, testing the door's swing after each quarter turn until it closes smoothly without sagging.
- Loosen the striker plate screws and shift it up or down by 1/8-inch increments until the latch catches securely.
- Test the door's operation by opening it to 90 degrees – it should close completely without binding or requiring extra force.
If these adjustments don't solve the problem, you'll need to check the hinges or frame for further issues.
Realign the Door Frame and Hinges
A misaligned door frame or loose hinges often cause persistent sagging issues that simple closer adjustments can't fix. To realign your door frame, start by checking each corner with a carpenter's square to identify where the frame has shifted. If you find misalignment, loosen the mounting screws and insert wooden shims until the frame is perfectly square.
Next, inspect the hinge alignment by measuring the gaps between the door and frame at multiple points. You'll need to loosen the hinge screws and adjust their position if the gaps aren't uniform. Replace any stripped screws with longer ones, and if the screw holes are worn, fill them with wooden dowels and wood glue before re-drilling. Once you've achieved proper alignment, tighten all hardware securely and test the door's operation.
Frequently Asked Questions
How Often Should I Perform Maintenance on My Storm Door?
You should perform storm door maintenance every 6 months, with more frequent checks during heavy-use seasons. Plan your door upkeep frequency around spring and fall to guarantee peak performance. Check the weatherstripping, hinges, and closer mechanism monthly during winter when temperature changes affect door alignment. Lubricate moving parts quarterly, and tighten all fasteners during your bi-annual inspection. Regular cleaning of tracks and sweeps is essential between major maintenance sessions.
Can I Replace the Weatherstripping Myself to Prevent Sagging?
Yes, you can replace weatherstripping yourself, and it's a practical DIY project. You'll need proper weatherstripping materials, typically foam tape or vinyl strips, available at hardware stores. Measure your door's perimeter precisely, and cut the new weatherstripping to fit. When installing, clean the surface thoroughly and apply in temperatures above 50°F. Press firmly to guarantee proper adhesion, and test the seal by closing the door. You'll notice improved performance immediately.
What Tools Do I Need to Fix a Sagging Storm Door?
You'll need a basic set of tools for proper door installation and hinge adjustment. Gather a Phillips head screwdriver, flathead screwdriver, power drill with bits, level, tape measure, and adjustable wrench. If you're replacing hinges, you'll also want a socket set. Don't forget safety equipment like work gloves and safety glasses. For precision adjustments, keep a small wooden shim handy to test the door's alignment during repairs.
Is It Better to Repair or Replace a Severely Sagging Door?
When your storm door sags severely, you'll need to weigh repair benefits against replacement costs. If the door's frame remains structurally sound and the sag is less than 1/2 inch, repairs costing $50-100 make sense. However, if you're seeing gaps larger than 3/4 inch or significant frame damage, you'll get better long-term value from a full replacement ($200-400), which includes updated weatherstripping and hardware.
How Much Does Professional Storm Door Repair Typically Cost?
Professional storm door repair typically costs between $150-$350, but you'll pay more if you need complete storm door installation, which ranges from $300-$800. These prices include labor and basic door hardware options. Your final cost depends on factors like door type, repair complexity, and materials needed. If repairs exceed $400, you'd often be better off investing in a new installation, especially considering modern storm doors offer improved energy efficiency and security features.