
Inspecting and Preparing the Rough Opening
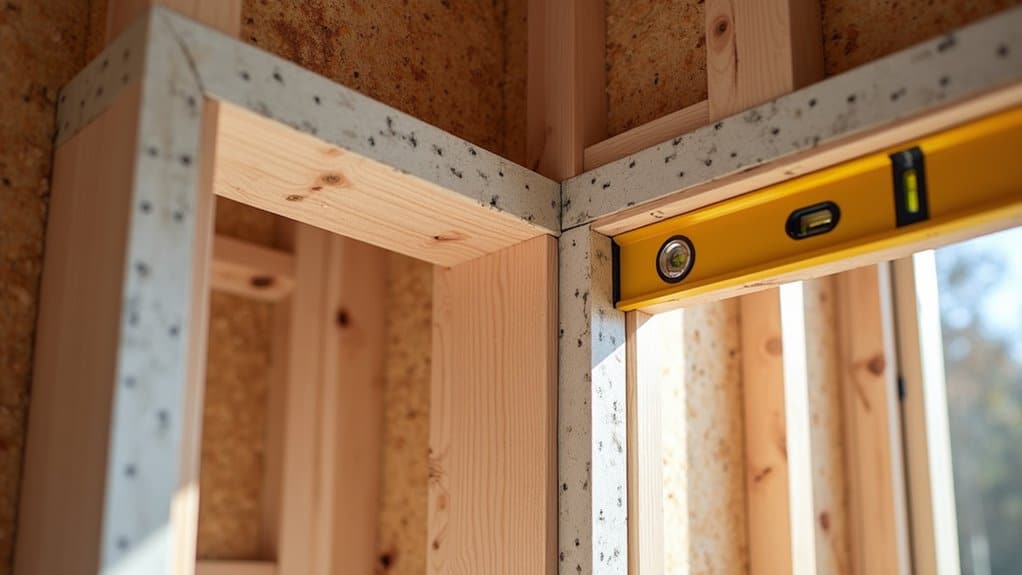
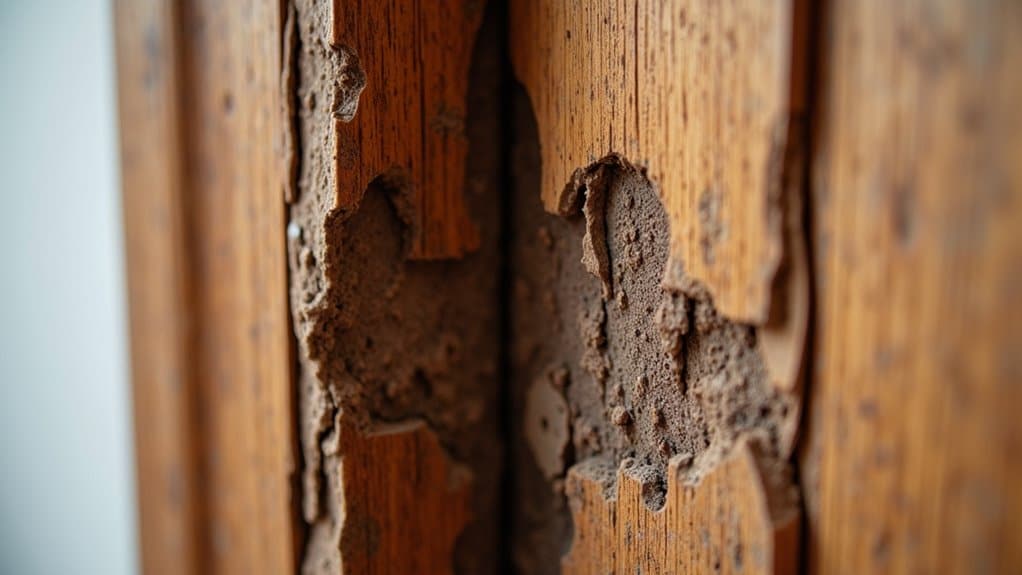
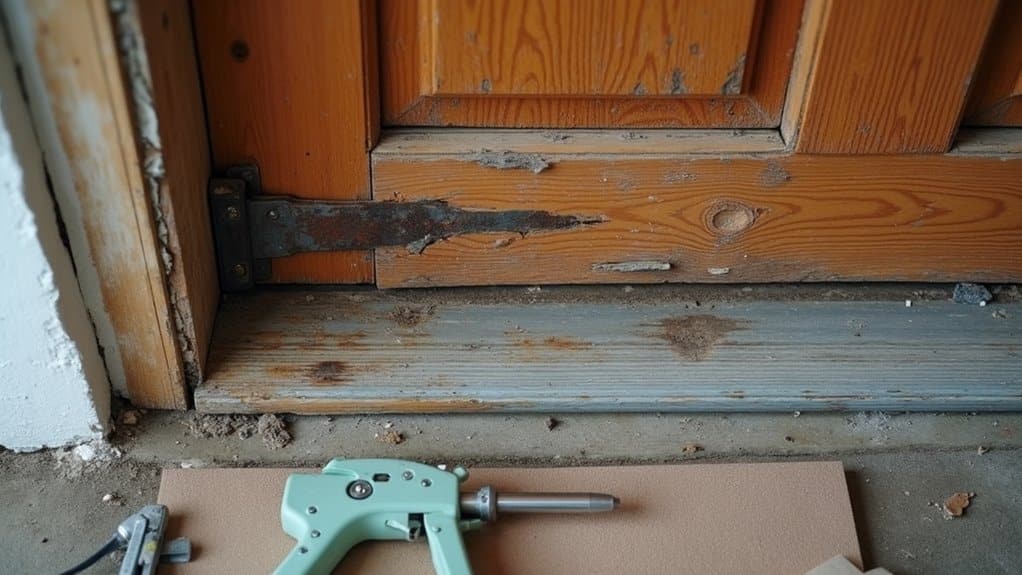
Before you install a severe-weather door frame, you’ll need to inspect and prepare the rough opening with precision to verify proper fit, weatherproofing, and structural compliance. Start with a structural integrity assessment of existing framing, checking for grade-stamped lumber and proper stud spacing. Measure opening dimensions to confirm they’re 1/2″ to 2″ wider and 2½” higher than the door slab. Verify squareness by comparing diagonal measurements, deviation shouldn’t exceed 1/4″. Confirm level and plumb tolerance at 1/8″ to 1/4″ maximum. Inspect the sill area for crowning or sagging that could compromise water sealing. Consider door location considerations regarding thermal expansion, finished floor height, and threshold placement. Take measurements at the top, middle, and bottom of the opening width and use the smallest number to ensure proper frame fit. Ensure all support boards are level to prevent water pooling and structural stress on the frame. Remember that rough opening size allows for variations in door size between manufacturers and accommodates expansion and contraction of the wall due to humidity and temperature changes. Clear the opening of obstructions and verify no electrical, plumbing, or mechanical systems interfere with installation.
Positioning the Frame and Installing Shims
Once you’ve verified the rough opening’s dimensions, squareness, and structural integrity, you’re ready to position the frame and install shims, the foundation for weathertight performance.
Set the frame plumb, level, and square using a 6-foot level along both hinge and latch sides. Position it against the interior wall face to optimize structural protection. Insert water-resistant shims in pairs from opposite sides, starting at top hinge, then bottom hinge, strike plate, and midpoint locations. Securing shim integrity requires gradual build-up using 1/16″ to 1/4″ thickness increments, preventing frame distortion.
Maintain consistent reveal around the perimeter for proper weatherstripping contact. Seal under shims at sill and threshold with compatible waterproofing compound, minimizing moisture intrusion. Properly aligned shims prevent drafts and sealing gaps that would otherwise allow cold air infiltration and water damage. Verify unsupported stability before fastener installation and test door swing for binding-free operation.
Securing the Frame With Fasteners
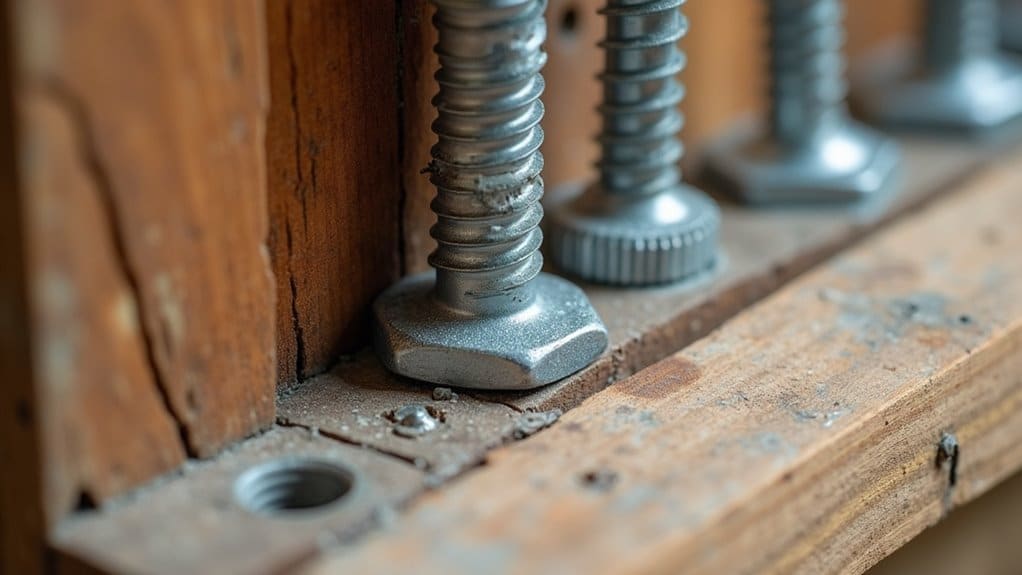
Because your door frame’s performance under severe weather depends entirely on fastener quality and placement, you’ll need to select corrosion-resistant materials, stainless steel or galvanized fasteners that won’t rust in wet conditions, and hurricane-rated ties or framing anchors if you’re in storm-prone areas. Space fasteners 8, 12 inches apart along each jamb to distribute loads evenly. Position additional fasteners behind the strike plate for improved security against lateral wind forces. Install 8d or 10d finish nails for deep wood penetration and superior hold strength. Pre-drill pilot holes to prevent splitting, then countersink fasteners 1/16 inch below the surface. Apply weatherproof putty over countersunk heads for corrosion prevention techniques. Use three-inch screws on the strike plate to anchor the lock and maximize resistance to forced entry. Check door operation after initial fastening, adjusting as needed before final fastener set to guarantee impact resistance strategies remain effective.
Insulating and Sealing Interior Gaps
You’ll trim excess shim material flush with the interior frame edge to establish a clean, even surface for insulation application. Next, you’ll apply expanding foam insulation into all gaps between the frame and rough opening, allowing it to cure fully before trimming any overflow. Using foam insulation strips to fill any remaining gaps will further enhance the door frame’s ability to prevent drafts and maintain energy efficiency. Consider installing weatherstripping on the door jamb to create an additional seal that prevents air infiltration and improves overall weather resistance. For gaps wider than 1/4 inch, insert a foam backer rod to provide proper support for the sealant and ensure a durable weatherproof seal. Ultimately, you’ll install interior trim to conceal the insulation and create a finished, weather-resistant seal around the door frame perimeter.
Trimming Excess Shim Material
Three primary concerns drive the trimming process: excess shims protruding beyond the wall surface degrade finish quality, compromise the seal’s integrity, and create uneven surfaces that’ll reject caulk and trim materials.
You’ll achieve ideal results through systematic trimming:
- Use a utility knife for precision cuts without disturbing frame alignment
- Perform level check inspection to verify door plumb and operation remain unaffected
- Leave shims slightly inset to prevent future trim bulging or caulk cracking
Flush shim adherence directly facilitates superior caulk and trim adherence for weatherproofing performance. This methodical approach eliminates pathways for air and moisture infiltration while maintaining structural integrity. Properly trimmed shims establish the foundation for continuous airtight barriers essential in severe weather installations. Silicone weatherstripping materials should be installed along door edges after shim trimming to ensure optimal sealing performance and long-term durability against weather exposure.
Applying Foam Insulation Properly
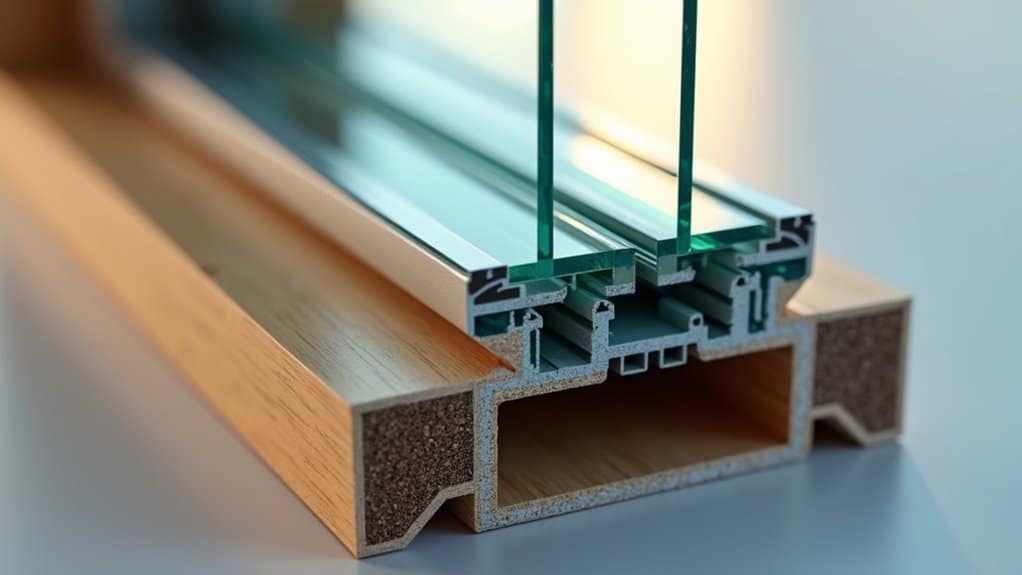
Proper foam insulation application directly determines the airtightness and thermal performance of your severe weather door installation. You’ll select closed-cell polyurethane foam for superior R-value and moisture resistance, guaranteeing low-expansion formulations that won’t stress your frame structure.
| Parameter | Requirement | Impact |
|---|---|---|
| Can Temperature | Minimum +10°C | Ensures proper curing |
| Humidity Range | 20, 50% | Optimizes foam expansion |
| Surface Preparation | Clean, dry, dust-free | Enhances adhesion |
| Application Rate | Continuous bead, 3mm height | Minimizes voids |
| Cure Time | Full hardening before trimming | Prevents deformation |
You’ll shake the foam can thoroughly for 30 seconds, then apply controlled bead along frame-to-wall gaps. Maintaining proper surface preparation by ensuring the frame is clean and dust-free will significantly enhance the adhesion and effectiveness of the foam insulation. Maintain controlled curing conditions by monitoring temperature and humidity. Avoid overfilling, foam expands considerably. Once cured, trim excess material flush before installing interior trim and complementary weatherstripping. Always wear protective gear when handling foam insulation to prevent skin irritation and respiratory exposure during application.
Curing and Interior Trim
Once your foam insulation’s cure time completes, typically 24 hours at suitable temperature and humidity conditions, you’re ready to address interior gaps and sealing. Interior trim curing requires systematic methodology to guarantee durability against severe weather penetration.
- Apply continuous caulk beads along all visible cracks between frame and wall, using painter’s tape for clean lines and professional interior trim finishes
- Smooth caulk applications with a caulk tool to create uniform seals that improve adhesion and prevent moisture infiltration. Consider using weatherstripping materials in addition to caulk for enhanced protection against drafts and moisture in high-traffic door areas.
- Allow caulk to cure per manufacturer specifications before exposing sealed areas to moisture or operational stress
Position trim components to overlap properly and direct any residual moisture away from structural elements. Before final inspection, ensure expanding foam fills all gaps between the frame and opening to provide maximum insulation and weather resistance. Verify all interior sealing connections remain protected throughout installation, establishing an extensive weatherproofing system that safeguards your door frame against environmental stress.
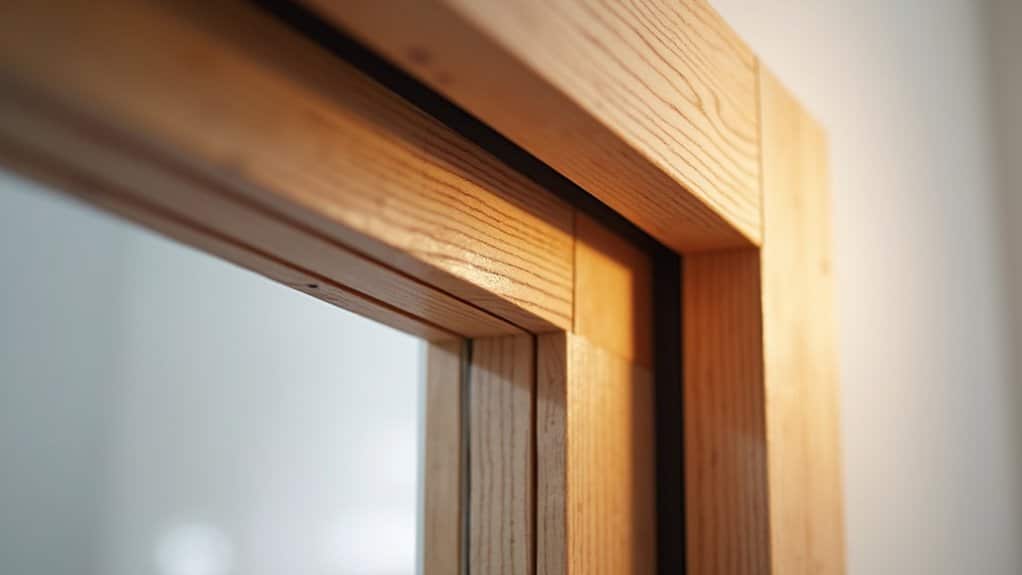
Installing Exterior Trim and Weatherproofing
How you protect your door frame’s exterior determines whether it’ll withstand severe weather or succumb to moisture infiltration and decay. You’ll start by selecting rot-resistant materials like PVC or composite trim, then install self-adhesive flashing tape lapping 6 inches up the rough opening. A pre-formed door pan directs water away from the sill, while a drip cap guarantees wind-driven rain at the header is prevented.
Remove deteriorated caulk before applying 100% silicone or polyurethane sealant along all trim-to-siding joints. Tool beads smooth, eliminating gaps. For sealant maintenance, you’ll inspect annually and renew as needed to preserve that watertight barrier.
Use closed-cell foam and backer rods for gaps, then paint or stain all trim sides, including cut ends, before installation. Premium exterior finishes with UV inhibitors safeguard superior finish longevity against harsh conditions.
Adding Weatherstripping and Thresholds

Your door’s weather resistance depends on sealing the gaps between the frame, door, and threshold, areas where drafts, moisture, and pests penetrate most readily.
When selecting appropriate weatherstripping materials, evaluate durability against your climate demands. V-strip tubing suits high-traffic doors, while spring bronze works for period homes. Install weatherstripping on dry days above 50°F after thoroughly cleaning surfaces.
Thresholds bridge interior-exterior gaps effectively. Consider these installation priorities:
- Choose adjustable aluminum thresholds for uneven floors and superior corrosion resistance
- Apply weatherstripping from top-down, pressing firmly to ascertain the elimination of gaps
- Seal threshold perimeters with caulk to prevent water infiltration
Maintaining weatherstripping and thresholds requires annual inspections. Replace degraded materials promptly, felt lasts one to two years, while foam degrades under heavy use. This systematic approach guarantees sustained weather protection.
Testing and Finalizing Door Operation
You’ll verify that your weatherstripping maintains consistent contact with the door edge throughout its swing arc, eliminating gaps that compromise thermal and moisture performance. Next, you’ll systematically adjust hardware components, locks, strikes, and handles, ensuring smooth operation without binding or excessive play that could compromise sealing integrity. These adjustments directly support the door assembly’s ability to perform under the severe weather conditions it’s engineered to withstand.
Weatherstripping Installation and Alignment
Once weatherstripping’s initial placement is complete, systematic testing becomes essential to verify proper alignment and seal integrity before finalizing installation. You’ll employ multiple validation methods to confirm performance:
- Visual inspection: Close the door slowly while observing for drag, resistance, or binding that indicates misalignment requiring repositioning.
- Gap detection: Inspect the perimeter for visible light leakage, identifying sections needing adjustment before securing final fasteners.
- Pressure verification: Touch-test compression uniformity along all sides, ensuring consistent seal without over-tightening that compromises door operation.
Your securing methods for mechanical weatherstripping, whether nails or staples, must maintain flush positioning without excessive compression. For adhesive application techniques, apply minimal amounts to prevent squeeze-out complications. After alignment confirmation, perform draft tests using the tissue method to validate effectiveness against severe weather infiltration.
Hardware Adjustment and Sealing
With weatherstripping alignment confirmed and draft tests validated, attention now shifts to the mechanical systems that’ll determine whether your severe-weather door can withstand sustained wind pressure and thermal stress.
You’ll execute adjustable threshold alignment by measuring gaps beneath the door perimeter and fine-tuning the threshold height for consistent 1/8-inch spacing. High impact security improvements require installing reinforced strike plates and jamb kits, then securing all fasteners with 3-inch screws anchored into wall framing.
| Component | Adjustment Method | Validation Test | Performance Target |
|---|---|---|---|
| Hinges | Tighten all screws; verify plumb | Open/close cycles | Zero binding |
| Strike Plate | Align latch engagement | Pressure testing | Secure latching |
| Threshold | Adjust height incrementally | Water spray test | No infiltration |
| Seals | Apply silicone caulk | Thermal cycling | Maintained contact |
You’ll conduct rain simulation tests to confirm structural integrity under extreme conditions.
Frequently Asked Questions
What Type of Door Frame Material Best Resists Extreme Weather Conditions and Rot?
You’ll find that impact resistant fiberglass door frames outperform traditional materials in extreme weather resistance. They’re engineered with superior rot and moisture resistance, requiring minimal maintenance. Reinforced steel door frames offer excellent structural integrity but demand regular inspection for corrosion in coastal environments. For ideal performance in severe conditions, you should prioritize fiberglass’s proven durability metrics: exceptional weather resistance, zero rot susceptibility, and minimal maintenance requirements. This data-driven approach guarantees your installation withstands harsh climates effectively.
How Often Should Weatherstripping Be Replaced to Maintain Severe Weather Protection?
You should replace weatherstripping every 5, 10 years under moderate conditions, though harsh climates or high-traffic doors may require annual replacement. Through periodic inspection and proper maintenance, cleaning with mild soap and lubricating components, you’ll extend strip lifespan considerably. High-use entry doors demand checks every 6, 12 months. You’ll notice failure through cracking, drafts, or visible gaps. Addressing deterioration promptly prevents energy loss and water infiltration, maintaining your severe weather protection methodically.
Can I Install a Door Frame Myself, or Do I Need Professional Help?
You can install a door frame yourself if you’ve got basic carpentry skills, but severe weather protection demands precision. You’ll need proper door frame anchoring techniques, secure fastening into studs, correct spacing, and weatherproofing application. However, exterior installations in high-wind or flood-prone areas benefit from professional expertise. DIY door frame installation considerations include building code compliance and structural integrity. Statistics show professionals deliver lower repair rates, so evaluate your local climate conditions before deciding.
What’s the Cost Difference Between Standard and Severe Weather-Rated Door Frames?
You’ll spend 25, 50% more on severe weather-rated frames ($800, $2,100+) versus standard options ($200, $700). Material upgrades, reinforced steel, fiberglass, heavy-gauge aluminum, drive costs higher. You’ll gain bolstered durability (30+ years), reduced insurance premiums, and lower long-term maintenance expenses. Budget considerations must account for specialized labor ($300, $600+) and potential permits. Though initial investment’s substantial, superior energy efficiency and protection justify systematic cost analysis for storm-prone regions.
How Do Climate Conditions Affect Door Frame Installation Techniques and Material Selection?
You’ll select climate appropriate materials based on your region’s specific demands: rot-resistant cedar for moisture-prone areas, high-quality silicone caulk for temperature fluctuations, and weather-resistant weatherstripping for durability. Your installation technique requires extreme weather reinforcement through hurricane ties in high-wind zones, proper flashing overlaps in high-rainfall regions, and strategic shimming for thermal expansion. You’ll position frames centrally within openings, apply moisture barriers systematically, and install drip caps where wind-driven rain prevails, ensuring structural integrity.