
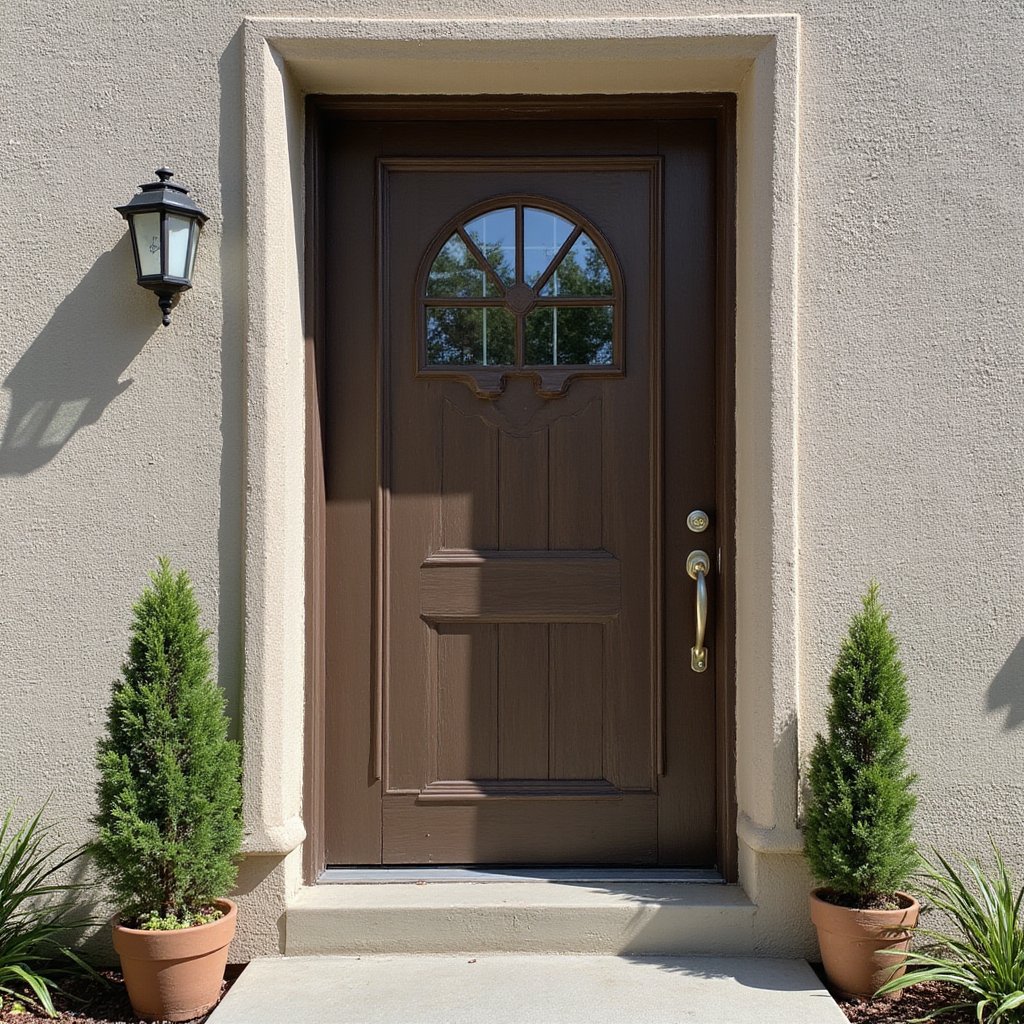
Initially, measure your door frame's width and height at multiple points, using the smallest measurements, and check for square corners with diagonal measurements. Next, mount the hinge-side Z-bar flush against the frame, followed by the top and strike-side Z-bars, ensuring consistent spacing. Ultimately, install the handle set, door sweep, and pneumatic closer according to manufacturer's specifications. Proper installation involves several critical adjustments to achieve ideal functionality and weatherproofing.
Measuring and Preparing the Door Frame
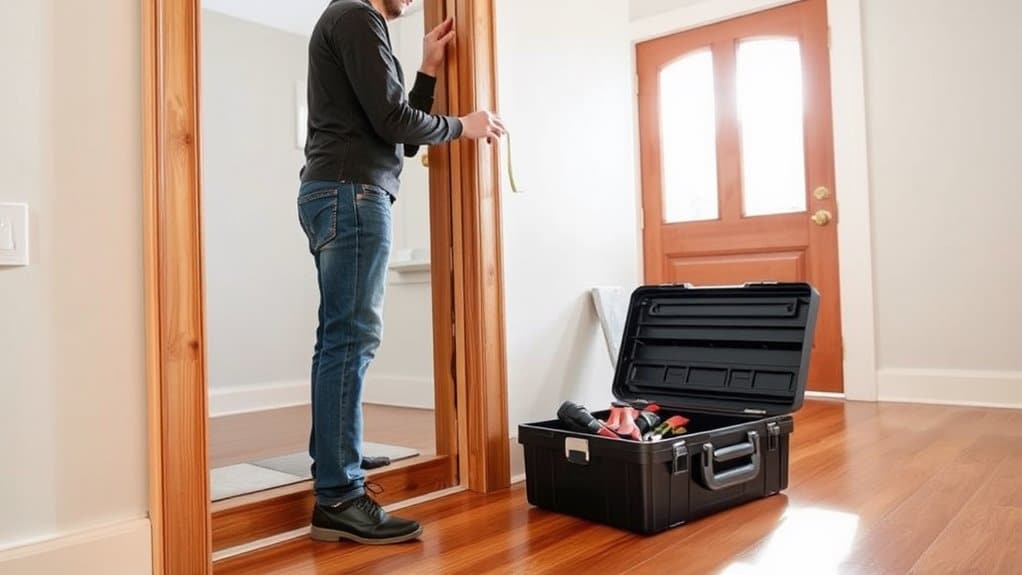
The two critical measurements needed for a Larson storm door installation are the width and height of your exterior door frame. Using your measuring tools, take three width measurements: top, middle, and bottom of the opening. Record the smallest measurement. Likewise, measure the height on both sides and in the center, noting the shortest dimension.
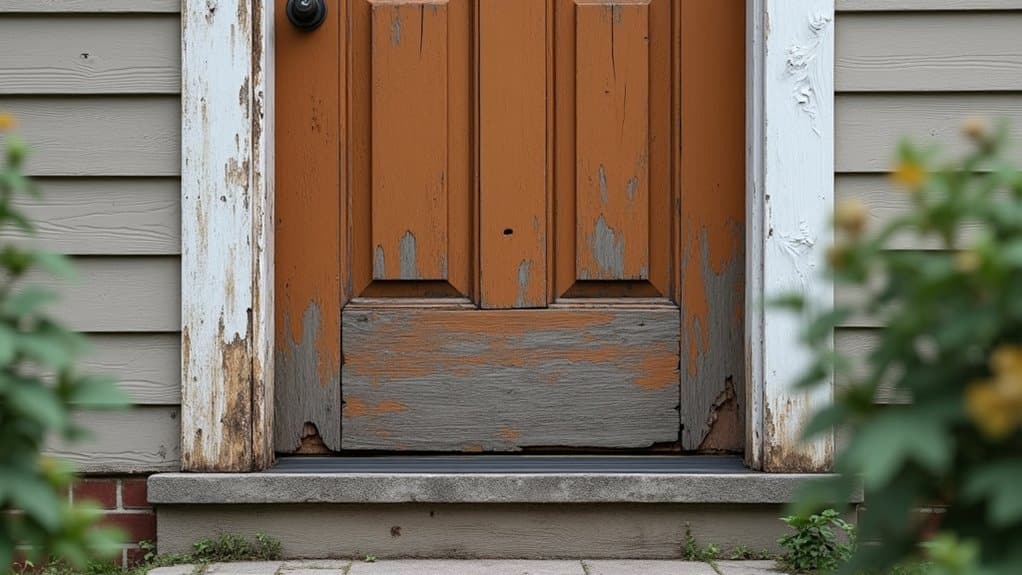
Before proceeding, inspect your door frame for any damage, loose caulking, or rotted wood. Remove old hardware, nails, and weatherstripping. The mounting surface must be clean, flat, and structurally sound. Your door frame preparation should include filling holes, sanding rough spots, and ensuring the brick molding is securely fastened.
Check that your opening is square by measuring diagonally from corner to corner. If measurements differ by more than 1/4 inch, you'll need to make adjustments before installation.
Installing the Door Frame and Hinges
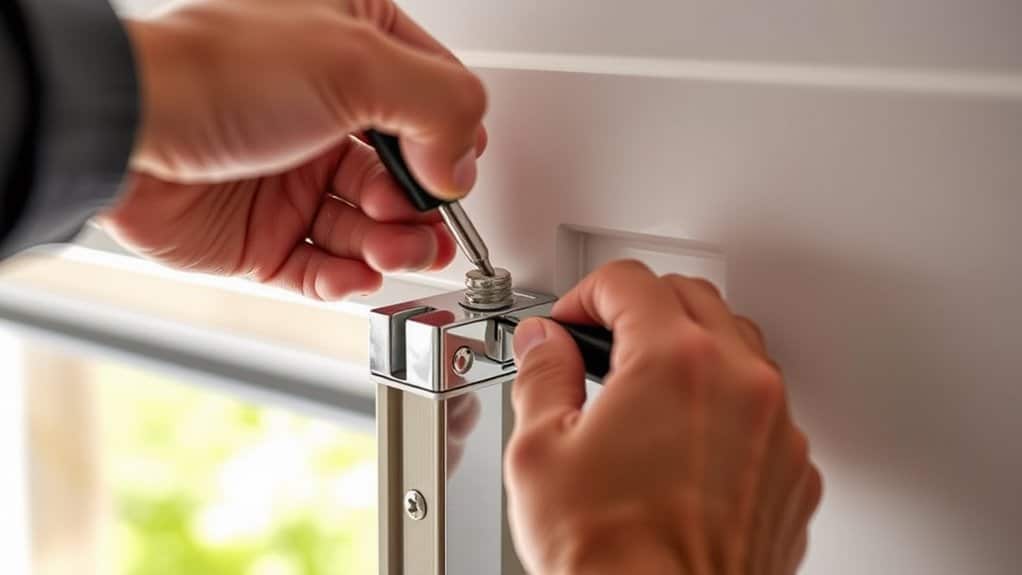
With your door frame properly measured and prepared, begin mounting the Z-bar frame components that will house your storm door. Position the hinge-side Z-bar initially, ensuring it's flush against the door frame and level from top to bottom. Secure it with the provided screws at 12-inch intervals.
Next, install the top Z-bar, aligning it perfectly with the hinge-side piece. Check for square corners using a carpenter's level, then fasten it firmly. The strike-side Z-bar follows, maintaining consistent spacing around the frame perimeter. For proper hinge alignment, mount the hinges onto the Z-bar using the pre-drilled holes, then carefully attach your storm door. Test the door's swing and adjust the hinge screws as needed to achieve smooth operation and proper closure.
Attaching Hardware and Final Adjustments
Install your storm door's handle set by following the manufacturer's template for proper hole placement. Drill the required holes using the specified bit sizes and secure the hardware with provided screws. Different hardware types include mortise locks, lever handles, and pneumatic closers.
For peak functionality, complete these critical adjustments:
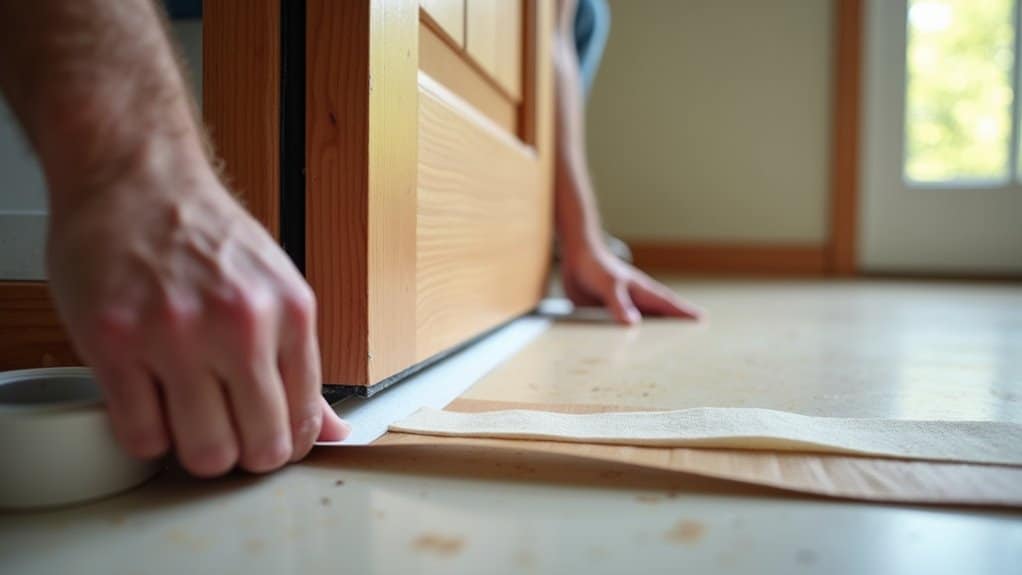
- Adjust the door sweep by loosening screws and positioning it to maintain contact with the threshold, eliminating gaps
- Fine-tune the pneumatic closer's tension using the adjustment screw to control closing speed
- Align strike plates with latches by adjusting plate position for smooth operation
- Test weatherstripping compression by closing the door and checking for consistent contact
These adjustment techniques guarantee proper seal, smooth operation, and extended door life. Verify all hardware is securely fastened before final testing.
Frequently Asked Questions
Can I Install a Storm Door on a Mobile Home?
Yes, you can install a storm door on your mobile home with proper planning for mobile home modifications. Initially, measure your door jamb's depth (typically 4-6 inches) to guarantee storm door compatibility. You'll need a mounting surface at least 1 inch wide on all sides. Most standard storm doors (32-36 inches wide) will work, but you'll need to verify your door frame's structural integrity and may require supplementary support blocking for secure installation.
How Long Does a Larson Storm Door Typically Last?
Your Larson storm door's typical lifespan ranges from 15-30 years, depending on maintenance and climate conditions. To enhance longevity, you'll need to implement essential maintenance tips: lubricate hinges and closers annually, clean weatherstripping every 6 months, tighten hardware quarterly, and inspect the sweep regularly. You'll also want to check the door's alignment twice yearly and repair any scratches promptly to prevent corrosion. Proper care greatly extends your door's service life.
What Tools Do I Need to Remove an Old Storm Door?
You'll need several tools for door removal: a power drill/screwdriver with both Phillips and flathead bits, adjustable wrench, hammer, pry bar, and utility knife. Start by removing the door closer and wind chain. Next, locate and remove all mounting screws from the hinges. You'll find these on both the door frame and jamb. Work from bottom to top, keeping all hardware organized. Having a helper is recommended as storm doors can be awkward to handle.
Can Storm Doors Be Installed on Doors That Open Outward?
You can't typically install a standard storm door on an outward-opening entry door due to storm door compatibility issues. The primary conflict occurs in the operational space, as both doors would compete for the same swing area. However, you'll find specialized storm door models designed specifically for outward-opening configurations. These require extra mounting brackets and modified installation techniques to maintain proper clearance and functionality between the two doors.
Is It Possible to Reverse the Handle Side After Installation?
Yes, you can reverse the handle orientation on most storm doors after installation, but it requires significant door modifications. You'll need to disassemble the entire handle assembly, remove the closer, and drill new holes on the opposite side. Be aware that you'll also have to reposition the strike plate and potentially fill the original holes. This process isn't recommended unless necessary, as it can compromise the door's structural integrity and weatherproofing capabilities.