


To install a storm door without a frame, you'll need basic tools like a drill, level, and screwdriver set. Begin by measuring your door opening at multiple points and verify the storm door matches these dimensions. Prepare the existing jamb by removing old hardware and filling holes. Install the hinge-side Z-bar initially, then mount the door, attach the handle, and secure remaining Z-bars. Complete the project by testing operation and making final adjustments. Our detailed steps will guarantee professional-quality results.
Gathering Essential Tools and Materials
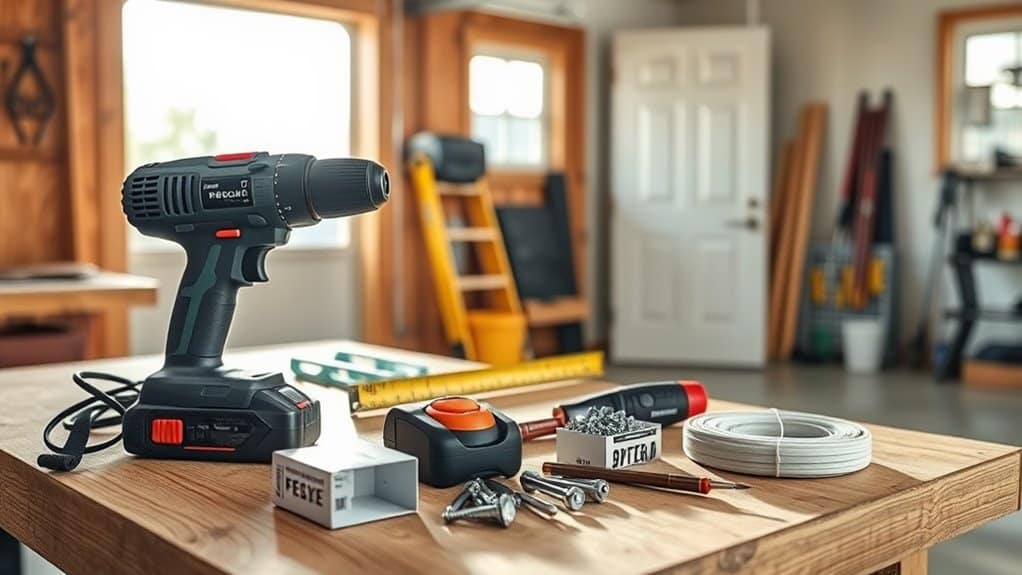
The successful installation of a storm door requires 12 essential tools and basic hardware components. For tool selection, you'll need a power drill, level, tape measure, screwdriver set, utility knife, hammer, pencil, safety glasses, work gloves, sawhorses, hacksaw, and pliers.
Your material types should include the storm door kit, weatherstripping, shims, exterior-grade screws, silicone caulk, and a door sweep. Before beginning installation, verify you've purchased a door that matches your entryway's dimensions and swing direction. Confirm that all mounting hardware is included in your storm door package. You'll also need to check local building codes to affirm compliance with regulations regarding storm door installations. Organize your workspace by laying out all tools and materials on a clean, flat surface.
Measuring Your Door Opening
You'll need to take precise width measurements at three points – top, middle, and bottom of your door opening – to guarantee your storm door will fit properly. Check your door's swing direction by noting which side the hinges are on and whether it opens inward or outward from your house. Ultimately, measure the height at both sides of the opening, ensuring you've got the minimum clearance required for most standard storm door installations (typically 80-81 inches).
Accurate Width Measurement Steps
Before beginning any storm door installation, precise width measurements of your door opening are critical for guaranteeing a proper fit. Measure the width at three different points: top, middle, and bottom of the opening, using a reliable metal tape measure. Record the smallest measurement, as this will be your reference dimension for ordering the door.
Common measurement mistakes include measuring from existing weatherstripping or failing to account for uneven jambs. You'll need to measure the actual brick-to-brick or jamb-to-jamb distance. For width measurement techniques that guarantee accuracy, place your tape measure's hook end firmly against one side, extend it straight across, and verify it's level. Double-check all measurements twice, and subtract 1/8 inch from your final width measurement to allow for proper operation and seasonal adjustments.
Check Door Swing Direction
After completing accurate width measurements, determining proper door swing direction stands as your next key step. Your storm door's orientation must match your main door's swing mechanics to guarantee proper functionality and clearance. Stand on your doorstep and analyze which side the hinges are located to determine if you need a left-hand or right-hand swing.
- Left-hand swing: When you're outside facing the door, hinges are on the left side, and the door opens inward from right to left
- Right-hand swing: When you're outside facing the door, hinges are on the right side, and the door opens inward from left to right
- Mark your findings clearly: Note the swing direction on your measurements sheet to avoid ordering the wrong door orientation
This critical assessment prevents installation errors and guarantees your storm door operates smoothly with your existing entry door.
Required Door Opening Height
Proper height measurement stands as a critical factor in guaranteeing your storm door fits correctly within the opening. To determine the required door height, measure the vertical distance from the threshold's top surface to the header trim's bottom edge. Take measurements at three points: the left side, center, and right side of the opening.
You'll need a minimum door clearance of 80 inches for standard storm door installations, though some models may require different specifications. If your measurements vary between points, use the shortest height as your reference to guarantee proper fit. Subtract 1/8 inch from your final measurement to allow for operational clearance. Double-check these dimensions against your chosen storm door's specifications before proceeding with the purchase and installation.
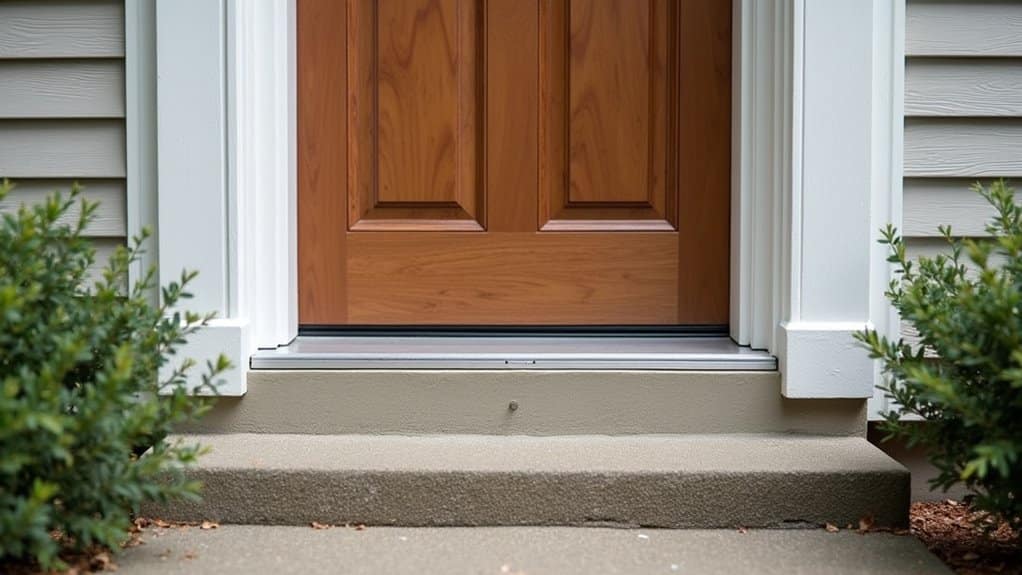
Preparing the Existing Door Frame
Getting your existing door frame ready is essential for a successful storm door installation. Before mounting your new storm door, you'll need to inspect and prepare the mounting surface carefully. Verify the door frame is structurally sound, level, and free from rot or damage.
- Remove any loose paint, caulk, or weatherstripping from the door frame using a putty knife and wire brush
- Fill any holes, cracks, or imperfections with exterior-grade wood filler and sand smooth once dried
- Check frame measurements at multiple points to confirm they're consistent and square
These installation techniques will create the proper foundation for your storm door. If you identify significant frame damage during preparation, address these issues before proceeding. A properly prepared door frame guarantees better sealing and prevents future installation problems.
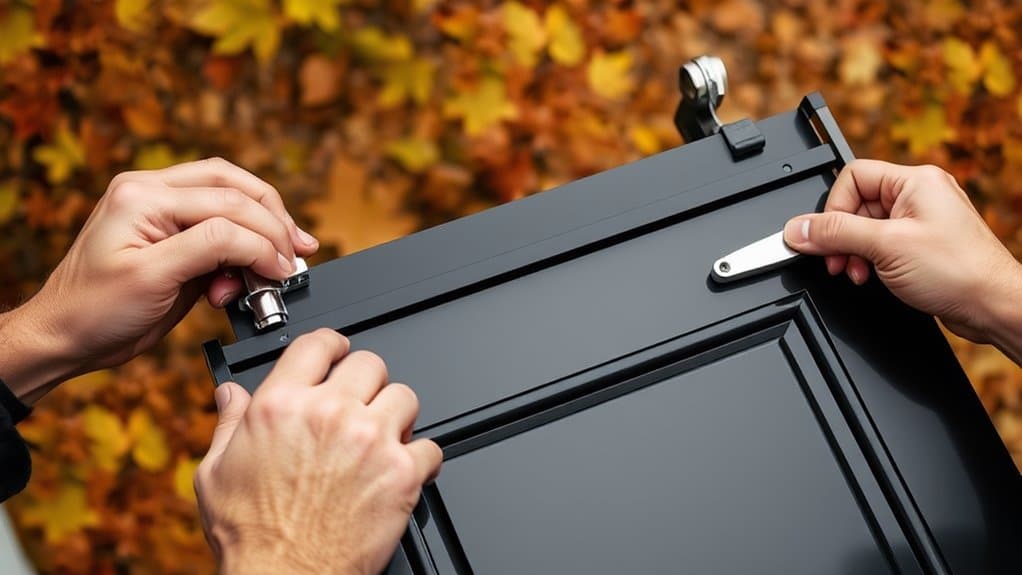
Attaching the Hinge-Side Z-Bar

The hinge-side Z-bar serves as the foundation for your storm door's operating system. Before installation, verify that your storm door type matches the Z-bar configuration, as different storm door types require specific Z-bar components.
Position the Z-bar against the exterior door jamb, ensuring it's perfectly plumb using a level. Mark screw locations every 12 inches along the length, starting 2 inches from both top and bottom. Pre-drill pilot holes through the Z-bar and into the jamb using a 1/8-inch drill bit. Secure the Z-bar with #8 x 1-inch pan-head screws, but don't fully tighten them yet.
Check for proper alignment once more, then tighten all screws completely. Test the Z-bar's stability by applying gentle pressure – it shouldn't flex or move when properly installed.
Installing the Storm Door and Handle
After securing the Z-bar, you'll need to carefully lift the storm door into position and align it with the pre-mounted hinge attachments. Once properly aligned, you'll secure the door to the hinge system using the manufacturer's provided screws or fasteners. You can now proceed with attaching the door handle and related hardware according to the specific model's installation instructions.
Mount Door to Opening
Carefully position your storm door in the prepared opening, verifying it remains level and plumb against the mounting surface. These door installation tips will help secure the door properly while maximizing storm door features for peak performance.
- Use shims at the bottom corners to maintain a consistent 1/8-inch gap between the door and jamb, adjusting as needed to achieve proper alignment.
- Insert mounting screws through pre-drilled holes in the hinge-side initially, working from top to bottom while checking for level after each screw.
- Secure the latch side with mounting screws, verifying the door operates smoothly without binding or sticking.
Test the door's operation by opening and closing it several times. Make final adjustments to verify proper weatherstripping contact and smooth functionality.
Attach Handle and Hardware
With your storm door securely mounted, you'll now install the handle set and necessary hardware components. Begin by identifying all pieces in your handle installation kit and consulting the manufacturer's instructions for your specific model.
Position the exterior handle on the marked area of your door, ensuring it aligns with any pre-drilled holes. Insert the spindle through the door, then attach the interior handle mechanism. Tighten all screws firmly but don't overtighten. Most hardware options include a keyed deadbolt or push-button latch system.
Install the door closer at the top of the door frame, adjusting the tension to your preferred speed. Add the bottom sweep and any remaining weatherstripping. Test the handle's operation several times, making sure the locking mechanism engages smoothly and the door closes properly against the weatherstripping.
Securing the Top and Lock-Side Z-Bars
Once you've confirmed the door fits properly, fasten the top and lock-side Z-bars to secure the storm door's perimeter. Using the provided z bar materials, align the pieces flush against the door frame and mark your drilling points. Verify each Z-bar sits level and creates a tight seal when the door closes.
Proper Z-bar installation ensures a secure perimeter and weather-tight seal for your storm door's long-term performance.
- Pre-drill pilot holes through the Z-bars into the frame using a 1/8-inch drill bit, spacing holes approximately 8 inches apart
- Apply securing techniques by driving #8 x 1-inch screws through the pre-drilled holes, starting from the center and working outward
- Test the door's operation after installing each Z-bar to verify proper alignment and smooth closing action
Double-check that all Z-bars are firmly attached and create a weather-tight seal around the door's edges. Adjust screw tightness if needed to guarantee peak performance.
Testing and Adjusting Door Operation
Now that the Z-bars are installed, you'll need to thoroughly test the storm door's functionality and make necessary adjustments. Open and close the door several times to check for smooth operation and proper door alignment. Listen for any scraping or resistance that might indicate misalignment.
If you notice the door isn't closing properly, adjust the Z-bars by loosening their screws and repositioning them slightly. The door should have consistent spacing around all edges and make solid contact with the weatherstripping. Test the door handle, lock mechanism, and closer to verify they're working correctly.
Make incremental adjustments until the door operates smoothly without binding or sticking. Once you've achieved proper alignment, tighten all screws securely and confirm the door maintains its smooth operation through multiple open-close cycles.
Frequently Asked Questions
Can I Install a Storm Door Over a Damaged Exterior Door Frame?
You shouldn't install a storm door over a damaged exterior door frame, as this won't provide the storm door benefits of proper weather sealing and security. Instead, prioritize exterior door repair initially to guarantee structural integrity. You'll need to fix rotted wood, replace damaged sections, or completely rebuild the frame before installation. A solid foundation is essential for your storm door to function correctly and maintain its weatherproofing capabilities.
What's the Average Cost of Materials for Installing a Storm Door?
You'll typically spend between $150 to $400 for storm door materials, depending on the quality and style you choose. Price comparison among major retailers shows basic aluminum models start around $100, while high-end doors with features like retractable screens can exceed $500. Don't forget to factor in supplementary material costs for hardware ($25-50), weatherstripping ($10-20), and installation supplies like shims, screws, and caulk ($30-50).
How Long Does a Typical Storm Door Installation Take for Beginners?
For a beginner, storm door installation typically takes 2-4 hours. You'll want to set aside a full half-day to guarantee you're not rushing the process. Installation time varies based on your DIY experience and whether you're working alone or with a helper. Here's a beginner tip: pre-read all instructions and organize your tools before starting. You'll save significant time by having everything ready and understanding the full scope of work beforehand.
Should I Remove My Existing Screen Door Before Installing a Storm Door?
Yes, you'll need to remove your existing screen door before installing a storm door. Start by unscrewing all hinges and hardware connecting the screen door to the frame. During screen door removal, carefully inspect your door frame condition for any damage or rot that needs repair. You'll want a clean, solid surface to mount your new storm door. Remember to properly dispose of the old door and hardware components.
Can Storm Doors Be Installed on Mobile Homes or Prefabricated Structures?
Yes, you can install storm doors on mobile homes and prefabricated structures, but you'll need to verify storm door compatibility with your specific model. Most mobile home door frames are thinner than traditional homes, so you'll likely need a Z-bar or extender kit designed for mobile home installation. It's crucial to measure your door opening carefully and choose a storm door that's specifically rated for manufactured housing to guarantee proper fit and function.