

To measure your storm door correctly, you'll need basic tools: a steel tape measure, level, and carpenter's square. Start by checking if your frame is plumb and square, then measure the width at three points (top, middle, bottom). Next, determine the height along both sides and center. Verify the frame depth meets minimum requirements, measure mounting surface width, and document all measurements twice. These seven steps will set you up for successful installation.
Gather Your Measuring Tools
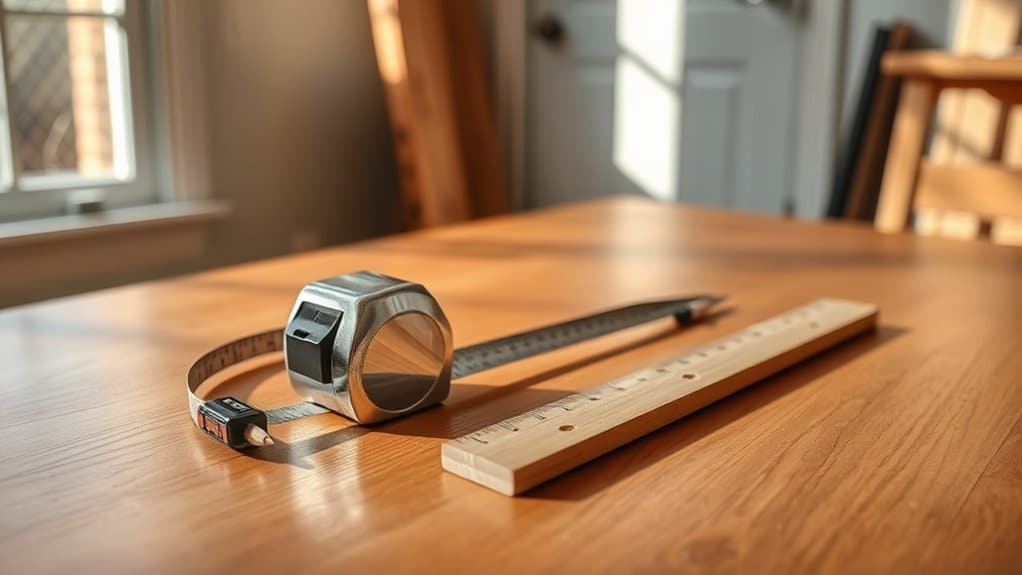
A proper set of measuring tools guarantees accurate storm door measurements. You'll need essential equipment that includes a steel measuring tape, a carpenter's level, and a notepad with a pencil. The steel measuring tape should be at least 25 feet long with clear markings in both inches and fractions.
Your measuring tools should also include a reliable carpenter's square to check for plumb corners and right angles. For detailed observations, keep a flashlight handy to examine the door jamb's condition and identify any potential obstructions. Add a digital camera or smartphone to your essential equipment list to document specific areas that may need attention. Store these tools in a dedicated pouch or toolbox to keep them organized and readily accessible during the measuring process.
Check for Plumb and Square
Using your level, check both vertical sides of the door frame to confirm they're plumb, and verify the header is perfectly horizontal. You'll need to take measurements at multiple points along the frame to guarantee the opening hasn't shifted or warped over time. Test the alignment of the door opening by measuring diagonally from corner to corner in both directions – equal measurements indicate your frame is square.
Test Frame for Level
Testing your storm door frame for level, plumb, and square guarantees proper installation and operation. Using a carpenter's level, check the header, threshold, and both side jambs. Place the level horizontally across the top and bottom of the frame, then vertically along each side jamb.
If you find the frame isn't level, you'll need to make level adjustments to guarantee frame stability. Use shims at the bottom corners or along the sides to correct any gaps or misalignments. Check measurements diagonally from corner to corner – they should be equal within 1/8 inch for a properly squared frame. Your door won't seal or operate correctly if the frame isn't level, so take time to address any discrepancies before proceeding with installation.
Check Door Opening Alignment
Once your frame is level, proper door opening alignment requires checking both plumb and square measurements. Using a plumb bob or level, verify that both sides of the door frame are perfectly vertical. Measure from corner to corner diagonally in both directions – these measurements should be equal if your opening is square.
For precise door alignment tips, check the gap between the frame and opening. You'll want consistent spacing of about 1/8 inch on all sides. If you detect any irregularities, you may need opening adjustments. Use shims to correct minor misalignments, placing them behind the hinges and strike plate areas. Test the vertical alignment again after any adjustments. Remember, proper alignment guarantees your storm door will operate smoothly and seal effectively against weather elements.
Measure Door Opening Width
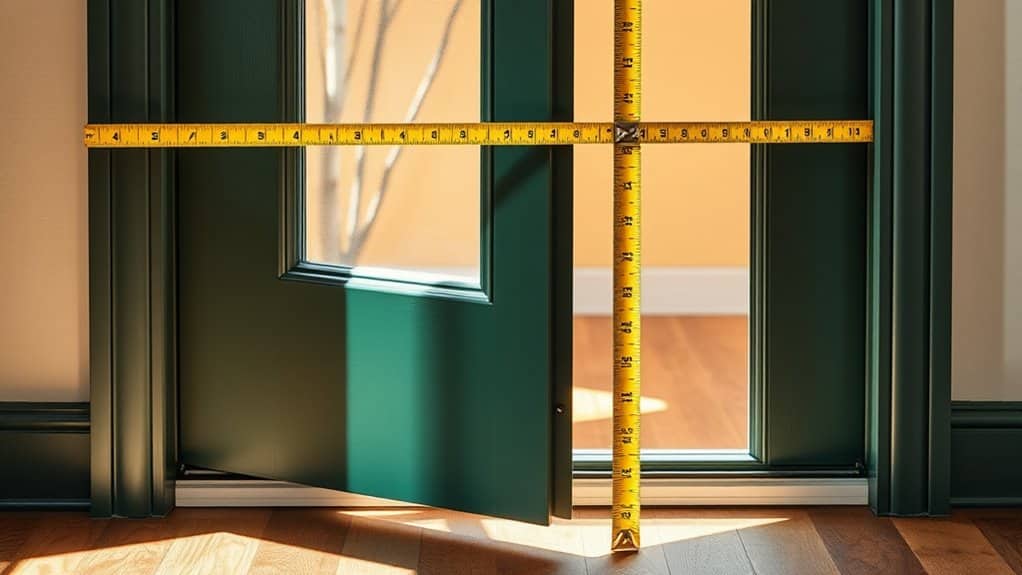
To accurately determine your door's width, you'll need to measure between the outer edges of the mounting surface at three points – top, middle, and bottom. Common width issues include uneven frames, settling damage, and inconsistent measurement points that can affect proper storm door fit. Take multiple width measurements and use the smallest dimension to guarantee your new storm door won't bind or create gaps during installation.
Outside Edge Measurement Steps
Measuring the width of your storm door opening requires three precise measurements. Take these measurements across the top, middle, and bottom of the door frame, extending from outside edge to outside edge. For most storm door types, you'll need to measure where the door will sit against the exterior trim or brick molding.
Using a steel measuring tape, position it horizontally at each point. Start from the leftmost outside edge and extend to the rightmost outside edge. Record each measurement to the nearest 1/8 inch. If the measurements differ, use the smallest width for proper installation. These installation tips guarantee your storm door will fit correctly and operate smoothly. Remember to measure twice to confirm accuracy, as even small discrepancies can affect the door's functionality.
Common Width Problems Explained
Several width-related issues can derail a storm door installation before it begins. You'll need to check for width discrepancies along the entire height of your door frame, as frames often aren't perfectly parallel. Measure at three points: top, middle, and bottom. If these measurements vary by more than 1/4 inch, you're facing a potential installation challenge.
Common mistakes include failing to account for uneven brick molding or exterior trim that can affect the general width. Don't assume your door frame is standard-sized – even a slight miscalculation can result in gaps or binding. When you find varying measurements, always use the narrowest width as your reference point. This guarantees your storm door won't be too wide at any point during installation, preventing costly adjustments or returns.
Multiple Width Measurement Points
When measuring your storm door opening, you'll need to take width measurements at multiple points to confirm proper fit and alignment. Take measurements at three key points – top, middle, and bottom of the opening – and use the smallest measurement for ordering your storm door.
| Location | Measurement Point | Common Issues |
|---|---|---|
| Top | Header to jamb | Settling/warping |
| Middle | Center points | Bowing/shifting |
| Bottom | Threshold width | Weather damage |
| Final | Smallest width | Critical for fit |
Different storm door types require specific clearances, so consult your manufacturer's installation tips before ordering. Record your measurements precisely to 1/8 inch accuracy. Check twice for any irregularities like bulging frames or uneven jambs that could affect installation. Subtract required clearances from your final measurement to confirm smooth operation.
Determine Opening Height
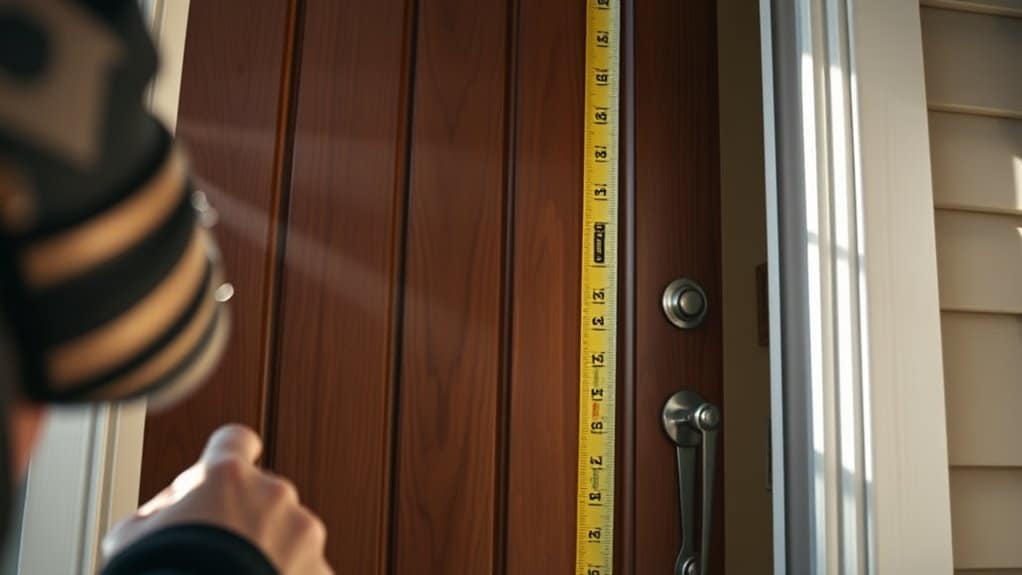
The height measurement requires three precise vertical readings along the door frame: one at the far left, one in the center, and one at the far right. You'll need to measure from the top of the door frame down to the threshold at each point, guaranteeing your tape measure remains perfectly straight and perpendicular to the ground.
For accurate door height readings, place your tape measure firmly against the frame's upper edge and extend it downward to the threshold's highest point. Record each measurement to the nearest 1/8 inch. These measurement techniques will reveal any variance in the opening's height. If you find different readings, use the smallest measurement when ordering your storm door, as this represents the maximum height your new door can be to guarantee proper installation.
Inspect Frame Depth
After confirming your door's height measurements, you'll need to determine the mounting surface depth of your door frame. Use a tape measure to check the depth from the exterior brick molding to where your primary door stops. This measurement guarantees proper frame materials and door compatibility.
| Frame Depth (inches) | Compatible Models | Installation Type |
|---|---|---|
| 3/4 to 1 | Z-series | Surface Mount |
| 1 to 2 | Standard | Traditional |
| 2 to 2.5 | Premium | Full Frame |
| 2.5 to 3 | Deluxe | Extended Mount |
| 3+ | Custom | Special Order |
Most storm doors require a minimum depth of 1 inch for proper installation. If your frame depth measures less than 3/4 inch, you'll need mounting brackets or frame extenders to achieve proper fitment.
Record Mounting Surface Width
Measuring your mounting surface width correctly serves as a critical step in storm door selection. You'll need to measure the flat surface width where your storm door will mount, typically on the exterior trim or brick molding.
For accurate mounting surface considerations, position your tape measure across the narrowest part of the frame, measuring from left to right. Different door frame types require specific minimum widths – most storm doors need at least 1 inch of flat surface on each side. If you have brick molding, measure the entire flat face. For vinyl or aluminum frames, verify you're measuring only the mounting area, not including any curved or beveled sections.
Take three measurements: top, middle, and bottom of the frame. Use the smallest measurement as your final mounting surface width.
Double-Check All Measurements
Once you've recorded your primary measurements, verifying their accuracy becomes your next priority. Double-check each dimension to avoid common mistakes that could lead to an ill-fitting storm door. Take fresh measurements from different points to guarantee consistency and measurement accuracy.
| Location | Initial Check | Second Check |
|---|---|---|
| Top Width | ___ inches | ___ inches |
| Mid Width | ___ inches | ___ inches |
| Bottom Width | ___ inches | ___ inches |
You'll need to compare your repeated measurements against your original readings. If you find any discrepancies larger than 1/8 inch, measure that section again. Pay special attention to areas where the mounting surface isn't perfectly level or shows signs of wear. Document all final measurements in a clear, organized manner for reference when ordering your storm door.
Frequently Asked Questions
Can I Install a Storm Door if My Entrance Door Swings Outward?
You can't typically install a standard storm door with an outward swinging entrance door, as this creates a clearance conflict between the two doors. However, you've got two potential solutions: You can either reverse your entrance door's swing direction (if building codes permit) or install a specially designed storm door with extra clearance and offset hinges. Consult a professional to evaluate which option best suits your specific situation.
How Much Clearance Do I Need Between Existing Hardware and Storm Door?
You'll need at least 1 inch of hardware clearance between your entry door's existing hardware (like handles and locks) and the storm door to prevent interference. Follow measurement guidelines by checking the depth from your entry door's surface to the outermost part of your hardware. If you don't have sufficient clearance, you might need to contemplate a storm door with adjustable hardware positioning or replace your existing door hardware with low-profile options.
Should I Remove My Old Storm Door Before Taking Measurements?
You don't need to remove your old storm door before taking measurements unless it's severely damaged or obstructing your view of the door frame. However, if you're replacing an existing storm door, you should measure the frame where it was installed, as this will provide the most accurate measurements. Note any mounting holes or hardware locations while the old door is still in place for easier installation later.
What Type of Storm Door Works Best for Doors Exposed to Wind?
For doors exposed to wind, you'll want a storm door with heavy-duty wind resistant materials like aluminum or steel construction. Look for models featuring reinforced corners and a Z-bar frame design that creates a tight seal against air infiltration. Choose doors with multi-point locking systems and heavy-duty closers that prevent wind from catching the door. Furthermore, select units with tempered safety glass and weatherstripping that's specifically engineered for high-wind conditions.
Can Storm Doors Be Installed on Doors With Decorative Glass Panels?
You can install storm doors on entries with decorative glass panels, but you'll need to take special precautions. Initially, verify there's adequate mounting surface on your door frame, typically 1-inch minimum on all sides. Consider using installation spacers to prevent contact between the storm door and your decorative glass. It's essential to select a storm door with adjustable closers and proper ventilation to avoid heat buildup that could damage your decorative panels.