
Start your window installation prep by taking precise measurements at three points for height, width, and depth, using the smallest dimensions as your working numbers. You'll need to clear a 4-foot access path both inside and outside your home, while removing any obstructing vegetation. Protect your floors with heavy-duty coverings and move furniture at least 8 feet from work areas. Remove all window treatments, and secure them in labeled containers. Don't forget to monitor weather forecasts and plan backup installation dates. For safety, create designated zones to keep children and pets away from work areas. These initial steps lay the groundwork for a successful installation process.
Take Accurate Window Measurements
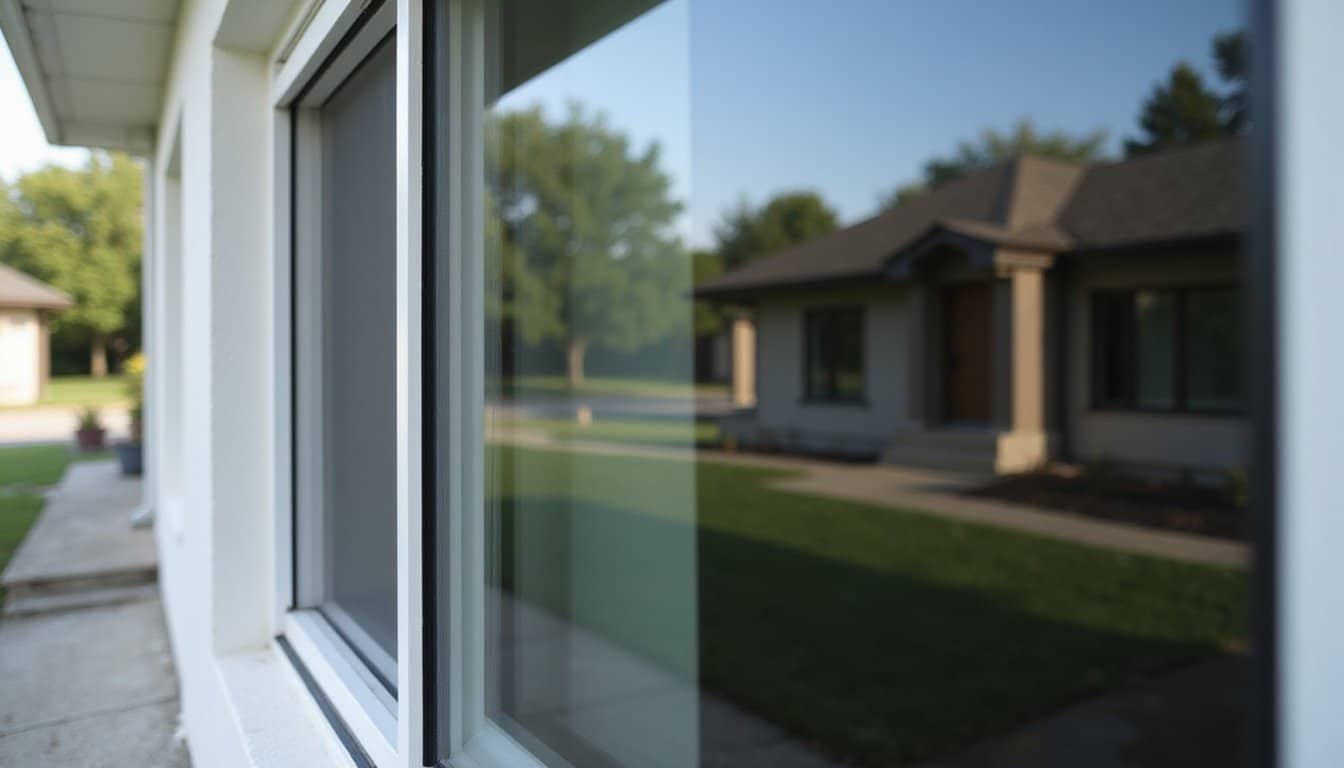
Three critical measurements are required before purchasing a new window: height, width, and depth of the opening. Measure each dimension at three different points, as window openings aren't always perfectly square. For height, measure from the sill to the header at the left, center, and right sides. For width, measure between the jambs at the top, middle, and bottom. For depth, measure from the exterior to the interior at multiple points.
When selecting window types, you'll need these precise measurements to guarantee proper fit and function. Use professional measurement tools including a metal tape measure, carpenter's square, and level to achieve accuracy within 1/8 inch. Always record the smallest measurement for each dimension, as this becomes your working number for ordering the window.
Don't forget to measure the exterior opening if you're installing new construction windows with nailing flanges. Subtract 1/4 to 1/2 inch from your final measurements to allow for proper shimming and insulation.
Double-check all measurements before placing your order, as incorrect dimensions can lead to costly delays and modifications during installation.
Clear Access Inside and Out
Before beginning your window installation, you'll need to clear a minimum 4-foot-wide path both inside and outside your home by relocating furniture, wall décor, and window treatments away from the work area.
You'll also need to create unobstructed access routes from your home's entrance to each window location, ensuring installers can safely transport materials and equipment.
Outside, trim back any shrubs, tree branches, or climbing vines that could interfere with ladder placement or window removal and installation procedures.
Remove Furniture and Décor
Creating a clear workspace around your windows is an essential preparatory step for installation. You'll need to remove all furniture, artwork, and decorative items within a 4-6 foot radius of each window being replaced.
Begin your furniture relocation by moving larger pieces like sofas, tables, and shelving units to the center of the room or an adjacent space. Don't forget to protect these items with dust sheets or moving blankets during the installation process.
Next, focus on décor storage by carefully removing window treatments, including curtains, blinds, and their hardware. Pack these items in labeled boxes to prevent damage and guarantee easy reinstallation later.
Remove all wall decorations, mirrors, and artwork near the windows, storing them in a separate room to avoid accidental damage from dust or debris. Clear windowsills of plants, photographs, and small decorative objects, wrapping delicate items in bubble wrap or packing paper.
For valuable or fragile items, consider temporary storage in a different room entirely. Remember to document the original placement of furniture and décor by taking photos, which will help you restore the room's layout after installation.
Create Walkway Paths
With your workspace now clear of furniture and décor, establishing unobstructed pathways becomes your next priority. You'll need to create clear routes both inside and outside your home for the installation team to safely transport window materials and equipment.
Begin by mapping out the most direct paths from your home's entrance to each window location requiring replacement.
Inside your home, lay down protective walkway materials such as non-slip drop cloths, rubber runners, or temporary floor coverings. Secure these materials firmly to prevent tripping hazards and guarantee they extend at least four feet wide to accommodate workers carrying large window frames.
Consider multiple accessibility options by establishing both primary and backup pathways in case of unforeseen obstacles.
Outside, clear all vegetation, outdoor furniture, and obstacles within eight feet of each window. Create stable walking surfaces by laying plywood sheets over soft ground or muddy areas.
Mark any potential hazards like sprinkler heads, outdoor lighting, or uneven surfaces with bright tape or flags. If you're dealing with second-story windows, confirm there's adequate space for ladder placement and scaffold assembly along your designated paths.
Trim Outdoor Vegetation
Proper vegetation management within six feet of each window is critical for successful installation access. You'll need to evaluate your garden maintenance needs and identify any plants, shrubs, or tree branches that could obstruct the installation process.
Creating adequate clearance guarantees installers can safely maneuver equipment and materials while protecting your existing greenery.
Begin your plant removal process by working systematically around each window location. Cut back or temporarily relocate any plants that might interfere with ladder placement or window delivery. For permanent plantings that can't be moved, consider installing temporary supports to protect them during the work process.
- Remove or tie back climbing vines that have attached to walls or window frames
- Trim tree branches that extend within the six-foot work zone, guaranteeing they won't scratch new windows
- Clear away thick shrubs or bushes that block direct access to the window opening
- Relocate potted plants and temporary garden features from the work area
After completing the vegetation trimming, dispose of all yard waste and guarantee the ground is clear of any remaining debris that could create hazards during installation.
Protect Your Floors and Furniture
Safety protocols include carefully protecting all surfaces and belongings before beginning window installation.
You'll need to lay down heavy-duty floor protection, such as ram board or thick drop cloths, extending at least six feet from each window. Secure these materials with painter's tape to prevent tripping hazards and guarantee complete coverage of your flooring.
For furniture protection, start by moving items at least eight feet away from the work area. If space constraints make this impossible, cluster furniture in the center of the room and use furniture covering specifically designed for construction projects.
These covers should be thick enough to protect against dust, debris, and accidental impacts. Seal the covers completely with tape at the bottom to prevent dust infiltration.
Don't forget to protect built-in features like cabinets or window seats. Cover these with plastic sheeting, securing all edges with tape.
For valuable or delicate items, it's best to temporarily relocate them to another room. Install plastic barrier walls if you're working in rooms with expensive furnishings or sensitive electronic equipment.
These barriers will contain dust and debris within the immediate work zone.
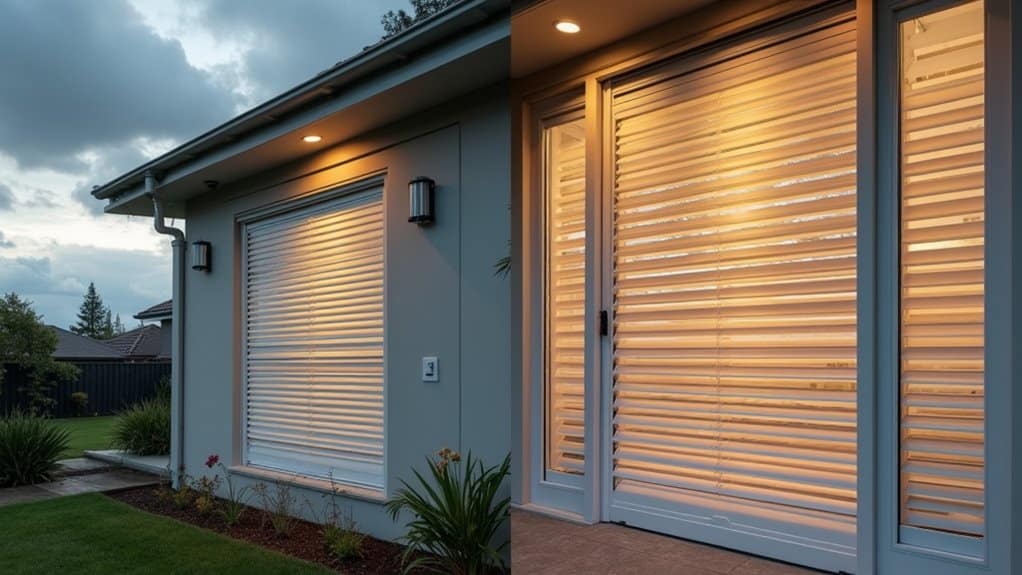
Remove Window Treatments
Complete removal of window treatments marks a critical first step in the window installation process. You'll need to carefully dismantle various window treatment types, including curtains, blinds, shades, and shutters, ensuring nothing blocks access to the existing window frame.
When addressing this task, it's crucial to document your current window treatment configuration and keep all hardware organized for reinstallation later.
Different window treatment types require specific removal techniques to prevent damage to both the treatments and surrounding walls. You'll want to work systematically, starting with any decorative elements before moving on to the functional components.
- Remove curtains and drapes first, including all rings, clips, and tie-backs, then carefully detach the curtain rods and brackets.
- Disengage blind mechanisms by releasing the locking devices and removing the headrail from its mounting brackets.
- Take down cellular shades by pressing the release tabs on the mounting brackets and gently pulling the shade away.
- Unscrew shutter hinges and carefully lift each panel away from the frame, keeping track of all mounting hardware.
Store all components in labeled bags or containers, keeping hardware sets together for future reinstallation.
Plan for Weather Conditions
Before starting your window installation, you'll need to review the extended weather forecast to select a day that's dry and mild.
You'll want to protect your interior spaces from unexpected rain by covering furniture and flooring with plastic sheeting and having tarps readily available.
Since weather can be unpredictable, it's crucial to schedule alternative installation dates as backup options in case conditions become unsuitable for the project.
Check Weather Forecast First
Since window installation requires exposing your home's interior to outside elements, checking the weather forecast for your planned installation date is crucial.
Weather impact can greatly affect installation quality and your home's protection during the process. You'll want to schedule your installation during a period of mild, dry weather to guarantee ideal conditions.
While you can't control the weather, you can make informed decisions about seasonal considerations and timing to minimize potential complications.
Check these key weather factors before confirming your installation date:
- Temperature range: Ideal conditions are between 40-80°F (4-27°C) for proper sealant curing
- Precipitation forecast: Look for a minimum 48-hour window of dry weather
- Wind speeds: Confirm winds are under 15 mph for safe installation
- Humidity levels: Moderate humidity (30-50%) works best for installation materials
If the forecast shows unfavorable conditions, you'll need to reschedule.
Remember that weather patterns can change quickly, so it's smart to check both long-range and short-term forecasts.
Keep in close contact with your installation team, as they'll likely monitor weather conditions and advise on any necessary schedule adjustments.
Cover Interior Against Rain
Even with ideal weather forecasts, you'll need to protect your home's interior against unexpected rain during window installation. Set up heavy-duty plastic sheeting or drop cloths that extend at least six feet from each window opening, securing them firmly to baseboards with painter's tape.
Create angled rain barriers by positioning additional plastic sheeting above the work area to direct any water away from walls and flooring.
Remove all furniture, artwork, and decorative items from the installation zone. If you can't relocate larger pieces, cover them completely with protective window coverings and seal the edges.
Pay special attention to electronics and electrical outlets near the work area, ensuring they're thoroughly protected from moisture exposure.
Install temporary catch basins beneath each window opening to collect any water that might enter during the process. Position these slightly tilted away from the exterior to prevent pooling.
Don't forget to protect window sills and surrounding trim with water-resistant tape. You'll also want to keep clean towels and a wet vacuum nearby for quick response to any water intrusion.
These precautions will safeguard your interior finishes and belongings throughout the installation process.
Plan Backup Installation Dates
While protecting your interior from rain is vital, proper weather planning determines installation success. You'll need to coordinate with your contractor to establish a primary installation date and at least one backup window in case of unfavorable weather conditions.
Most window installations require temperatures above 40°F (4.4°C) and relatively dry conditions to guarantee proper sealing and curing of materials.
Your installation timeline should account for seasonal weather patterns and potential delays. Consider scheduling your installation during your region's driest months to minimize complications.
When planning with your contractor, discuss their policies regarding weather-related rescheduling and how they'll communicate any necessary changes.
- Monitor weather forecasts for at least two weeks before your scheduled installation date
- Identify alternative dates within a 30-day window of your primary installation date
- Confirm your contractor's weather-related cancellation policies and minimum temperature requirements
- Establish clear communication channels for last-minute weather updates and schedule changes
Remember that rushing an installation during poor weather conditions can compromise the window's performance and longevity. A flexible schedule with well-planned alternatives guarantees peak installation conditions and results.
Schedule Your Installation Time
Setting up your window installation appointment requires three key timing considerations. First, you'll need to account for the season and weather conditions, as ideal installation temperatures typically range between 40-85°F.
Second, factor in your personal schedule, ensuring you'll be available during the entire installation process to address any questions or concerns that arise.
Third, coordinate with your contractor's scheduling flexibility to find a mutually agreeable time slot.
When selecting your installation time, consider scheduling early morning appointments to maximize daylight hours and allow for unexpected complications. You'll want to allocate adequate time based on the number of windows being installed – typically 30 minutes per standard window under best conditions.
For larger projects involving multiple windows, you might need to schedule multiple days.
Request specific time windows rather than general day appointments, and confirm whether the contractor offers real-time updates on arrival times. Remember to build in buffer time for preparation and cleanup.
If you're replacing windows in multiple rooms, work with your contractor to establish a logical progression that minimizes disruption to your daily routine while maintaining installation efficiency.
Secure Pets and Children
With your installation time confirmed, the next priority is securing your home's most vulnerable occupants.
Window installation creates potential hazards for children and pets, including construction materials, tools, and temporary openings in your home. You'll need to implement specific pet safety measures and establish clear child supervision protocols during the installation process.
Create designated safe zones in your home where children and pets can stay during the work. These areas should be away from the installation sites and sealed off from construction zones. If possible, arrange for children to stay with family members or trusted caregivers during the installation. For pets, consider temporary boarding or confinement to pet-proof rooms.
- Set up barriers or temporary gates to prevent access to work areas
- Remove pet beds, toys, and children's items from installation zones
- Create a supervision schedule if children must remain home
- Inform installers about any pet or child-specific concerns
Remember to brief your installation team about your household's specific circumstances, including any pets that might try to escape or children with special needs.
This information helps them maintain appropriate safety protocols throughout the project.
Frequently Asked Questions
How Long Will My New Windows Take to Arrive After Ordering?
Window delivery timelines typically range from 4-8 weeks from your order date, though this can vary.
You'll find that custom windows take longer, often 8-12 weeks, while standard sizes may arrive sooner.
Installation lead times depend on your manufacturer, local supplier availability, and current demand.
It's best to contact your window supplier directly for specific delivery estimates, as factors like material shortages or seasonal demand can affect timeframes.
Should I Repaint My Window Trim Before or After Installation?
"A stitch in time saves nine" perfectly applies to window trim painting.
You'll want to paint your trim after installation, not before. During installation, tools and hardware can scuff or damage pre-painted surfaces, and caulking needs to adhere to bare wood for proper sealing.
Wait 1-2 weeks post-installation to allow caulk to fully cure, then prep the trim surface by cleaning, sanding, and priming before applying your final paint coat.
Can I Keep My Old Windows for Potential Future Use?
While you can store old windows, it's not typically recommended unless they're in excellent condition.
If you're considering keeping them for potential upgrades, make certain they're properly cleaned, labeled, and stored in a dry, climate-controlled environment to prevent warping and mold.
You'll need to wrap them in protective materials and store them vertically to avoid glass stress.
However, modern window technology advances quickly, making stored windows potentially obsolete for future use.
Will New Windows Affect My Home's Energy Rating Certification?
Just as a well-fitted coat keeps you warmer than one with holes, new windows can greatly impact your home's energy rating certification.
Yes, you'll likely see changes in your energy efficiency scores, typically for the better.
During the certification process, assessors will evaluate your new windows' U-values, solar heat gain coefficients, and air leakage rates.
You'll need to provide documentation of your window specifications to guarantee they're properly factored into your home's updated energy rating.
Do I Need Special Permits From My City for Window Replacement?
You'll typically need permits for window replacement in most municipalities, though requirements vary by location.
Check your local window regulations, as many cities require permits when you're changing the window's size or modifying structural elements.
Contact your city's building department to obtain the correct permit application.
You'll likely need to submit detailed plans, window specifications, and pay associated fees before beginning work.
Some historic districts have additional requirements.