

You’ll securely repair door glass by initially examining the frame condition, weatherstripping, and glazing compound. Next, cautiously remove the damaged pane by extracting glazing points and scraping away old sealant without disturbing the frame structure. Ultimately, install new glass with proper centering, apply continuous glazing compound, and reinforce weatherstripping to restore weather resistance. These foundational steps guarantee durability, though there’s considerably more technique involved in mastering each phase.
Assess and Prepare for Door Glass Repair
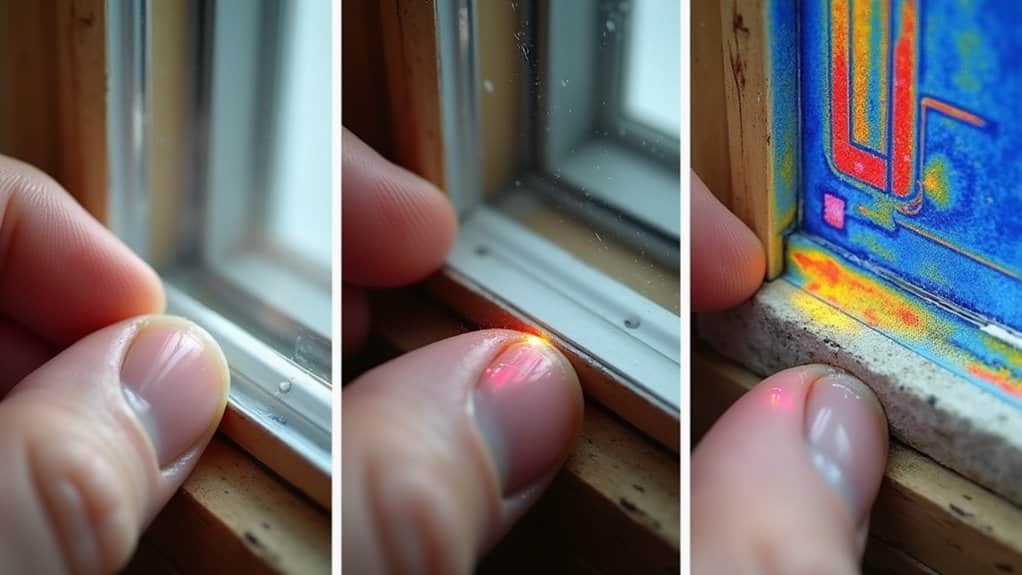
Before you’ll need to conduct a thorough assessment of the damage and identify any underlying issues that could compromise your repair’s longevity. Start with a detailed frame condition assessment, examining the door frame for warping, rot, or corrosion that weakens weather resistance. Perform a careful door material inspection to identify visible cracks, chips, and shattered areas in the glass pane.
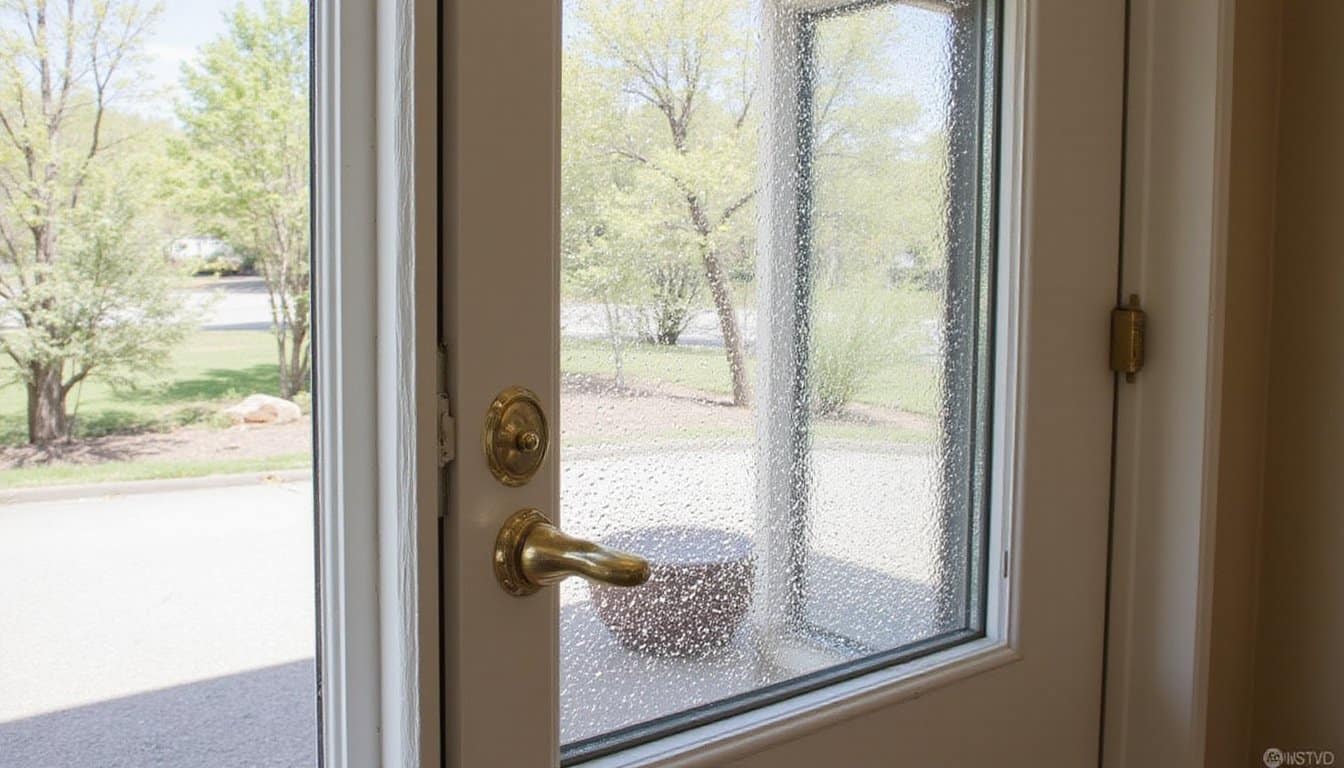
Check for fogging between panes, indicating seal failure. Inspect weatherstripping for brittleness, gaps, and detachment. Examine the glazing compound and caulking around glass edges for deterioration or missing sections. Look for water damage, mold, or mildew near the frame, which signals moisture infiltration. Understanding the type of glass used in your door, whether tempered, laminated, annealed, or insulated glass units, will help determine the appropriate replacement materials and repair approach. Laminated safety glass with a plastic layer is recommended to prevent shattering and maintain structural integrity during impact.
Finally, assess your door’s locking mechanism and alignment. Document all findings to inform your material selection and repair strategy. Proper safety equipment recommendations such as safety goggles, gloves, and a dust mask should be gathered before beginning any repair work to protect yourself from glass shards and other hazards.
Remove Damaged Glass Safely and Effectively
Once you’ve completed your assessment, you’ll need to carefully extract the damaged glass panel from its frame. Start by removing screws securing the molding, then use a putty knife to gently pry off the trim without damaging the frame. Carefully extract glazing points or clips holding the glass in place, working methodically around all edges for complete separation.
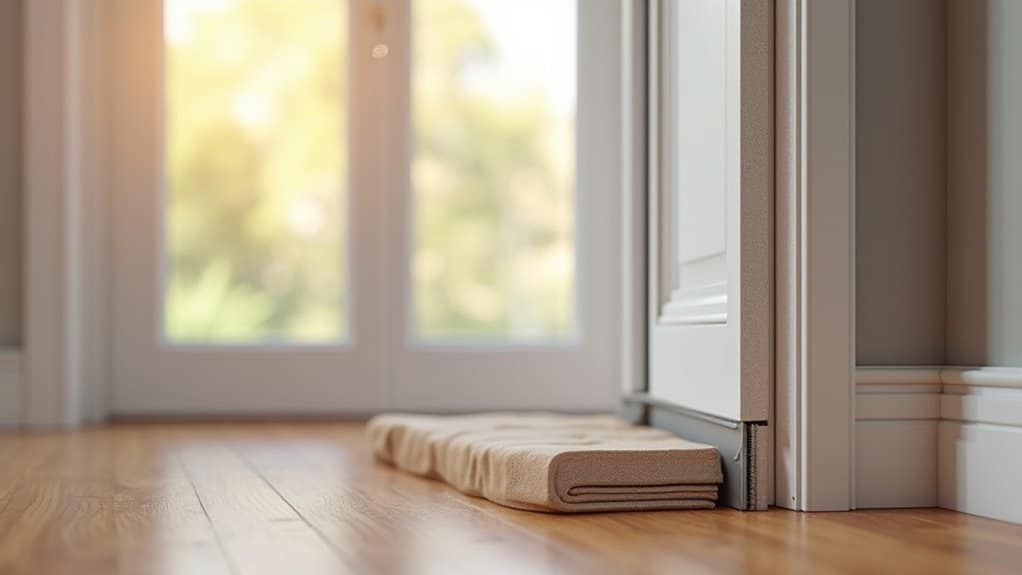
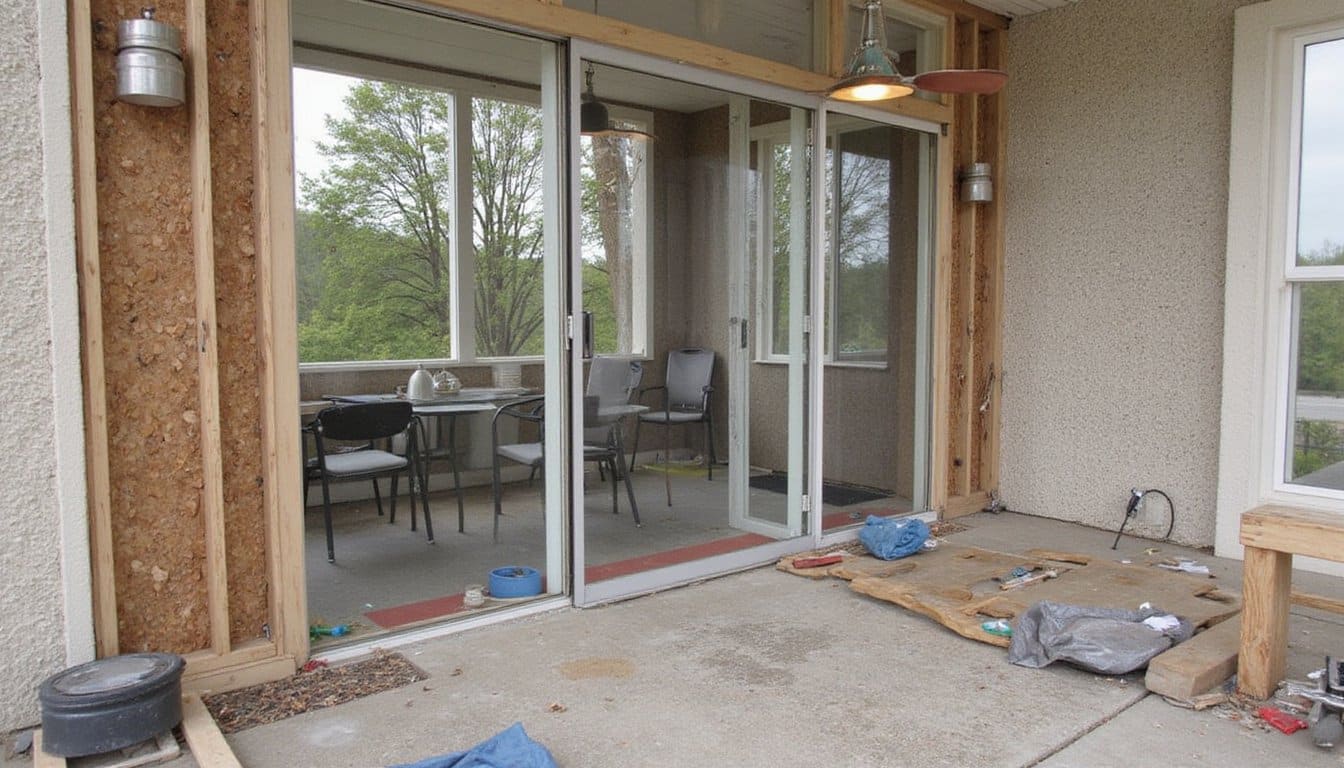
Next, scrape away old glazing compound thoroughly using your putty knife, ensuring the surface is completely clean. Remove all residual adhesive that could compromise your new glass seal. Methodically inspect the frame for remaining debris or deteriorated sealant. Professionals equipped with proper tools and safety gear can manage these repairs safely and prevent recurring issues that compromise weather resistance. Before beginning removal, lay foam sheets or blankets on the floor to protect both the glass and the flooring from damage. Always keep pets and children out of the workspace to prevent accidents during the repair process.
Throughout removal, wear safety goggles and sturdy gloves for protection. Maintain proper ventilation and keep an initial aid kit nearby. Safely dispose of all glass shards in a designated container, following local regulations for hazardous waste.
Install New Glass Pane Securely
With the frame thoroughly cleaned and prepped, you’re ready to position your new glass pane and secure it properly. Start by setting the glass flush within the frame, using a level to confirm even alignment across all sides. Center the pane to prevent contact with frame edges, which causes stress cracks.
Install glazing points every 6, 8 inches around the perimeter using a glazing tool, pressing firmly without over-tightening. Apply continuous adhesive beads compatible with your frame material, wood, metal, or vinyl, ensuring no gaps exist. Reinforce corners with extra points or compound for added strength. For environments requiring enhanced protection, consider retrofit security glazing solutions that provide superior resistance to forced entry beyond standard glass repairs.
Test glazing integrity by gently pressing the glass; it shouldn’t shift. Inspect all edges for gaps or misalignment. Run your hand around the perimeter to detect air infiltration. Address any issues immediately to maintain weatherproof protection.
Apply Glazing Compound and Sealant Properly
Now you’ll apply glazing compound and sealant to create a weatherproof seal around your new glass pane. Proper compound application techniques directly impact sealant longevity and weather resistance.
- Run a thick, even bead of glazing compound around the pane opening, pressing it firmly into the L-shaped joint between glass and frame.
- Use a putty knife dipped in mineral spirits to smooth the compound at an angle that diverts water effectively.
- Round the corners for elevated weather resistance and durability.
- Apply a thin bead of glazing compound around edges where glass meets stops, ensuring all joints are fully sealed.
Remove excess compound before it sets. Allow curing for at least 24 hours before priming. This methodical approach prevents moisture intrusion and maintains structural integrity. Proper sealant adhesion depends on having a clean, smooth frame surface free of old sealant and debris.
Restore Weather Resistance With Weatherstripping
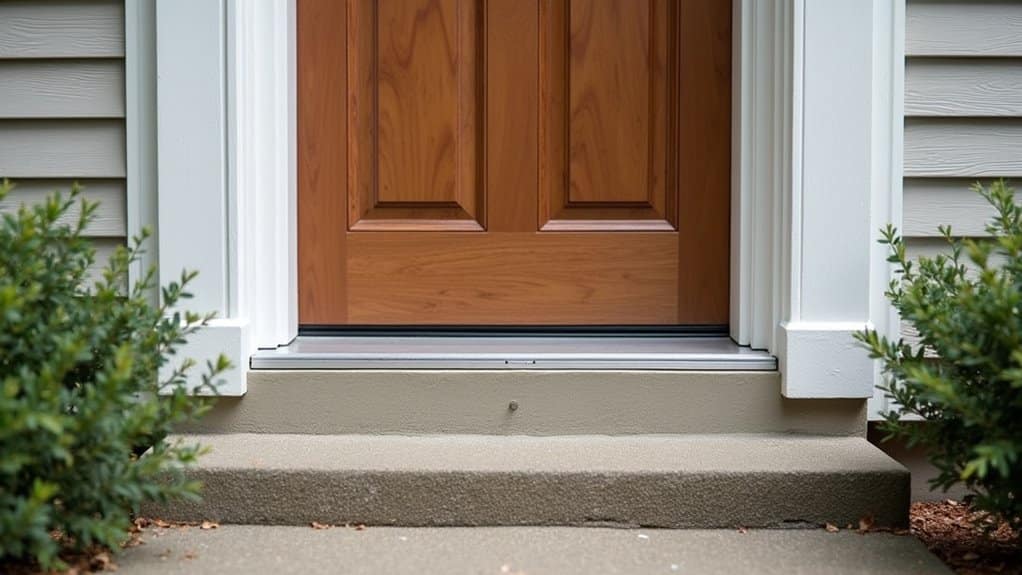
You’ll need to inspect your existing weatherstripping for signs of wear, compression, or peeling that compromise the seal’s effectiveness. Replace degraded sections with appropriate materials, foam tape, V-strip, or bulb weatherstrip, selected based on gap size and door usage patterns. For gaps that weatherstripping can’t fully address, you should apply compatible caulk at glass-to-frame or wood junctions to create a continuous moisture barrier. Before installation, prepare the surface by using sponge and rags to remove old adhesive and debris. Properly installed weatherstripping reduces heating and cooling costs by creating an effective air barrier that prevents drafts and moisture infiltration around your door frame.
Replace Worn Weatherstripping Materials
Weatherstripping degradation compromises a door’s ability to seal against drafts, moisture, and noise, making timely replacement essential for maintaining weather resistance. You’ll need to inspect weatherstripping condition regularly to identify wear patterns and performance decline.
- Examine seals for cracks, compression loss, or visible damage along all jambs and thresholds
- Test door closure resistance, increased drafts signal deterioration requiring replacement
- Replace worn weatherstripping every 5, 10 years or when performance noticeably declines
- Select appropriate materials matching your door type: silicone fin seals for small gaps, compressible bulb gaskets for uneven frames, or aluminum door shoes for large sill gaps
You should address replacement promptly to prevent water infiltration and energy loss. Clean the frame thoroughly before installing new weatherstripping, ensuring proper adhesion and ideal sealing performance. A 1/8-inch gap around an entryway door is equivalent to a 5 1/2-inch-diameter hole on an outside wall, underscoring why proper weatherstripping closure is critical for energy efficiency. Silicone compounds remain flexible in heat and cold, supporting long-term energy efficiency and consistent compression along the stop.
Seal Gaps With Caulk
While weatherstripping provides the primary defense against drafts and moisture infiltration, caulk serves as a critical secondary seal that fills gaps too large or irregular for weatherstripping alone to address effectively.
| Caulk Type | Temperature Resistance | Paintability | Durability |
|---|---|---|---|
| Silicone | Excellent | Poor | 10+ years |
| Acrylic Latex | Moderate | Excellent | 5-7 years |
| Polyurethane | Good | Fair | 10+ years |
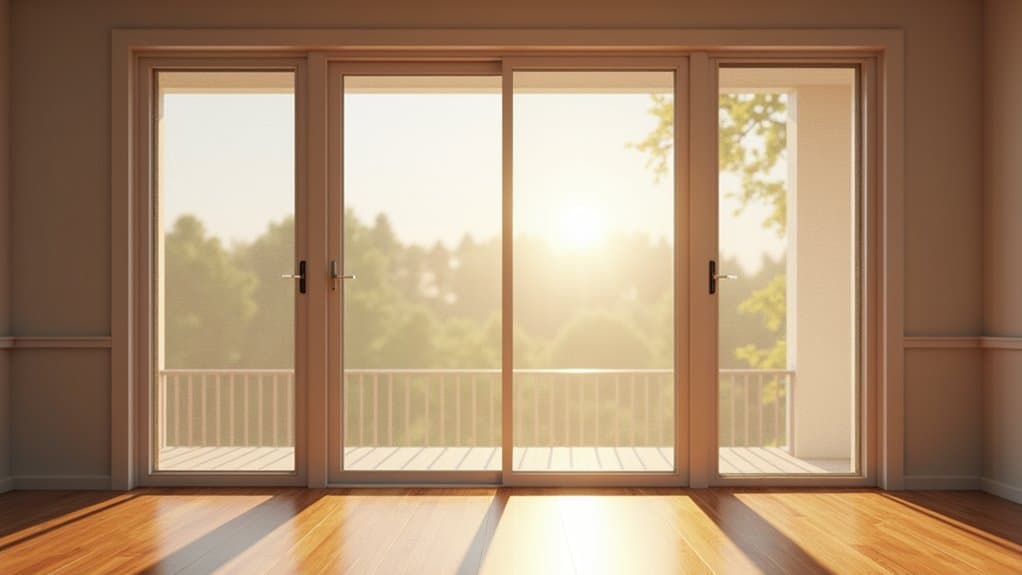
You’ll achieve ideal results through compatible materials selection, ensure your caulk bonds with both frame and wall materials. Clean gaps thoroughly before application, removing dust and moisture. Apply steady, continuous beads without stretching, smoothing immediately with a damp tool. Cost effective caulk application requires proper technique over product quantity, preventing shrinkage and voids that compromise weather resistance. Proper sealing around sliding glass doors can account for significant energy savings by addressing the gaps that typically occur around the frame, weatherstripping, and bottom track. Even a tiny 1/8-inch gap around a typical entryway door is the equivalent of drilling a 5 ½-inch-diameter hole through an outside wall.
Choose High-Quality Materials for Durability
You’ll need to select tempered or laminated glass that meets ANSI Z97.1 or CPSC 16 CFR 1201 standards, ensuring your replacement matches the original thickness for structural integrity and weather resistance. Your choice of sealant, silicone, butyl tape, or polyurethane, directly impacts long-term performance, as improper application can reduce weather resistance by up to 40% according to field studies. High-density EPDM or silicone weather stripping must be installed without gaps and inspected every 3, 5 years to maintain the continuous moisture and air barrier your door requires. Verification that repair techniques align with AGRSS, IGA, or NGA certification requirements ensures your door glass installation meets professional safety standards and maintains optimal weather resistance over time.
Glass Type Selection Matters
When you’re selecting glass for door repair, the material you choose directly impacts durability, safety, and long-term performance. Understanding glass type performance and glass durability requirements guarantees your repair maintains structural integrity and weather resistance.
Consider these critical options:
- Tempered glass, 3 to 7 times stronger than standard glass, resistant to thermal stress and impact
- Laminated glass, Up to 5 times stronger with PVB interlayers that keep shards intact when broken
- Impact-resistant glass, Meets ASTM E1886 and E1996 standards for severe weather conditions
- Low-E insulated units, Reduces heat transfer while maintaining clarity and energy efficiency
Your selection depends on door location, local building codes, and environmental exposure. Tempered glass suits interior applications, while exterior doors in coastal areas require impact-resistant or laminated options for compliance and longevity.
Sealant and Weatherstripping Quality
Most door glass repairs fail not because of poor glass selection, but because inadequate sealants and weatherstripping can’t withstand environmental stress or maintain their protective seal over time. You’ll achieve superior durability by selecting silicone or polyurethane sealants rated for UV and weather resistance. For weatherstripping, choose thermoplastic elastomer, rubber, or high-density foam materials, these resist tearing and compression loss in extreme conditions. Material compatibility between sealant and weatherstripping guarantees cohesive performance. Proper application technique demands cleaning surfaces thoroughly, applying continuous, unbroken sealant beads, and pressing weatherstripping firmly into grooves. You’ll cut energy loss by up to 20% while preventing drafts and moisture infiltration. High-quality materials last 5, 10 years, substantially outlasting budget alternatives that require frequent replacement and compromise weather resistance.
Practice Safe and Effective Repair Techniques
Proper door glass repair hinges on three critical elements: thorough preparation, rigorous safety protocols, and methodical execution. You’ll strengthen both safety and weather resistance by following these proven techniques:
Proper door glass repair requires thorough preparation, rigorous safety protocols, and methodical execution to strengthen safety and weather resistance.
- Assess door frame integrity and glass thickness considerations before starting any work
- Wear cut-resistant gloves, safety goggles, and closed-toe shoes throughout the entire repair process
- Tape cracked glass with masking tape to contain fragments, then carefully remove shards using pliers
- Clean frame surfaces thoroughly, removing old glazing putty and debris to guarantee proper sealant adhesion
You’ll then dry-fit your replacement glass to verify correct alignment. Apply high-quality silicone caulk in continuous beads along the frame perimeter, securing the glass with appropriate clips or stops. Allow the sealant full cure time before operating your door to sustain ideal weather resistance and structural integrity.
Maintain Door Glass and Weather Seals Long-Term
After you’ve completed your initial repair, protecting your investment requires vigilant long-term maintenance that addresses the specific environmental stressors your door encounters.
Your climate impact on door seals demands customized predictive maintenance strategies. Establish monthly inspection routines to detect cracks, gaps, or soft spots before failures occur. Clean seals quarterly using mild agents and soft cloths, avoiding harsh chemicals that degrade materials. Document all observations systematically.
| Season | Focus Area | Action |
|---|---|---|
| Winter | Seal integrity | Lubricate and repair gaps |
| Spring | Water ingress | Check for mold and soft spots |
| Summer | UV damage | Assess brittleness; re-coat if needed |
Replace seals showing persistent compression loss or frame separation. Maintain detailed records of material performance to inform future replacements and optimize your door’s weather resistance durability.
Frequently Asked Questions
Can I Repair Door Glass in Cold or Wet Weather Conditions Without Affecting Sealant Performance?
You shouldn’t repair door glass in cold or wet weather without jeopardizing sealant performance. Instead, you’ll want to postpone work until temperatures exceed 32°F and surfaces are completely dry. If you can’t wait, you’ll apply use temporary protective film to shield the repair area from moisture and consider indoor temperature fluctuations when planning your timeline. This methodical approach guarantees you won’t weaken adhesion or accelerate sealant breakdown through premature environmental exposure.
What Is the Typical Cost Difference Between DIY Repair and Professional Door Glass Replacement Services?
You’ll save 50, 80% upfront by choosing DIY repair ($10, $100 materials) versus professional service ($100, $500 for repairs; $500, $2,000 for replacement). However, you’re investing time and risking hidden costs from mistakes. Professional consultation recommendations prove valuable since improper repairs compromise weatherproofing and energy efficiency. Consider budget-friendly alternatives like minor DIY repairs paired with professional assessment, ensuring you don’t sacrifice long-term durability or warranty protection.
How Long Does Glazing Compound or Silicone Sealant Typically Take to Fully Cure Before Use?
You’ll need to allow oil-based glazing compounds 7, 21 days for paint-readiness, though full cure extends up to one month in cool conditions. Polymer compounds cure faster, 24 hours to painting, full cure in one week. For silicone sealants, you’re looking at 24 hours for thin beads, but deeper sections require several days. Your sealant application considerations matter: temperature, humidity, and ventilation directly impact curing time. Always verify manufacturer specifications before proceeding.
Should I Replace the Entire Door Frame if Glass Damage Has Caused Structural Misalignment Issues?
You shouldn’t automatically replace your entire door frame. Instead, consider consulting a professional inspector who’ll check if door frame integrity is compromised. Minor misalignment often responds well to shimming hinges or reinforcing joints. However, if you’ve noticed permanent gaps, severe warping, water infiltration, or repeated failed repairs, full replacement becomes necessary. Structural assessment determines whether targeted sectional replacement or complete frame replacement best restores your door’s weatherproofing and security functionality.
What Safety Certifications Should Replacement Glass Have for Doors in Hurricane or High-Impact Areas?
You’ll need replacement glass with Miami-Dade Notice of Acceptance (NOA) certification or Florida Product Approval for hurricane zones. Your glass must meet ASTM E1996 and E1886 standards, demonstrating impact resistant glazing materials that withstand large and small missile impacts. Verify the DP (Design Pressure) rating matches your region’s wind requirements. Confirm safety rating certifications are labeled on the product, ensuring traceability and compliance with local building codes.