


Replace your storm door like a pro in seven straightforward steps. You'll need to gather essential tools and materials initially, then remove the old door completely. Measure and prep your door frame carefully before installing the new frame with proper alignment. Mount the storm door securely, add all hardware components, and install weather stripping for a proper seal. Ultimately, test and adjust the door's operation until it's perfect. Learn more detailed techniques to guarantee professional-quality results.
Gather Your Tools and Materials

The essential tools for replacing a storm door include a power drill, screwdriver set, tape measure, level, utility knife, and safety glasses. You'll also need a pry bar for removing the old door and hardware, plus a helper to assist with door positioning and alignment.
For materials, verify you've purchased a high-quality storm door that matches your entryway's measurements. Tool selection matters – invest in a drill with multiple bits and a reliable level for precise installation. You'll need weatherstripping, door sweep, and the manufacturer's mounting hardware kit. Don't forget shims for adjustments and caulk for sealing. If you're working with a wood frame, grab some exterior wood screws as backup fasteners. Keep extra drill bits handy in case you encounter metal framing or dense materials.
Remove the Old Storm Door
You'll need to start by unscrewing all hardware components from your old storm door, including the doorknob, closer, and any chain stops. Next, locate and remove all hinge screws while supporting the door's weight to prevent it from falling. Once all attachment points are free, carefully lift the door away from the frame and set it aside in a safe location.
Unscrew Hardware and Hinges
Start by removing any visible screws securing the door's hardware and hinges. Use a power drill with the appropriate screwdriver bit for faster unscrewing techniques, but switch to a manual screwdriver for stubborn or stripped screws. Work from top to bottom, keeping all hardware organized in labeled bags for proper disposal.
Pay attention to hinge maintenance as you remove each piece – note any rust or wear that might affect your new installation. You'll typically find screws on both the door frame and door edge sides of the hinges. Don't forget to check for hidden fasteners behind weather stripping or decorative covers. If you encounter resistance, spray penetrating oil on seized screws and let it sit for 15 minutes before attempting removal. Support the door's weight as you remove the final hinge to prevent it from falling.
Remove Door From Frame
Now that all hardware and hinges are detached, removing the old storm door requires careful handling to avoid damage to surrounding trim and framework. Grip the door firmly on both sides, keeping it level as you lift it away from the frame. If you're working alone, consider placing a drop cloth or cardboard beneath the door to protect your flooring.
For effective door removal tips, maintain control of the door's weight by slightly tilting it in your direction while stepping backward. Don't rush this process – storm doors can be awkward to maneuver in tight spaces. Once you've removed the door, inspect the frame preparation area thoroughly. Clear away any remaining screws, weatherstripping, or debris from the frame surface. You'll want a clean, smooth surface before installing the new door.
Measure and Prep the Door Frame

Before purchasing a new storm door, accurate measurements of your existing door frame are essential. You'll need to take door measurements at three different points – the top, middle, and bottom of the frame – to guarantee you get the most precise dimensions. Use the smallest measurement as your reference to confirm a proper fit.
- Remove any old weather stripping, caulk, or debris from the frame
- Check the frame for rot, damage, or loose sections that need repair
- Verify the frame is square by measuring diagonally from corner to corner
During frame preparation, confirm the mounting surface is clean, dry, and level. If you find any gaps or uneven areas, now's the time to address them with shims or repairs before installing your new storm door.
Install the New Door Frame
You'll need to carefully position the new storm door frame into the opening, making sure it's level and plumb against your home's door jamb. Secure the frame by installing mounting screws through the pre-drilled holes, starting at the top hinge side and working your way down in a zigzag pattern. After tightening all screws, apply weather stripping along the frame's edges to create a tight seal that prevents drafts and moisture infiltration.
Position Frame for Alignment
Getting the new storm door frame correctly positioned is critical for proper operation and weatherproofing. You'll need to achieve perfect frame alignment to guarantee your door opens and closes smoothly. Start with door positioning by centering the frame in the opening, making sure it's plumb and level against the exterior trim.
Follow these essential steps for precise alignment:
- Place a level on the hinge-side jamb and adjust until it reads perfectly vertical, using shims as needed behind the frame
- Check the top frame piece with your level to guarantee it's perfectly horizontal, shimming corners if necessary
- Verify the strike-side jamb is parallel to the hinge side by measuring the width at top, middle, and bottom points
Once aligned, hold the frame firmly in place before proceeding with permanent attachment.
Secure With Mounting Screws
Secure the properly aligned frame by installing mounting screws through pre-drilled holes in the jamb. Start with the hinge-side jamb, working from top to bottom, using #8 x 1-inch pan-head screws. Don't fully tighten each screw until you've verified the frame remains plumb.
Move to the strike-side jamb, following the same mounting techniques. Install screws in alternating holes, checking for proper alignment as you progress. If you're working with a vinyl or aluminum frame, use self-drilling screws specifically designed for these materials. For wooden frames, pre-drill pilot holes to prevent splitting.
Complete the installation by securing the header section with appropriate screw types. Test the frame's stability by applying gentle pressure at different points. The frame should feel solid and show no signs of movement when properly secured.
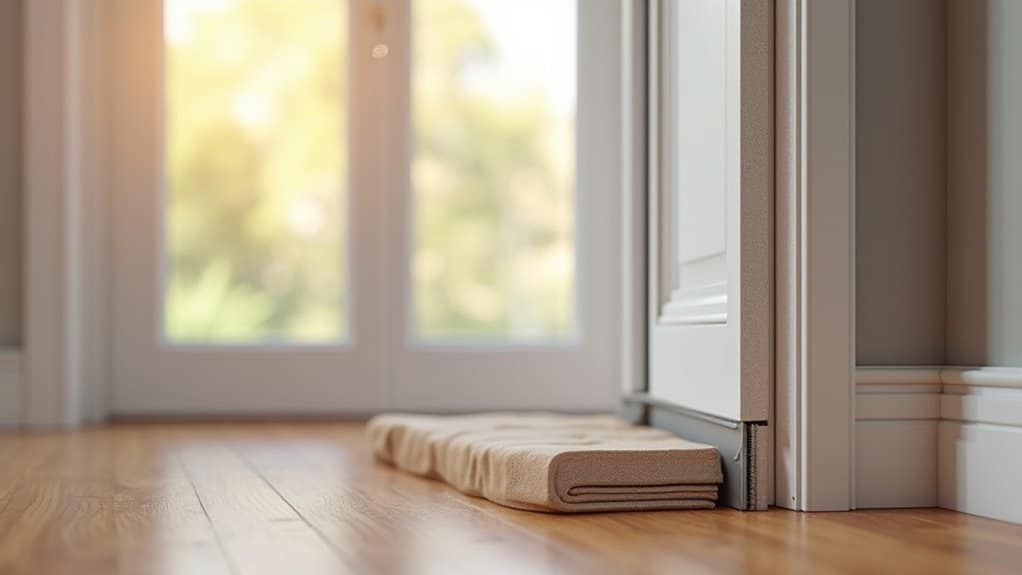
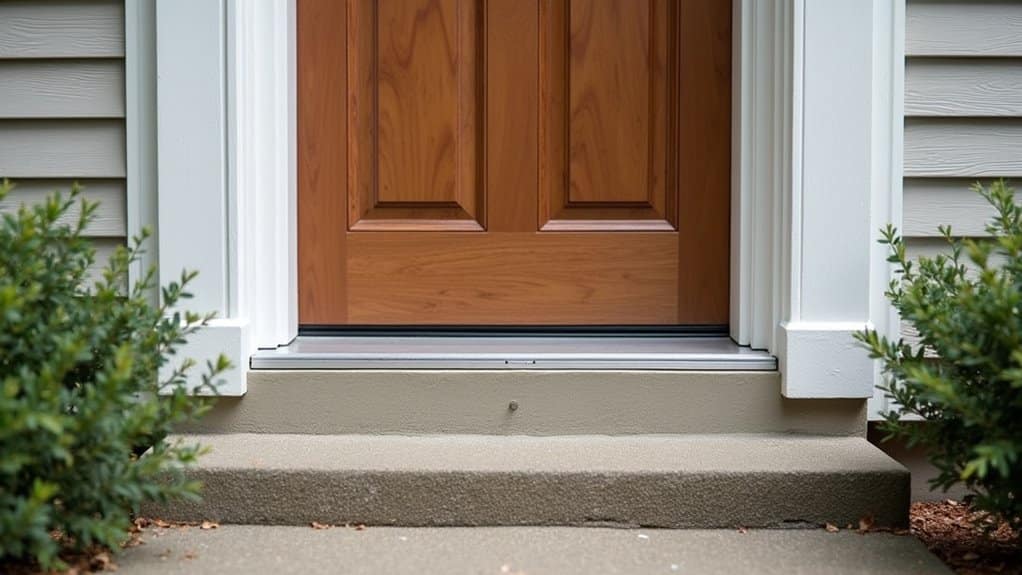
Add Weather Stripping Protection
With the frame securely mounted, weather stripping installation comes next to confirm a tight, draft-free seal. You'll need to choose from several weather stripping types, including adhesive-backed foam, vinyl, or rubber gaskets. Each material offers different levels of durability and weather protection.
Follow these essential installation techniques for superior results:
- Clean the door frame thoroughly with degreaser and let it dry completely before applying any weather stripping
- Measure and cut the stripping precisely, leaving no gaps at corners or meeting points
- Press firmly while installing to verify proper adhesion, working from one end to the other without stretching the material
Test the seal by closing the door slowly. You should feel slight resistance, indicating proper compression of the weather stripping against the frame.
Mount the Storm Door
Place the storm door into the opening and use wood shims along the bottom to achieve a level position. While most storm door types fit standard openings, you'll need to verify proper alignment before securing it to the frame. Check that the door sits plumb and level using a carpenter's level on both sides and top.
Attach the hinge-side mounting rail to the door frame materials, whether aluminum, wood, or vinyl. Drive screws through pre-drilled holes, starting at the top and working your way down. Don't fully tighten until you've confirmed the door operates smoothly. Install the latch-side mounting rail next, maintaining consistent spacing between the door and frame. Ultimately, secure the top rail and remove the shims. Test the door's operation several times, making adjustments as needed for proper closure.
Add Hardware and Weather Stripping

Now that your storm door is properly mounted, it's time to install the hardware components for daily use. Your hardware selection should include a handle set, hydraulic closer, and wind chain. Choose weather stripping types that match your climate needs – vinyl for moderate conditions or silicone for extreme temperatures.
Follow these essential steps for proper installation:
- Install the handle set by aligning the interior and exterior pieces, securing them with provided screws
- Attach the hydraulic closer at the top and bottom of the door, adjusting tension for smooth operation
- Apply adhesive-backed weather stripping around the frame's perimeter, ensuring a tight seal
Test the door's operation several times to verify smooth movement and proper sealing. Make final adjustments to the closer speed if needed.
Test and Adjust Door Operation
After completing all installation steps, you'll need to perform several critical tests to guarantee your storm door functions properly. Open and close the door multiple times to check for smooth operation and proper latching. Listen for any scraping or squeaking that might indicate door alignment issues.
Verify the door closes tightly against the weather stripping without gaps. If you notice binding or resistance, adjust the door's position by loosening the hinge screws and realigning the frame. Your operation testing should also include checking the door closer's speed and ensuring it fully closes the door without slamming.
Make final adjustments to the strike plate if needed, and test all hardware components, including locks and handles. Your storm door should now operate seamlessly with proper alignment and consistent performance in all weather conditions.
Frequently Asked Questions
Can I Install a Storm Door on a Door That Swings Outward?
You typically can't install a standard storm door on an outward-swinging entry door due to storm door compatibility issues. The conflicting door swing direction would cause the doors to interfere with each other. However, you can investigate specialized storm door models designed specifically for outward-swinging doors, though they're less common and may be more expensive. You'll need to measure carefully and consult with door manufacturers to find appropriate options.
How Long Does a Typical Storm Door Installation Take for Beginners?
For a beginner, you'll typically need 2-4 hours to install a storm door. Here are some time estimates: measuring and prep work (30 minutes), removing old door if needed (20 minutes), installing the frame (45 minutes), hanging the door (30 minutes), and adding hardware (45 minutes). Installation tips: having all tools ready beforehand, reading instructions completely, and working with a helper will help you stay within this timeframe.
Should I Choose a Full-View or Partial-View Storm Door Design?
Your choice between full-view and partial-view storm doors depends on your specific needs. Full-view benefits include maximum natural light, unobstructed views, and a more modern aesthetic – ideal if you've got a beautiful front door you'd like to showcase. Partial-view advantages offer increased durability, better privacy, and extra protection from the elements with their solid bottom panels. Consider your climate, security needs, and home's style when deciding. Either choice can improve your entryway considerably.
What's the Average Lifespan of a Properly Maintained Storm Door?
You can expect your storm door to last 25-30 years when properly maintained. High-quality storm door materials like aluminum and steel tend to offer the longest lifespan, while vinyl doors typically last 15-20 years. To enhance durability, you'll want to follow essential door maintenance tips: lubricate hinges quarterly, check weatherstripping annually, clean tracks monthly, and tighten hardware regularly. Regular inspection and prompt repairs will help your door reach its full potential lifespan.
Can I Reuse the Old Storm Door Hardware on My New Door?
While you can potentially reuse some storm door hardware, it's not always recommended due to storm door compatibility issues. Different manufacturers use specific designs and mounting points, so your old hardware may not properly align with your new door. For the best hardware installation results and door performance, you should use the hardware that comes with your new storm door. If you do reuse parts, carefully check measurements and mounting holes initially.