


You’ll measure your door frame at three distinct points on both width and height to capture warping. For width, take readings at the top, middle, and bottom, use the smallest measurement. For height, measure at left, center, and right positions, use the largest reading. Record all measurements carefully since discrepancies larger than 1/8 inch signal potential frame settling. These critical dimensions directly impact your weather-tight seal‘s effectiveness and longevity. Understanding frame depth and squareness adds another essential layer to ensuring proper fit.
Essential Tools and Preparation Steps

Before you begin measuring your door frame, you’ll need several key tools to guarantee accuracy and a weather-tight fit. Gather a 25-ft tape measure with clear markings, a level, and a carpenter’s square for confirming plumb and square surfaces. You’ll also need a pencil and notepad to record measurements immediately. A flashlight for inspecting tight or dimly lit spaces is also essential for accessing hard-to-see areas of the frame.
Next, prepare your work area by removing trim and clearing debris that obstructs access to the frame. Inspect lighting conditions and use a flashlight in dim areas. Check for temporary weatherstripping blocking the jamb and threshold. Taking time to record each measurement ensures you avoid confusion and costly ordering errors. Measure the frame at multiple points to capture any irregularities or warping that could affect the fit of your new door.
Before measuring, verify consistent tool calibration on your level and square, systemic errors compromise accuracy. Consider second person verification by having an assistant hold the tape measure and confirm readings independently. This approach catches alignment issues and sagging that single-person measuring misses.
Measuring Width at Multiple Points
Three distinct width measurements, taken at the top, middle, and bottom of your door frame, form the foundation of accurate sizing and weather-tight installation. You’ll use the smallest value among these three readings to guarantee proper clearance and fit. Record each measurement immediately with its position clearly labeled to prevent confusion and enable traceability.
Measurement discrepancies larger than 1/8 inch signal potential frame warping or settling issues. By recording measurement discrepancies systematically, you identify trim obstructions or structural distortion affecting usable width. This practice mitigates installation mistakes such as binding, gaps, or improper sealing that compromise weather-tightness. Using combination squares for marking helps you verify the accuracy of each width measurement across all three positions. A metal tape measure ensures precise readings that meet manufacturer tolerance standards for your security door. Digital laser measures provide an alternative method for capturing exact dimensions without contact, reducing human error in challenging measurement scenarios.
Document all readings in a standardized unit, either inches or millimeters, across positions for accurate comparison. Exclude trim and decorative elements; focus strictly on jamb edges. This disciplined approach prevents costly errors when ordering doors and ensures optimal performance.
Determining the Correct Height Measurements
You’ll need to take height measurements at three distinct points, left, center, and right, recording the largest measurement to certify adequate clearance for your door installation. Consider your finished floor level and any thresholds you’ll be installing, as these directly impact the effective clearance you’re measuring from. Standard interior door heights typically measure 80 inches, though 84 inches and 96 inches are also common options depending on your home’s ceiling height. When shimming door jambs, elevate them approximately 3/8″ off the floor if you’re carpeting to allow the carpet to be tucked underneath and prevent the door from rubbing. Proper sealing and efficient materials can mitigate potential energy efficiency impacts from taller door installations. This three-point assessment combined with threshold planning prevents binding issues and assures a weather-tight fit once your door’s hung.
Three-Point Height Assessment
Since door frames rarely sit perfectly plumb, taking three distinct vertical measurements, at the left, center, and right positions, reveals the true height variation across your opening. You’ll measure vertically from the threshold to the top of the door frame at each location, then select the tallest measurement for your door purchase. This comprehensive thorough measurement approach prevents installing a door that’s too short for uneven openings. Using a tape measure for precision ensures you capture accurate vertical distances at each point, which is essential for identifying how much the frame has settled or warped over time.
| Measurement Point | Purpose | Critical Detail |
|---|---|---|
| Left side | Baseline reference | Detect settling patterns |
| Center | Peak height identification | Ensures Guarantees proper fit |
| Right side | Comparative analysis | Reveals frame warping |
| Tallest reading | Final specification | Guarantees coverage |
| Documentation | Quality control | Supports installation |
Record all three readings to identify irregularities, guaranteeing consistent frame alignment and preventing weather infiltration issues during installation.
Threshold and Clearance Planning
Once you’ve documented the frame’s height variation across all three points, you’ll shift focus to the threshold and door bottom clearance, the components that’ll seal your door against weather infiltration and guarantee proper swing clearance.
Start by checking final floor surface heights after all finish materials are installed. Measure from the completed flooring to your threshold’s top edge, verifying threshold height accuracy against code requirements. For ADA compliance, maintain a maximum 1/2-inch threshold with beveled edges. Fire-rated doors demand stricter adherence: NFPA 80 limits clearance to 3/4 inch with zero over-tolerance.
Account for your door’s undercut dimension relative to the threshold profile. This coordination prevents gaps that compromise weather-tightness and insulation. When the flooring covers the threshold, measure sill height separately to ensure accurate documentation of your installation requirements. The hinge height selection must align with your door’s overall dimensions to prevent binding or misalignment. A correctly sized door maintains energy efficiency and security by ensuring precise threshold alignment with your specific installation environment. Document all clearance measurements on the pull side, ensuring your installation meets both accessibility standards and performance specifications.
Assessing Frame Depth and Thickness
You’ll need to assess frame thickness variations across multiple points because warping or damage can compromise your installation’s weather-tightness and hardware security. Measure your frame depth at three locations, top, middle, and bottom, using the smallest dimension to account for wall irregularities and guarantee a flush fit without gaps or protruding trim. Understanding how thickness and depth interact with your specific wall construction allows you to select the correct frame size before ordering and prevents costly installation problems. Most typical standard door frames are approximately 2 inches thick, which serves as a reference point when evaluating whether your existing frame measurements fall within acceptable ranges for proper hardware installation and sealing. For commercial applications or accessibility considerations, ensure your measurements accommodate the 32-inch minimum width required to meet universal design standards.
Understanding Frame Thickness Variations
Why does frame thickness matter so much for a weather-tight fit? Because variations directly compromise your seal’s integrity. You’ll need to evaluate material characteristics and optimize thermal performance by measuring at multiple points, top, middle, and bottom.
| Measurement Location | Standard Range | Impact on Fit |
|---|---|---|
| Top of frame | 0.75, 1″ | Critical seal point |
| Middle section | 0.75, 1″ | Primary reference |
| Bottom of frame | 0.75, 1″ | Foundation stability |
Use the smallest measurement as your critical dimension. If thickness varies, your frame may be warping or settling unevenly. This irregularity requires shimming or customized installation to maintain proper weather resistance. Always confirm the frame is level and plumb before proceeding. Document all variations systematically, these recordings prevent costly installation errors and guarantee your door performs as designed.
Squareness and Depth Adjustments
Three critical assessments determine whether your door frame can accommodate a weather-tight installation: verifying 90-degree angles at all corners, measuring frame depth at multiple points, and identifying irregularities that’ll affect the seal. Use a carpenter’s square at each corner, then measure diagonally; if measurements differ by more than 1/8 inch, the frame’s out of square. Record depth measurements at the top, middle, and bottom, using the smallest value for compatibility calculations. When measuring frame regularity and inspecting for warping, note any uneven surfaces or protrusions that compromise the seal. Minor squareness and depth discrepancies require shims during installation. Significant irregularities demand planing, sanding, or frame section replacement. These adjustments prevent misalignment, latching issues, and gaps that reduce weather-tightness and energy efficiency.
Checking Squareness and Alignment

Precision in door frame geometry directly impacts weather-tight performance and operational reliability. You’ll verify squareness at each corner using a carpenter’s square, targeting 90-degree angles within 1/8 inch tolerance. Apply the diagonal measurement method, measuring from top left to bottom right and top right to bottom left, to detect out-of-square conditions.
For frame rigidity assessment, you’ll use a straight edge across jamb faces to detect twisting or warping. Visual warpage inspection involves examining all four corners for irregularities signaling structural issues.
| Measurement Method | Tool Required | Tolerance | Purpose |
|---|---|---|---|
| Diagonal Cross | Tape Measure | ±1/8″ | Squareness verification |
| Plumb Check | 6-foot Level | Vertical alignment | Jamb evaluation |
| Width Consistency | Tape Measure | ±1/8″ | Frame uniformity |
You’ll document all irregularities before door installation to prevent latch problems and air leaks.
Accounting for Thresholds and Door Shoes
You’ll consistently find that threshold and door shoe measurements make or break a weather-tight installation. Measure the gap beneath your door slab, then select a shoe that fills this space without jamming the opening. Guarantee the shoe length matches your door width for even contact and effective sealing.
Account for flooring considerations, tile, carpet, or transitions, that affect threshold height placement. Verify material compatibility between your shoe and threshold; vinyl, aluminum, and rubber options suit different applications. Document existing threshold dimensions, including material and condition, before replacement.
Measure from your finished floor to the top jamb for precise frame height. If resetting the threshold, measure from the subfloor instead. Check frame width at three points, top, middle, bottom, using the lowest reading for threshold cuts. This approach prevents gaps, leaks, and binding.
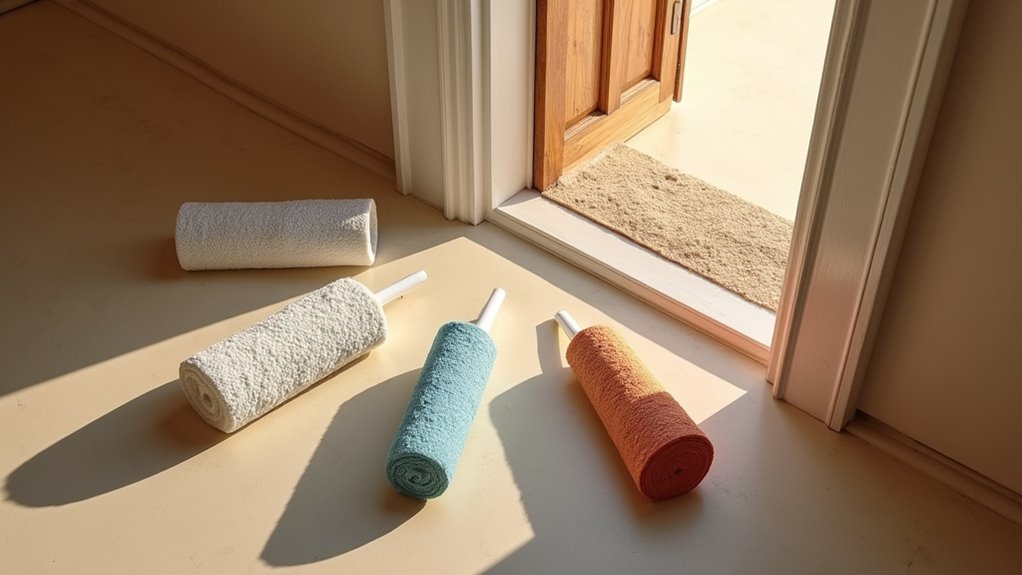
Selecting Appropriate Weatherstripping Thickness
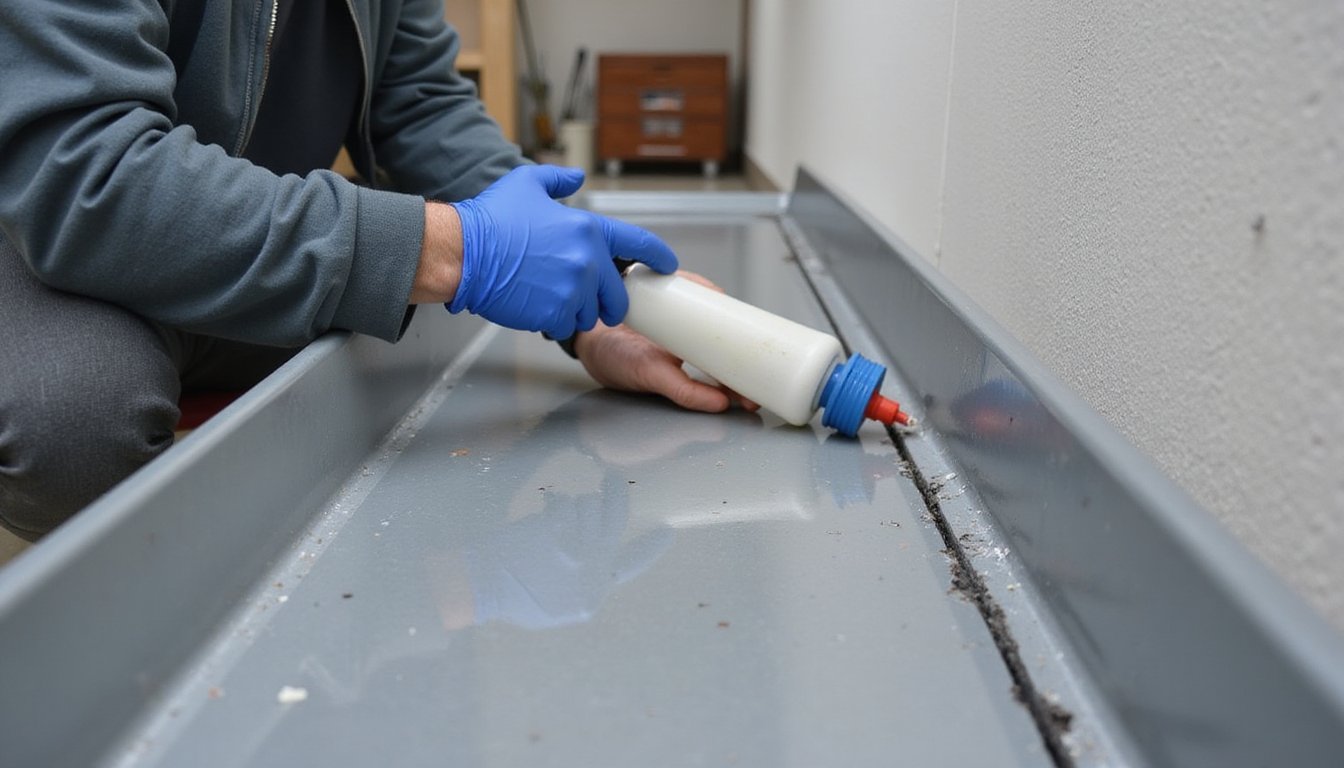
How do you know which weatherstripping thickness will actually seal your door without causing it to jam? You’ll match your material selection to your measured gap size precisely. For gaps up to 1/8 inch, choose thin foam or adhesive-backed vinyl strips. Between 1/8 and 1/4 inch, bulb seals or V-strips work well. Larger gaps from 1/4 to 3/8 inch require compression seals or door sweeps. Thickness compatibility matters critically, select weatherstripping compressed slightly larger than your largest gap measurement, but never oversized. Test fit before final installation to confirm full compression without binding. If weatherstripping proves too thick, adjust door hinges or plane edges rather than choosing undersized material that won’t seal effectively.
Verifying Measurements Before Installation
Why do so many door installations fail to achieve a weather-tight seal? Often, installers skip critical verification steps. You must double-check every measurement before purchasing materials or beginning installation. Compare your repeated measurements, any discrepancies signal potential issues requiring resolution.
Create a baseline framing adjustment checklist by recording width at three locations (top, middle, bottom), height on both sides and center, and depth measurements. Verify squareness using diagonal measurements across the rough opening. Perform frame moisture evaluation to identify rot, water infiltration, or bowing that compromises fit.
Label each measurement clearly and document clearances for hinges, hardware, and swing space. Cross-reference your notes against your rough opening calculations. This methodical verification prevents costly errors and guarantees your door operates smoothly while maintaining a weather-tight, durable installation.
Frequently Asked Questions
Can I Measure My Door Frame in Cold or Wet Weather Conditions?
You shouldn’t measure your door frame during cold or wet weather conditions. Cold temperatures cause wood to contract, producing undersized measurements that’ll result in binding doors when warmer weather arrives. Wet conditions cause frames to swell from moisture absorption, yielding oversized readings that create gaps as frames dry. Instead, you’ll want to measure during moderate temperatures and dry conditions. If you can’t wait, account for expansion and contraction in your final measurements to guarantee a proper weather-tight fit.
What Should I Do if My Door Frame Measurements Are Inconsistent or Irregular?
When you’re encountering irregular measurements, you’ll need to investigate structural defects initially, check for warping, bowing, or foundation settling. Record the smallest width and tallest height values you’ve obtained. Then, you’ll adjust frame alignment using metal shims strategically placed at hinge locations. Subtract 1/8 inch from your measurements for clearance, recheck everything, and tighten all hardware before finalizing your installation.
How Do I Know if Weatherstripping Is Compressed Too Tightly or Too Loosely?
You’ll assess compression quality by testing your weatherstripping flexibility. Close the door and slide a piece of paper along the seal, if it pulls out easily, you’ve got under-compression; if it tears, you’ve over-compressed. Check for visible gaps or drafts around edges. Your door shouldn’t require excessive force to close. Proper compression lets you operate the door smoothly while maintaining an even, tight seal that rebounds when opened.
Should I Measure Around Existing Trim, Molding, or Casing on the Frame?
No, you shouldn’t measure around existing trim, molding, or casing. Instead, you’ll measure door jamb dimensions directly on the frame itself, excluding all exterior trim. Check frame for obstructions that might hide the true jamb size. Remove or ignore trim to reveal accurate frame measurements. This approach prevents oversizing and guarantees proper weatherstripping fit. You’re measuring the actual frame structure, not its decorative coverings, ensuring reliable results and effective weather-tightness for your door installation.
What’s the Best Way to Document Measurements for Future Reference or Professional Installation?
You’ll want to create detailed photo documentation showing each measurement tool positioned next to recorded dimensions. Pair these with annotated diagrams marking exact measurement points, label them clearly (e.g., “Width-Top,” “Height-Left”). Document the date, location, and personnel involved. Store everything digitally in a master folder for seamless access. You’re establishing a traceable reference system that allows installers to verify measurements and catch discrepancies immediately, preventing costly installation errors.