


You’ll replace your door frame in five crucial steps while safeguarding storm protection. Initially, assess the opening and gather storm-rated materials. Next, carefully remove the existing frame without damaging walls. Then install your new frame, ensuring it’s plumb and level. Follow up with thorough weatherproofing using exterior-grade products and foam insulation. Ultimately, inspect everything for proper alignment and weather sealing. Each phase builds on the preceding one to guarantee maximum protection.
Assessment and Preparation
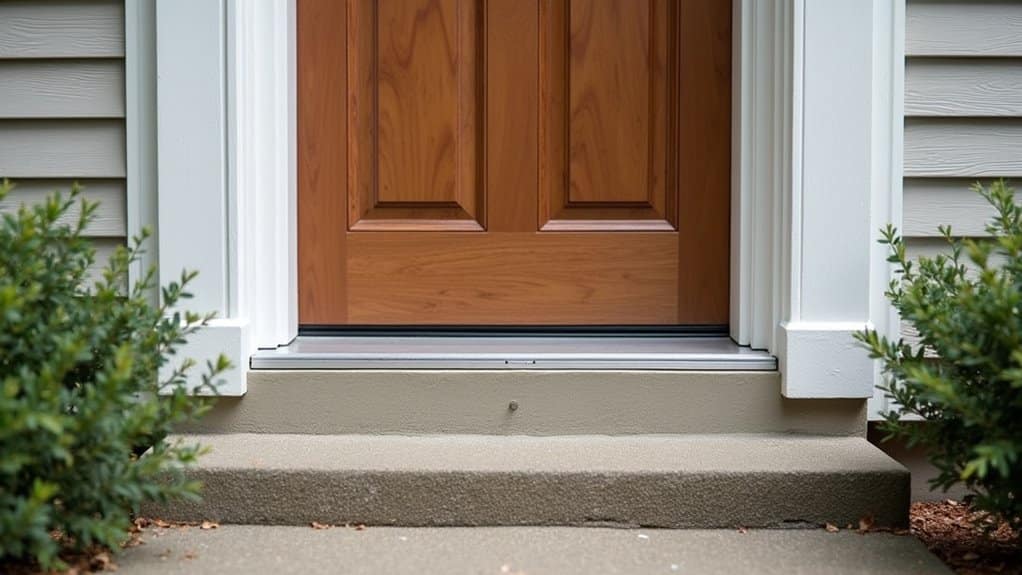
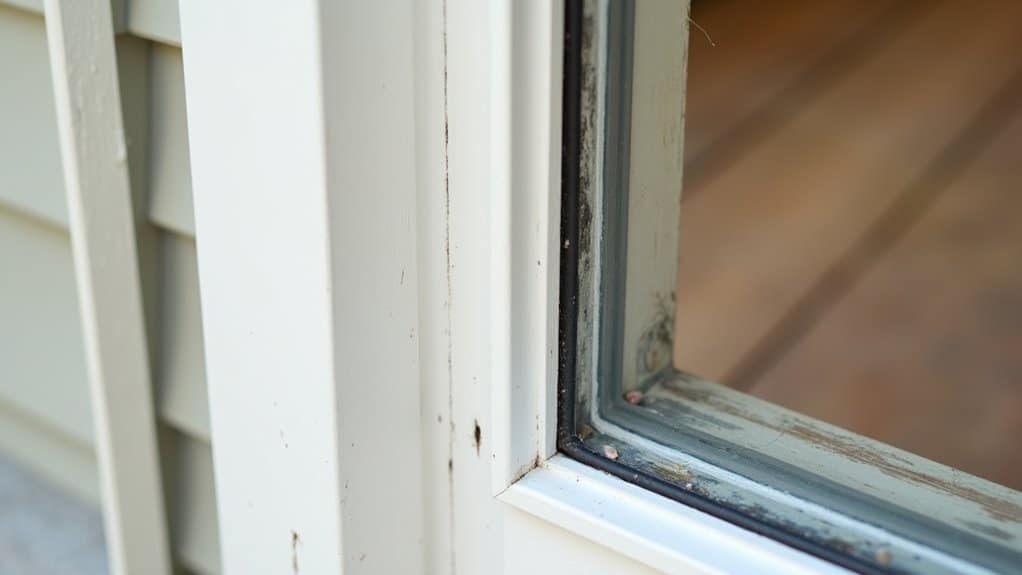
Before you begin replacing your door frame, you’ll need to thoroughly evaluate the existing structure and gather the proper materials and tools. Inspect the current frame for visible damage like cracks, rot, warping, and water intrusion that compromise storm protection. Measure the rough opening at multiple points, checking for plumb and square with a level. Document the frame dimensions precisely before purchasing replacement materials.
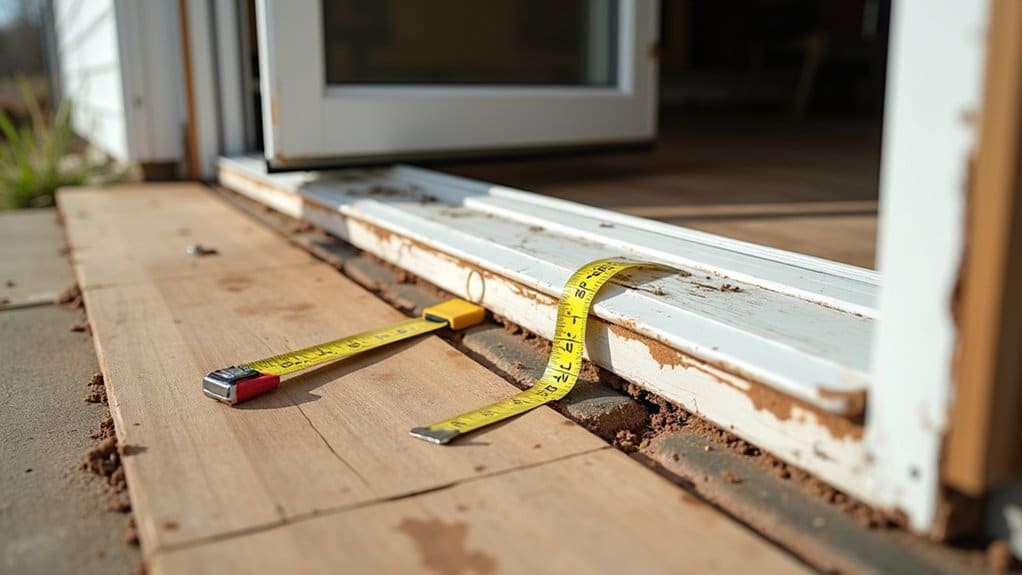
Next, compile essential tools: measuring tape, hammer, level, pry bar, drill, wood shims, sandpaper, and utility knife. Select a storm-rated door frame appropriate for your regional conditions. Acquire heavy-duty fasteners, corrosion-resistant hardware, exterior-grade caulk, spray foam insulation, and weatherstripping materials. Use a measuring tape to verify the frame’s width, height, and thickness match the specifications of your replacement unit. Consider whether repair instead of replace might be suitable if only minor damage is present, as this can preserve the existing frame while addressing localized issues.
Implement safety precautions throughout the process. Plan structural reinforcement around the opening to withstand storm forces, ensuring your new installation maintains integrity against wind-driven water and debris infiltration. Properly measure the door’s width, height, thickness, and swing direction to ensure correct fit and optimal storm protection performance.
Removal of Existing Frame
Once you’ve completed your assessment and gathered your materials, you’re ready to remove the existing door frame, a process that requires careful attention to prevent damage to the surrounding structure. Start by cutting all fasteners holding the frame in place, including finishing brad nails and screws from the top, middle, and bottom sections. Check for random fasteners that may be hidden throughout the frame. Work methodically to avoid wall damage by scoring along edges with a utility knife before prying. After loosening the frame, carefully lift it out while minimizing floor impact. To ensure safe handling during removal, place cardboard or towel support underneath the frame to protect your flooring and provide a stable work surface. Before proceeding with installation, consider enlisting help to manage the frame’s weight during removal, as this is a critical safety step. Clear the rough opening of debris and inspect it thoroughly for damage, rot, or misalignment before installing your replacement frame. Using essential tools such as a pry bar and chisel will help you efficiently remove any remaining nails and debris from the opening.
Installation of New Frame

With your rough opening properly cleared and inspected, you’re ready to install your new door frame, a process that demands precision at every stage.
Begin by dry-fitting your assembled frame into the opening, checking all four sides for flush alignment. Verify that both jambs are plumb and the header is level using a carpenter’s level. Insert temporary shims at hinge locations and behind the latch-side jamb for initial positioning. A plumb bob can verify that your door will hang straight and aligned both vertically and horizontally.
Next, follow these critical steps:
- Secure the hinge-side jamb first, driving screws through shims into structural framing
- Adjust shims behind each fastener to maintain even support without bowing
- Space fasteners every 12, 16 inches along jambs and header for impact resistance
- Trim excess shims flush after securing the latch and head jambs
- Apply foam insulation strips to fill any remaining gaps around the frame perimeter, which enhances both energy efficiency and weather protection.
Before finalizing the installation, use wood shims and construction adhesive to ensure all gaps are properly sealed and the frame remains securely anchored against structural pressure points.
This methodical approach guarantees structural integrity and storm-resistant installation.
Weatherproofing and Storm Protection
How you seal and insulate your new door frame determines whether it’ll withstand harsh weather or become a vulnerability in your home’s exterior envelope. You’ll need to apply weatherstripping, caulk, and foam insulation around all frame edges, seams, and joints. Guarantee material compatibility by selecting exterior-grade products rated for storm exposure, EPDM rubber, silicone, and heavy-duty vinyl resist UV damage and moisture degradation effectively. Clean and dry all gaps thoroughly before applying caulk for proper adhesion. Install door sweeps at the base to block water infiltration. Before installing weatherstripping, verify that the door frame is square to ensure proper compression and consistent sealing around all edges. Corner seals should be applied where the door meets the threshold using adhesive-backed rubber corner seals to prevent air leaks at vulnerable junction points. Double up insulation at vulnerable areas like bottom corners and hinge sides. Proper door sealing reduces strain on your home’s structural integrity during severe weather events. Establish maintenance scheduling with twice-annual inspections before and after storm seasons, addressing any cracked weatherstripping, loose thresholds, or failed caulking immediately to preserve stormproofing integrity while implementing regular maintenance checks to ensure long-term protection against weather damage.
Final Inspection and Adjustments
You’ve installed your new door frame, now it’s time to guarantee that every component functions correctly and meets code requirements.
Conduct a systematic final inspection using these steps:
- Check structural integrity, Confirm the frame is plumb, level, and square using a utility square and level; verify no visible gaps or misalignments exist at corners and joints.
- Test door operation, Open, close, and lock the door smoothly without sticking or dragging; certify the latch engages consistently and hinges remain secure. Ensure weatherstripping on doors is properly installed and intact to maintain effective storm protection.
- Inspect finish quality, Examine caulking, trim, and paint for cracks, peeling, or water damage; verify exterior beads fit flush.
- Verify code compliance, Document all findings, confirm hardware meets local egress and safety standards, and re-inspect after corrections.
Frequently Asked Questions
How Often Should I Inspect and Maintain My Newly Replaced Storm-Rated Door Frame?
You should perform regular visual inspections twice yearly to catch wear before storm season. Schedule professional servicing every 3, 5 years for thorough maintenance. Conduct consistent seasonal maintenance before severe weather, checking weatherstripping, seals, hardware functionality, and drainage systems. You’ll document all inspections in maintenance logs to support warranty claims. This proactive approach guarantees your newly replaced storm-rated door frame sustains excellent performance and storm protection capabilities year-round.
What Specific Exterior-Grade Fasteners and Hardware Are Best for Storm-Prone Regions?
You’ll want to install stainless steel or G90 galvanized fasteners paired with impact-resistant fasteners rated for hurricane conditions. Choose 3-inch exterior-grade structural screws and heavy-duty anchor bolts for concrete substrates. Pair these with multi-point locking systems, 4.5″ stainless steel hinges, and reinforced strike plates. You’ll also need weatherproofing sealants compatible with your hurricane-rated assembly. Always match fasteners, hardware, and frames, mismatched components compromise certification and storm protection effectiveness.
Can I Replace a Storm-Rated Door Frame Myself, or Do I Need a Professional?
You can replace a storm-rated door frame yourself if you’ve got the necessary tools, skills, and time. However, consider your door replacement options carefully, this is medium-to-difficult work demanding precise measurements and compliance with ICC500-2014/FEMA 361 standards. Without prior experience or confidence, experienced contractor recommendations suggest hiring professionals. They’ll guarantee proper frame installation, verify plumb/level/square alignment, and secure protocols. Conclusively, weigh your capabilities against the critical nature of storm protection.
How Much Does a Complete Storm-Rated Door Frame Replacement Typically Cost?
You’ll typically spend $400, $550 for a complete storm-rated door frame replacement, though costs range from $200, $700 depending on your specifications. For accurate cost considerations and budgeting requirements, factor in material upgrades (steel/fiberglass frames: $200, $500+), labor ($230, $380), and accessories like impact-rated hardware. Larger openings and structural reinforcements push costs higher. Obtain multiple written estimates from licensed contractors to compare pricing and verify you’re getting storm-compliant products.
What Warranty Coverage Should I Expect With Storm-Rated Frame Materials and Installation?
You’ll typically receive 10, 20 years of coverage on storm-rated frames, with premium options offering lifetime warranties. Your expected warranty duration depends on material quality assurances, aluminum and steel frames often include extensive structural protection, while paint adhesion warranties may extend separately. You’ll need proof of professional, code-compliant installation and original purchase documentation to validate claims. Keep in mind that coverage excludes acts of nature, modifications, and labor costs, manufacturers only replace defective materials.