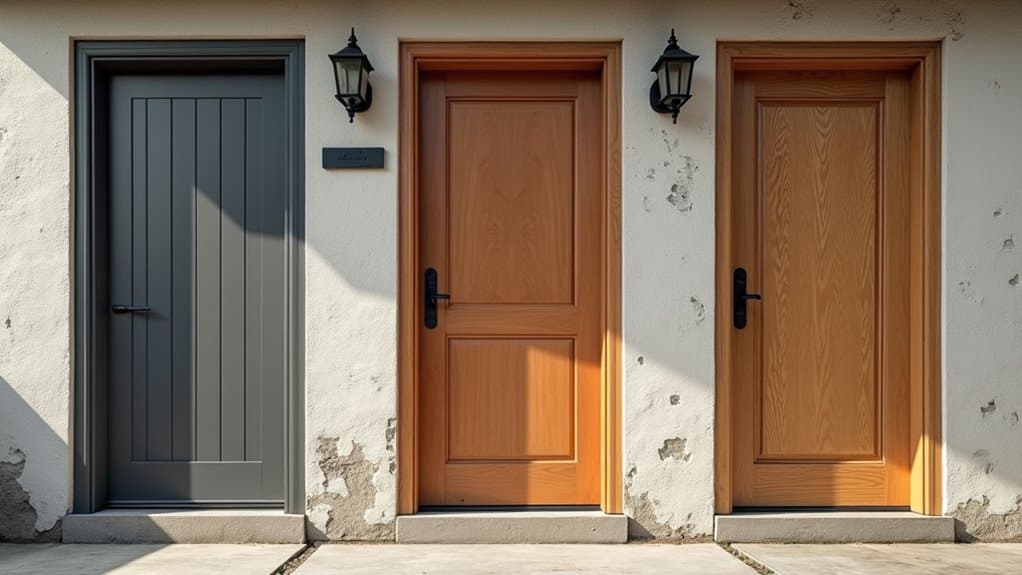
Replacing an exterior door yourself saves money and improves energy efficiency when you follow the right sequence. You’ll start by gathering hand tools, power tools, and fastening materials before removing the old door and prepping the rough opening to code-compliant dimensions. Then you’ll install the new frame plumb and square, hang the door, and seal every joint against air and water infiltration. Keep going to master each step completely.
Gather the Tools and Materials You Need First

Before you begin replacing an exterior door, you’ll need to gather the right tools and materials, skipping this step often leads to costly delays once you’ve already torn out the old door. Prepare the workspace by clearing the area and collect necessary tools before breaking down the existing installation.
You’ll need essential hand tools like a hammer, pry bar, utility knife, and tape measure. Power tools should include a drill/driver, hammer drill, and reciprocating saw. For alignment, have a 4-foot level, framing square, and carpenter’s square ready.
Stock your fastening materials with #8 x 3-inch exterior screws, galvanized finish nails, elastomeric caulk, low-expansion foam, and wood shims. Don’t forget safety glasses, a caulk gun, sill pan, and Z-flashing to safeguard a code-compliant, weather-tight installation. When measuring the existing door opening, always use the smallest measurements to ensure the new door fits properly within the rough opening.
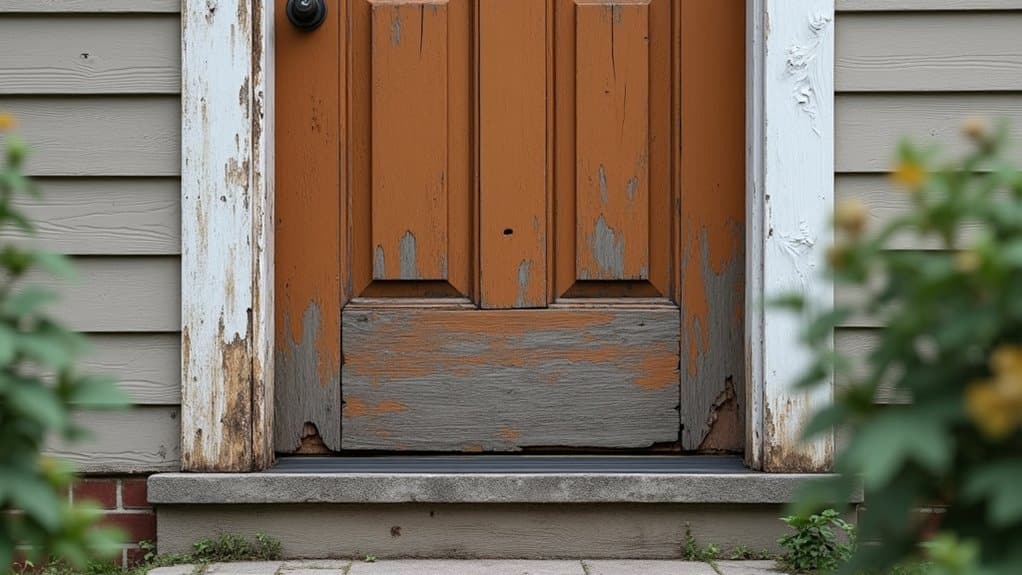
How to Remove Your Old Exterior Door Safely
Once you’ve cleared the workspace, put on your safety goggles, work gloves, and knee pads before touching anything. Prioritizing workspace organization reduces accidents and keeps removed components accessible.
Clear your workspace first, then gear up with safety goggles, gloves, and knee pads before handling anything.
Open the door slightly, then tap hinge pins upward using a hammer and screwdriver. Apply lubricant to rusted pins before extraction. Have a helper support the door weight, minimizing physical strain prevents injury during lifting.
Follow this removal sequence:
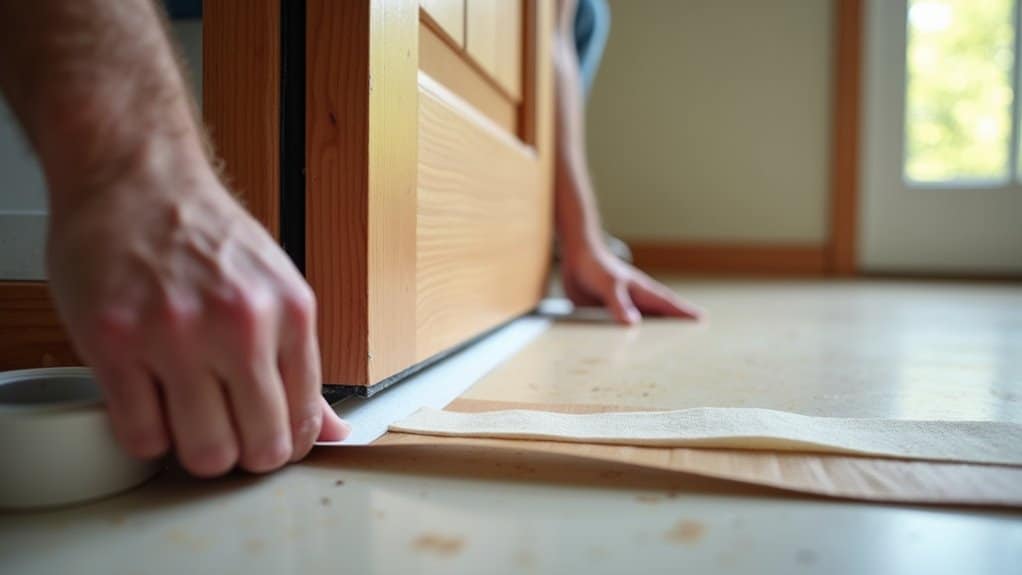
- Score caulk and paint along trim edges using a utility knife
- Pry trim starting from the bottom corner with a pry bar
- Remove frame screws with a drill or nails with a pry bar
- Check for attached surveillance systems before full detachment
- Inspect the rough opening for debris, fasteners, or damaged framing
Clean the opening thoroughly before proceeding. The entire removal process typically takes 30 minutes to an hour, depending on the door’s condition and your level of experience.
Prep the Rough Opening for a Weathertight Fit
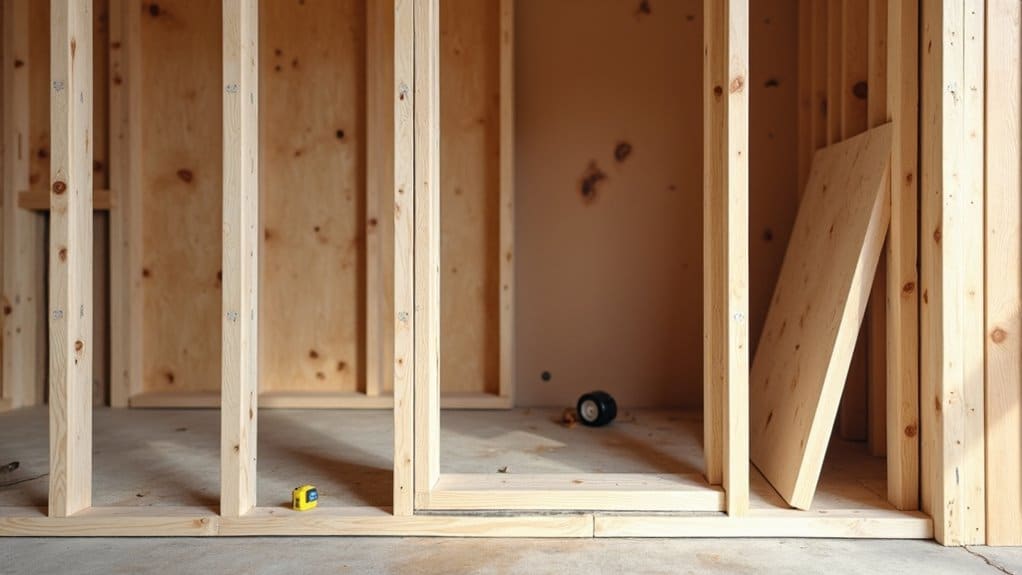
With the old door removed, you’ll need to assess the rough opening before anything else goes in. Use a 4-foot level and string to inspect frame installation quality, checking for plumb, level, and square conditions. Measure diagonals corner-to-corner, equal lengths confirm squareness. To detect a cross-legged condition, run strings in an X-pattern across the opening and verify they just touch at the center.
| Measurement Check | Target Specification |
|---|---|
| Rough opening width | Door slab width + 2 inches |
| Rough opening height | Door slab height + 2, 2.5 inches |
| Side clearance (each) | ½ inch for shimming |
| Bottom clearance | ¼ inch for sill pan flashing |
Once dimensions are verified, clear the threshold of debris, then apply sill pan flashing and WRB tape. Proper prep directly affects check door hardware alignment and long-term weathertight performance.
Install Your New Exterior Door Frame Plumb and Square
With your new door unit set in the rough opening, use a 6-foot level to check all four jambs for plumb and a 2-foot level to verify the head jamb and sill for level. Drive shims behind the jambs at hinge and strike locations to correct any out-of-plumb or out-of-level conditions, confirming squareness by comparing diagonal measurements corner to corner. Once alignment is dialed in, fasten the frame with compression anchors and 2.5-inch trim screws, securing the strike jamb first, then the hinge jamb, and finishing with the sill strap and frame face screws.
Setting Frame Plumb Level
Before you begin installing your new exterior door frame, you’ll need to confirm that the rough opening is properly prepared and dimensionally sound. Measure height on both sides and width at top, center, and bottom. Maintain 5, 10mm clearance tolerance for plumbing and squaring.
For sill leveling, apply silicone bedding underneath and install a secondary moisture barrier using DPM on the sill bottom. Use packers where adjustments are needed.
Verify these conditions before proceeding:
- Opening is plumb and square in all planes
- Sill is level and debris-free
- Silicone bedding fully supports the sill with no gaps
- DPM secondary moisture barrier is applied correctly
- Drip groove channels water away from the opening
Any deviation here directly causes operational failure later.
Shimming for Proper Alignment
Once the sill is level and the rough opening is confirmed plumb and square, you’re ready to shim the frame into final alignment. Use steel shims for exterior applications, they’re galvanized, moisture-resistant, and compliant with NFPA 80 for fire-rated openings. Apply shimming techniques sequentially, starting at the top hinge and working downward. Place wooden wedges under the door first to relieve tension before adjusting hinge leaf positioning. Insert shims between the hinge leaf and frame surface, using the dual-shim technique when maintaining a flush leaf surface matters. Tighten fasteners on the side opposite each shim to maximize adjustment. Check perimeter gaps after every increment, uniform clearance confirms correct alignment. Don’t proceed to the next hinge until each adjustment is verified.
Securing Frame With Fasteners
Securing the frame permanently begins at the hinge jamb, where you’ll drive two 10d finish nails at each of the five shimming points, positioning them just below the shims and leaving heads slightly proud for later adjustment. For exterior frame anchoring on the strike jamb, install three #8 x 3″ flathead screws through 1/8″ pilot holes into wall studs.
Frame to wall shimming supports these critical fastener locations:
- Verify plumb with a 4-foot level before final tightening
- Install secondary screws behind weatherstripping at three points
- Anchor head jamb corners and midpoint with paired 10d galvanized nails
- Confirm even door gap before driving strike-side screws
- Use 2.5″ trim screws as nail alternatives for repositionable grip
Hang the Door and Set the Hardware
With your caulk applied and rough opening prepped, lift the pre-hung door unit into position by centering its bottom on the sill first, then tilting the top in. Push the hinge side tight against the studs, ensuring equal reveal gaps throughout.
| Hardware Component | Installation Method | Compliance Check |
|---|---|---|
| Handleset & Deadbolt | Follow manufacturer specs | Check closure alignment |
| Hinges (slab door) | Chisel flush recesses | Confirm smooth swing |
| Strike Plates | Mount at marked positions | Adjust hardware fit |
Mount your handleset, deadbolt, and strike plates per manufacturer instructions. For slab doors, chisel hinge recesses flush on both door and frame. Once hardware’s installed, test the swing repeatedly, adjust hardware positions if binding occurs, and verify consistent weatherstrip contact throughout the frame.
Seal and Insulate Your Exterior Door to Lock Out Air and Water
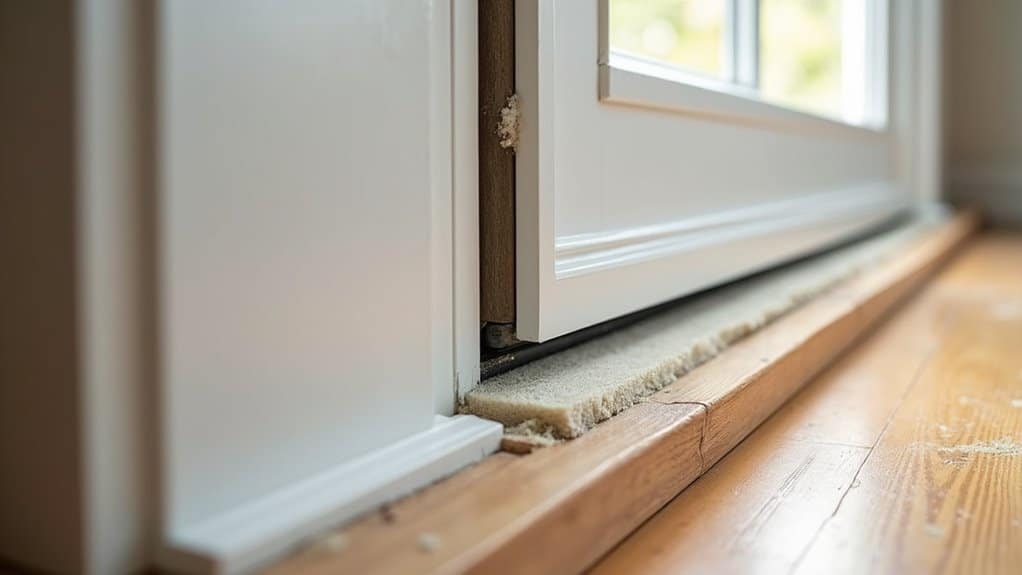
Your door’s hardware is set and swinging true, so now it’s time to seal out air and water before they work their way through gaps in the frame. Inspect door components thoroughly, checking for misalignment, cracks, and degraded caulking. For check annual caulk maintenance, remove old material, clean surfaces, and apply continuous exterior-grade silicone beads at all frame-to-wall joints.
Complete your weathertight installation by addressing these critical sealing points:
- Cut and press weatherstripping firmly along the top and both sides
- Install a door sweep that lightly contacts the floor without dragging
- Apply foam tape along the frame for supplemental insulation
- Smooth fresh caulk with a damp finger at corners and joints
- Finish with two coats of exterior-grade paint over primed surfaces
Fix Common Problems After Installing an Exterior Door
After installing your exterior door, you’ll likely encounter alignment issues that require systematic troubleshooting and correction. Check for misaligned jambs, binding hinges, and gaps that are too tight or too loose, then adjust shimming, tighten screws, or plane swollen edges to bring the door into proper alignment. Once you’ve resolved alignment problems, seal all perimeter gaps with weatherstripping and apply flashing tape or caulk to block air and water infiltration.
Fixing Door Alignment Issues
Even after a careful installation, exterior doors sometimes need minor adjustments to close, latch, and seal properly. Lubricate door hinges and adjust door closers before attempting structural corrections. Start with the simplest fixes first.
Common alignment corrections include:
- Loose hinges, Tighten screws or replace with longer fasteners that reach the framing
- Hinge repositioning, Loosen screws slightly, shift the door incrementally, then re-tighten
- Shim placement, Insert shims behind hinge leaves to shift the door laterally or vertically
- Strike plate adjustment, Reposition the plate to align with the latch bolt
- Planing, Shave rubbing edges with a hand planer and sand smooth
Test the door after each adjustment before proceeding further.
Sealing Air and Water Leaks
Sealing gaps around an exterior door is critical for energy efficiency, moisture control, and code compliance. Start by conducting thorough inspections along the door frame, checking for drafts, visible gaps, and deteriorated materials. Use a flashlight to identify leaks around the perimeter.
Apply silicone-latex caulk along seams and joints between the frame and wall, holding the gun at a 45-degree angle for consistent beads. For gaps exceeding a quarter-inch, use low-expansion spray foam, trimming it flush after hardening. Apply rubberized asphalt flashing tape over trimmed foam on exterior jambs for added moisture protection.
Install weatherstripping on all four sides, ensuring tight compression when the door closes. Periodically focus on evaluating sealant integrity, replacing worn materials promptly to maintain performance.
Frequently Asked Questions
How Long Does a Typical Exterior Door Replacement Project Usually Take?
Your typical door replacement timeframe runs 4-6 hours for standard installs, but you’ll want to plan for a full 1-3 day door installation timeline when factoring in prep work, adjustments, and finishing touches. You can expect removal of your old door to take 20-30 minutes, while a pre-hung exterior door installs in 1-2 hours under ideal conditions. Complications like rot, damaged frames, or added features will extend your project considerably.
What Is the Average Cost to Hire a Professional for Door Replacement?
When hiring a professional for exterior door replacement, you’ll typically spend $300, $800 for standard labor, with complex installs reaching $1,300+. The average hourly rate runs $40, $90 for licensed contractors, covering a 3, 5 hour installation window. Factor in material costs for frame kits ($100, $400) and thresholds ($50, $150). Your total project investment, combining labor and materials, generally lands between $957, $5,000+, depending on door type and installation complexity.
Do I Need a Building Permit to Replace an Exterior Door?
You don’t always need a permit to replace an exterior door, but it depends on your local building codes. If you’re swapping a door for one of the same size, you’ll typically avoid door repair requirements for permits. However, if you’re enlarging the opening, adding sidelights, or making structural changes, you’ll need one. Always contact your local building department to confirm compliance before starting your project.
How Often Should an Exterior Door Be Replaced or Upgraded?
You should replace your exterior door every 15-30 years, depending on material and climate. Follow a consistent door maintenance schedule, inspecting weatherstripping every 8-10 years and addressing drafts or visible rot immediately. If your energy bills have risen considerably, consider door energy efficiency upgrades before full replacement becomes necessary. Harsh climates accelerate deterioration by 20-30%, while steel and fiberglass doors deliver longer service lives than wood alternatives without exceptional maintenance requirements.
Can I Replace an Exterior Door During Cold or Rainy Weather Conditions?
You can replace an exterior door in cold or rainy weather, but you’ll need to ponder seasonal limitations carefully. Evaluate installation challenges like adhesion failure below 20°F (-7°C) and moisture preventing proper weatherstripping bonding. Cold causes door shrinkage, demanding precise sealing adjustments. Rain risks water intrusion and mold during removal. Use dry surfaces, reinforced silicone seals, and door sweeps to maintain code-compliant, weather-tight performance throughout installation.