
To install an exterior door threshold, you’ll remove the old unit and inspect the subsill for rot before measuring and cutting precise notch joints at each jamb end. Secure the new threshold using construction adhesive and 10d casing nails, then adjust the height screws to achieve an exact ⅛-inch door sweep overlap. Finally, seal every perimeter gap with continuous silicone beading for complete weatherproofing. Each step contains critical details that’ll make the difference between a draft-free seal and a costly failure.
Remove the Old Threshold and Inspect for Damage First
Before removing your old threshold, take measurements of its length, width, and thickness to guarantee your replacement matches exactly. Remove the storm door and weatherstripping, then fit a wood-cutting blade into your reciprocating saw.
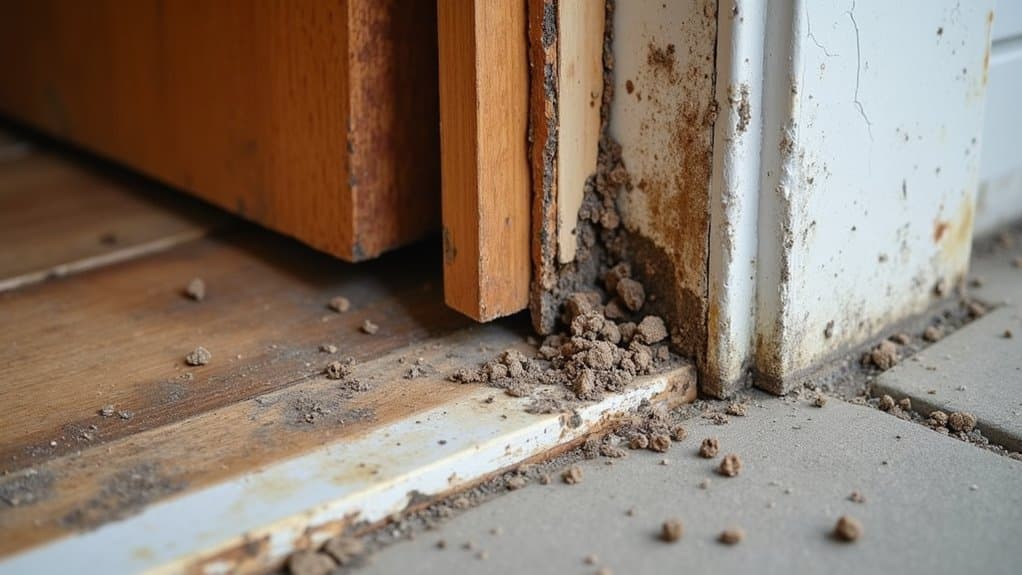
Slice across the wood 10 inches from each jamb, keeping the blade teeth nearly parallel to the surface. Watch the blade tip carefully to avoid cutting the flooring beneath. Once you’ve cut the threshold into sections, insert a flat pry bar between the threshold and subsill to lift each piece out.
After removal, inspect subsill condition thoroughly by probing for rot or decay. Check for proper door clearance along jambs and door stops. Spray all exposed wood with a borate solution like Bora-Care to prevent future rot and termite damage. Be aware that discovering rotten subsill or termite damage during inspection can turn this two-hour project into a full day’s labor.
Measure, Cut, and Fit Your Threshold for a Perfect Notch
With the subsill cleaned and treated, you’re ready to size your new threshold for a precise fit. Measure the frame width at three points, top, middle, and bottom, to understand frame variations and account for customization needs. Record door stop width and depth to define your notch dimensions accurately.
| Measurement Point | What to Record | Purpose |
|---|---|---|
| Frame width (3 points) | Top, middle, bottom distances | Identify frame variations |
| Door stop profile | Width and depth | Define notch shape |
| Threshold length | Front-to-back total | Confirm full coverage |
| Notch position | Each end equally | Balance material removal |
| Clearance gap | ¼ inch from hardware | Prevent fastener conflict |
Mark both cut points clearly, then remove equal portions from each end. Make two cuts rather than one for cleaner results. Ensure the new threshold is made from durable weather-resistant materials to withstand outdoor conditions and provide long-term protection against drafts and moisture.
Set and Secure the Threshold With Adhesive and Nails
Once the threshold is cut and fitted, you’ll need to prep the subsill before committing to final placement. Clean the surface thoroughly, removing debris, dust, and old caulk. Guarantee it’s completely dry to optimize the adhesive application and maximize bond strength.
To adhere the threshold securely, apply three full-length rows of construction adhesive or urethane caulk, like NP-1 or Sikaflex, between your pencil lines. Slide the threshold under the doorstops, positioning notches around the jambs, then tap it snugly using a rubber mallet.
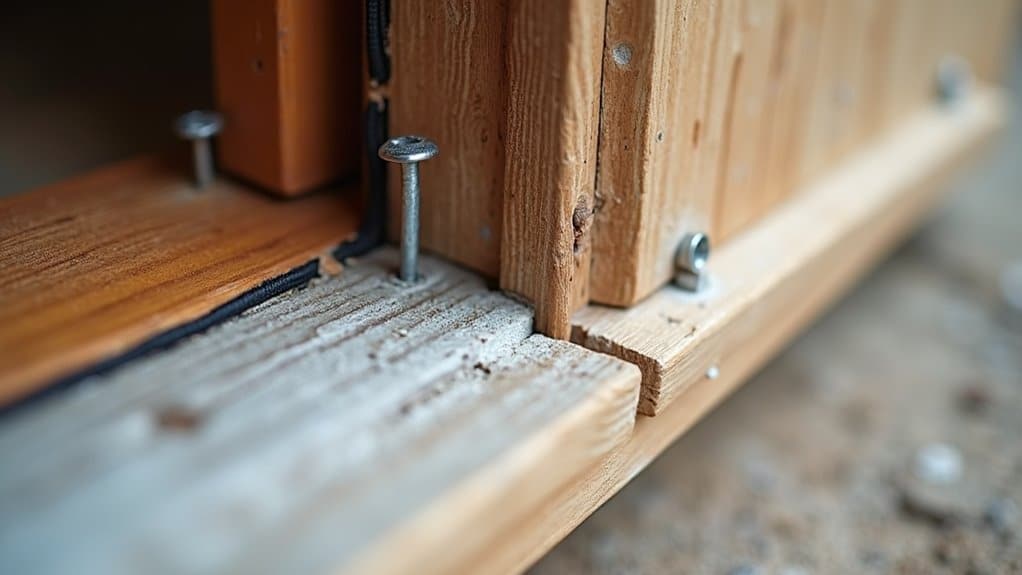
After the adhesive sets, pre-drill pilot holes and fasten with 10d or 12d casing nails. Fill nail holes with exterior wood putty, then caulk perimeter gaps with silicone for a weathertight seal. Once secured, test the door’s operation by opening and closing it several times to confirm it moves smoothly without obstruction or sticking. The door replacement process can significantly improve the energy efficiency of your home.
Adjust the Threshold So Your Door Opens and Closes Smoothly
After the adhesive cures and the threshold is nailed in place, it’s time to confirm your door operates smoothly over it. Test the fit carefully, checking for proper alignment and smooth operation throughout the full swing. Choosing durable materials for entry doors is essential for longevity and performance. These materials not only enhance security but also improve energy efficiency. Consider implementing door frame upgrades to further enhance your entryway. These improvements can not only improve aesthetics but also provide better insulation and structural integrity.
Once the adhesive cures and the threshold is secured, test your door’s full swing for smooth, aligned operation.
Follow these three adjustment steps:
- Test the threshold fit, Close the door and verify it overlaps the sweep by approximately 1/8 inch without sticking or dragging.
- Adjust the screws, Turn clockwise to raise or counterclockwise to lower, adjusting each screw equally to maintain a level surface.
- Plane or shim as needed, Plane the door bottom if rubbing persists, or insert shim pairs to correct uneven spots beneath the threshold.
Weatherproof Your Threshold to Stop Drafts and Water Intrusion

Sealing your threshold is the final step that determines whether your installation holds up against drafts and water intrusion long-term. Apply a continuous silicone bead along the threshold’s front, rear ramp sides, and jamb-butting edges, smoothing each section with a wet finger. Loosen the threshold screws slightly, inject thick silicone underneath, then retighten to create a compressed seal beneath the plate. Use compression weatherstripping along the full perimeter, ensuring corner gaps don’t compromise the seal. For high-moisture entries, leverage multi-layer thresholds combined with a tripolymer waterproof sealant underneath to redirect water away from the interior. Integrate your threshold waterproofing with any adjacent floor membrane before tiling. Tape surrounding surfaces before caulking to maintain clean lines and protect finished materials throughout the process.
Frequently Asked Questions
How Long Does an Exterior Door Threshold Typically Last Before Needing Replacement?
Your exterior door threshold typically lasts 20, 30 years, though proper maintenance can markedly extend this range. You’ll find that environmental exposure, including moisture, UV rays, and temperature fluctuations, accelerates deterioration in lower-quality materials. Steel and aluminum thresholds outlast vinyl or rubber options considerably. You should inspect yours annually for cracks, warping, or seal failure. Replacing worn weatherstripping and resealing surfaces regularly helps you maximize the threshold’s functional lifespan effectively.
Can I Install a Threshold Myself Without Any Prior Carpentry Experience?
Yes, you can install a threshold yourself without prior carpentry experience, as only basic carpentry skills required are minimal. You’ll need standard household tools, a measuring tape, and construction adhesive. Follow a step-by-step checklist: remove the old threshold, measure, test-fit, secure with adhesive and nails, then seal edges. While professional installation recommended for complex scenarios, pre-cut thresholds and visual guides make this a manageable DIY project when you follow proper sequences carefully.
What Threshold Materials Work Best for High-Traffic Exterior Doorways?
For high-traffic exterior doorways, you’ll want to examine stainless steel or aluminum based on your specific demands. Stainless steel’s threshold composition delivers superior corrosion resistance and load-bearing strength for industrial environments, while aluminum offers lightweight durability with slip-resistant grooved surfaces. For extreme vehicle or forklift passage, heavy-duty metal thresholds provide reinforced performance. Always assess threshold height considerations, ensuring your selection complies with ADA’s ½-inch maximum requirement with proper beveling.
Does Threshold Installation Affect My Home’s Energy Efficiency Rating Significantly?
Yes, threshold installation markedly affects your home’s energy efficiency rating. Without proper thresholds, you’ll experience increased air leakage under doors, directly causing decreased insulation performance throughout your thermal envelope. UK Building Regulations Part L requires thresholds to control uncontrolled airflow, directly influencing your EPC score. Quality anodised aluminium thresholds create a continuous barrier, reducing HVAC strain and lowering carbon output, quantifiable improvements that translate into better energy credentials and reduced monthly heating costs.
Are Permits Required When Replacing an Exterior Door Threshold?
Replacing an exterior door threshold typically doesn’t require permits when you’re maintaining the same size and configuration. However, you’ll need to verify local building codes in your municipality, as permit requirements vary considerably by jurisdiction. If you’re modifying the door opening, adding structural elements, or incorporating electrical components, permits become mandatory. Contact your city or county building department directly, or check their website to confirm your specific project’s compliance requirements before proceeding.