
Don’t trust a “180 mph” label, it’s an engineering target, not a survival guarantee. You need ASCE 7-22 calculations that factor wind speed, exposure, and topography to determine real wind loads. Choose steel, cold-formed steel, or reinforced aluminum frames, and pair louvered roofs with solid tops to cut uplift and drag. Anchor posts in 24, 36 inch piers with rated connectors. Want to build a storm-ready setup that actually lasts? Keep going.
What Do Pergola Wind Ratings Actually Mean?
When you see a pergola advertised at “180 mph,” you’re looking at an engineering target, not a guaranteed survival threshold. A credible pergola hurricane rating comes from a structural calculation referencing ASCE 7-22, not a generic product claim. The headline wind speed matters less than wind load, the actual force, measured in pounds per square foot, that your structure must resist.
That load shifts with site-specific variables: your design wind speed, exposure category, topographic features, structural height, and geometry. The same pergola can require different ratings at different locations. Connection details determine how uplift and lateral forces transfer into the foundation. Be aware that most pergola wind ratings are marketing claims rather than the product of real engineering.
Which Frame Materials Survive Hurricane Winds Best?
Why does frame material drive so much of a pergola’s storm performance? Because the frame carries every wind load before connections and anchors take over. Steel and cold-formed steel deliver superior wind resistance, won’t warp, rot, or crack, and outperform wood in hurricane-force winds, though you’ll pay more and accept lower insulation value. Cold-formed steel structures endure wind forces of 160-180 mph that damage traditional buildings, as recent hurricanes like Ian and Milton demonstrated. Reinforced aluminum suits coastal exposure, resisting corrosion when powder-coated or anodized with coastal-grade finishes and paired with 316 stainless fasteners near beaches. Concrete and reinforced masonry provide maximum rigidity and mass, gaining strength when reinforced with steel bars. Engineered timber flexes under wind rather than cracking, but depends on connections and reinforcement. For a hurricane proof outdoor kitchen, match the frame to your salt-air corrosion risk, fastener grade, and installation quality. Solid roof lanai benefits during storms include enhanced protection from heavy rainfall and debris, allowing for a more enjoyable outdoor experience even in inclement weather.
Why Louvered Roofs Beat Solid Tops in High Wind
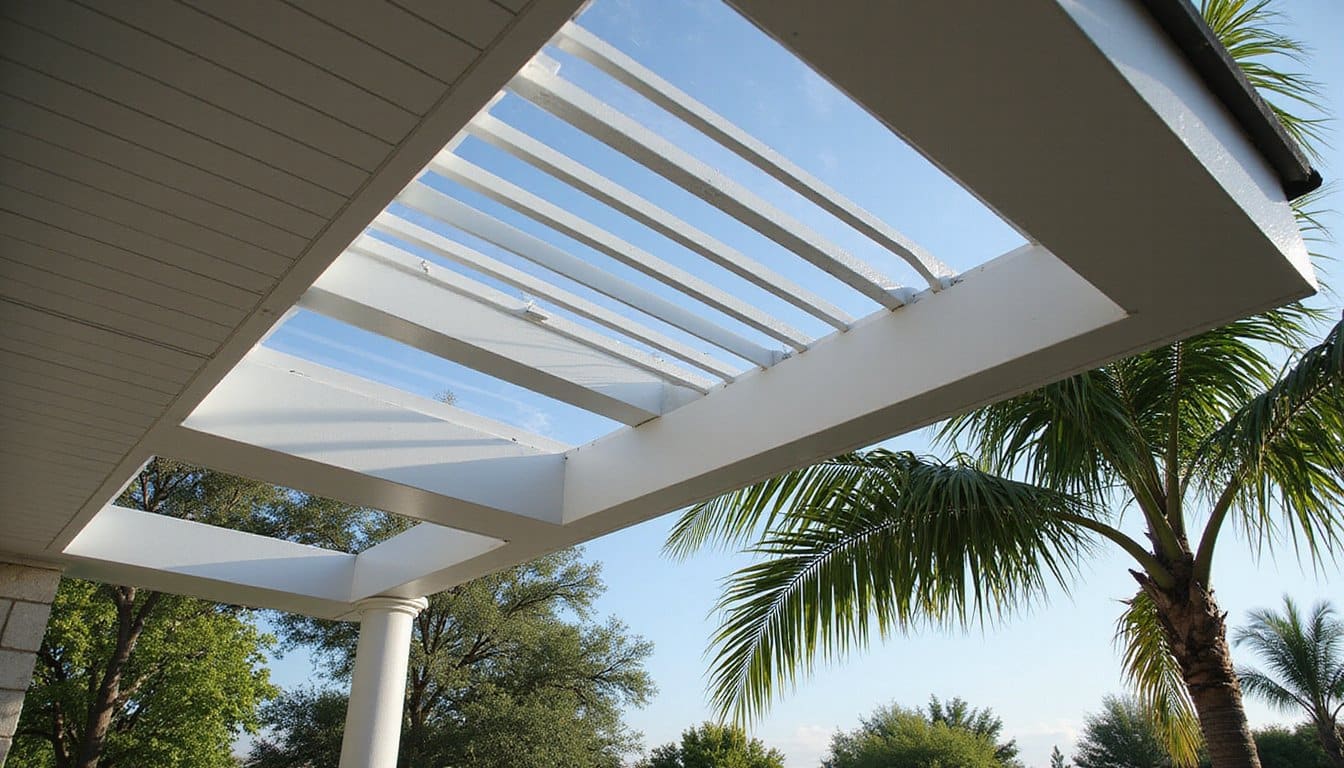
Although a solid roof seems sturdier, it’s actually the louvered design that handles high wind better, because you can open it. When you open louvered roofs, you reduce the solid surface area exposed to wind, lowering uplift and drag. A fixed solid top presents a continuous plane that traps air beneath it, building pressure during gusts. Adjustable louvers let air move through gaps rather than accumulate underneath. In fact, louvered roofs can withstand winds of up to 200+ mph, far exceeding the 90-130 mph rating of solid roofs.
| Roof Type | Wind Behavior |
|---|---|
| Solid Top | Traps air, increases uplift |
| Open Louvers | Air passes through, less drag |
| Closed Louvers | Watertight, rated to 150, 200+ mph |
You also get dual-mode flexibility: open for ventilation, closed for weather sealing. Quality systems use gaskets to block water when closed, then reopen afterward to dry surfaces and cut humidity.
How Concrete Anchoring Boosts Your Wind Rating
Even though a louvered roof handles wind well, the pergola won’t hold up unless it’s anchored to concrete with rated hardware. A wind rated pergola depends on uplift and lateral resistance, both of which come from the foundation connection rather than material or appearance. Concrete supplies the dead weight that resists pull-out forces, but the details determine whether you realize the rating:
- Anchor a slab of 4 inches or more using structural post bases with code-rated wedge or epoxy anchors, observing edge distances.
- Set post bases into 12, 18 inch piers, going 24, 36 inches deep in high-wind regions.
- Clean drilled holes thoroughly, since residual dust reduces holding power.
- Follow torque specs exactly, because under-torqued hardware loosens under wind vibration.
Add hold-downs where design winds demand.
Prep Your Pergola Before Storm Season Hits
Before storm season begins, you’ll want to inspect every bolt and anchor for looseness, rust, or corrosion, since loose fasteners are a common failure point under high wind loading. Reapply protective coatings wherever surface protection shows wear to maintain corrosion resistance and joint integrity. Finally, remove or secure all loose items, hanging plants, string lights, cushions, and shade fabric, because anything that increases sail effect raises structural stress during gusts.
Inspect Bolts and Anchors
Walk your pergola’s perimeter and inspect every bolt, screw, and nail for rust, bending, or visible wear before storm season begins. Loose fasteners reduce stability under strong winds, so tighten each connection evenly to distribute load across the structure. Confirm that posts remain firmly secured in concrete footings or ground anchors, and treat any base movement as an immediate priority.
When inspecting your hurricane pergola, check these points:
- Rust staining around bolts, washers, nuts, and plate interfaces
- Gaps, cracks, or shifting at joints, brackets, and base supports
- Anchor movement, tilt, or looseness when you apply pressure
- Missing or deformed hardware, including oversized holes
Use annual inspection as your baseline, reinspect after any significant weather event, and replace damaged hardware immediately rather than waiting.
Reapply Protective Coatings
A protective coating shields your wooden pergola from moisture, UV exposure, and the weather stress that intensifies as storm season approaches. Start by removing furniture and décor, then clear dirt, debris, and flaking paint. Strip previous stain so new stain penetrates the wood, and apply primer on painted surfaces to improve adhesion and coverage. Work in dry conditions. Choose Exterior Acrylic Latex paint or exterior stain, or use rubber coatings and elastomeric membranes for added moisture resistance. Apply two thin, even coats, starting at the top and moving downward to limit drips. Cover all surfaces, including the sides and undersides of each board. Let the final coat dry fully before reassembling hardware. Coordinate this work with your outdoor kitchen design Florida maintenance schedule before storms intensify.
Remove Loose Items
Anything lightweight or detachable on your pergola becomes a projectile in high winds, so clear it out before storm season hits. Even a wind-rated motorized louvered pergola can’t protect accessories that aren’t part of the engineered structure. As soon as a warning is issued, strip the temporary components and store them indoors:
- Hanging plants, string lights, and outdoor curtains that turn airborne in strong gusts
- Patio furniture, chairs, tables, and umbrellas moved to a garage, shed, or interior space
- Planters and storage benches removed or weighted so they can’t tip, break, or scatter contents
- Outdoor cushions and covers brought inside to prevent debris creation
If you can’t move an item indoors, anchor it to the slab or strap it down. Don’t wait until landfall.
Build a Storm-Ready Outdoor Kitchen That Lasts
Your outdoor kitchen’s heaviest components need a stable concrete base, so bolt grills, refrigerators, and cabinets directly to the slab to keep them from becoming airborne in high winds. Verify the slab is level and rated to carry the combined weight of the structure, appliances, and countertops, including a standard 3-foot counter height and 24- to 25.5-inch depth. Anything not permanently anchored, portable burners, utensils, and accessories, becomes a projectile at 180 mph, so plan storage that lets you clear loose items quickly before a storm.
Anchoring Heavy Components
Because a storm-ready outdoor kitchen is only as strong as what holds it down, anchoring heavy components starts below the surface, not at the slab. Your hurricane outdoor kitchen needs a foundation engineered to transfer load, not just hold weight. Match the anchoring method to your site conditions:
- Concrete footings for primary load transfer, with below-grade piers best for storm-prone climates.
- Slab anchoring using structural-rated wedge anchors into slabs at least 4 inches thick, inspected for cracks first.
- Helical piles that bypass finished pavers and reach stable subgrade for high-wind and frost resistance.
- Lateral bracing with cross-braces and gusset brackets to resist wind pressure.
Bolt grills, refrigerators, and cabinetry directly to the slab, and never rely on surface pavers alone.
Securing Loose Items
Once you’ve anchored the heavy components, the smaller items become your next liability, because anything left loose can turn into windborne debris in a hurricane. Before severe weather hits your outdoor kitchen Florida setup, remove bar stools, BBQ covers, and accessories, storing them in a garage or shed. Clear countertops, cabinets, and drawers of tools, plates, seasonings, utensils, and cleaning supplies. Fix loose worktops in place with silicone applied at the cabinet corners, keeping the bead out of sight. Group remaining items in durable, weather-proof storage, and use heat-resistant containers for paper towels, napkins, and flammable supplies. Apply waterproof labels and water-resistant drawer slides for faster retrieval and added moisture protection. A decluttered layout lets you secure essentials quickly and spot vulnerable items before winds strengthen.
Get Outdoor Protection Built for Florida Weather
From hurricane garage doors to lanai enclosures, smart outdoor upgrades protect your investment and extend the life of your home. At Innovative Storm Defense serving Boynton Beach, FL, our experienced team delivers dependable Storm Protection Services built for Florida’s toughest weather. Call (561) 517-9399 today and protect what matters most.
Frequently Asked Questions
Do I Need a Permit for a Wind-Rated Pergola in Florida?
Yes, you’ll almost always need a permit for a wind-rated pergola in Florida, especially when it’s permanent, attached, or anchored. Rules vary by state, county, and city, so your local building department controls the final answer. You’ll typically submit engineering documents proving compliance with the local wind speed map, often 130 to 175 mph, and pass inspections. In Miami-Dade, Broward, and Palm Beach, expect stricter requirements, including possible NOA certification.
Does Homeowners Insurance Cover Hurricane Damage to Pergolas or Outdoor Kitchens?
Usually, yes, standard homeowners policies typically cover hurricane wind damage to both attached and detached structures. Your freestanding pergola falls under “other structures” coverage, often capped at about 10% of your dwelling limit, while attached outdoor kitchens may fall under dwelling coverage. Expect a windstorm deductible. However, flooding and storm surge aren’t covered without separate flood insurance. Document everything with photos and estimates, and consider a scheduled endorsement for custom builds.
How Much Does a Hurricane-Rated Pergola Cost to Install?
You’ll typically spend $3,000, $8,000 for a professionally installed pergola, but hurricane-rated builds push higher. Premium aluminum louvered systems run $15,000, $50,000+, or roughly $60, $200 per square foot, since reinforced framing, heavier footings, and wind-tested hardware add cost. Steel runs $40, $80 per square foot; aluminum, $25, $60. Labor adds $500, $3,000 depending on complexity. Treat your hurricane-rated pergola as a custom exterior structure, not a prefab kit, when budgeting.
Can I Attach a Wind-Rated Pergola to an Existing Roof?
Yes, but only if your roof’s structural framing, rafters, trusses, or beams, can carry the added uplift and shear loads. You can’t anchor into roofing material alone; you need engineered tie-ins to structural members below the surface. Have a qualified engineer verify the load path, confirm site-specific wind loads per local code or ASCE standards, and specify approved connection hardware. Undersized framing or fasteners will fail regardless of the pergola’s rating.
How Long Does Professional Pergola Installation Typically Take?
You’ll see the on-site install take 1, 3 days for most standard pergolas, though simple builds finish in 1, 2 days and custom systems run about 2 days per zone. Don’t confuse that with the full timeline: end-to-end, your project commonly spans 4, 10 weeks once you factor in consultation, permitting, HOA approval, material lead time, and crew scheduling. New footings add cure time, and weather or inspector availability can extend things further.